Purpose: When you have successfully connected your webshop and selected your preferred carriers, it’s time to start processing your orders and creating labels ready for shipment. In this article we will explain how your orders are processed in the Sendcloud Platform, and how you can view, edit and print your labels.
Important: Incoming orders overview update
We're currently rolling out a new version of the Incoming orders overview. Because of this, your screen may look different from the screenshots or steps shown in some Help Center articles.
What changed?
• Bulk actions
Select one or more orders and click Bulk actions to create shipping labels, packing slips, return labels, and other documents.
• Create label button
You can now add a Create label button directly to each order row.
Go to Edit table (top right) and enable Add "Create label" button.
• Order details
The pen icon has been removed.
To open order details, click the status icon or any linked text in the order row.
Why are we showing this message?
We're still improving this new layout based on customer feedback, so some parts of the interface may change over time. We'll continue updating our Help Center articles as the new layout becomes final.
If you have questions or feedback, please contact our support team
Step 1. View your orders
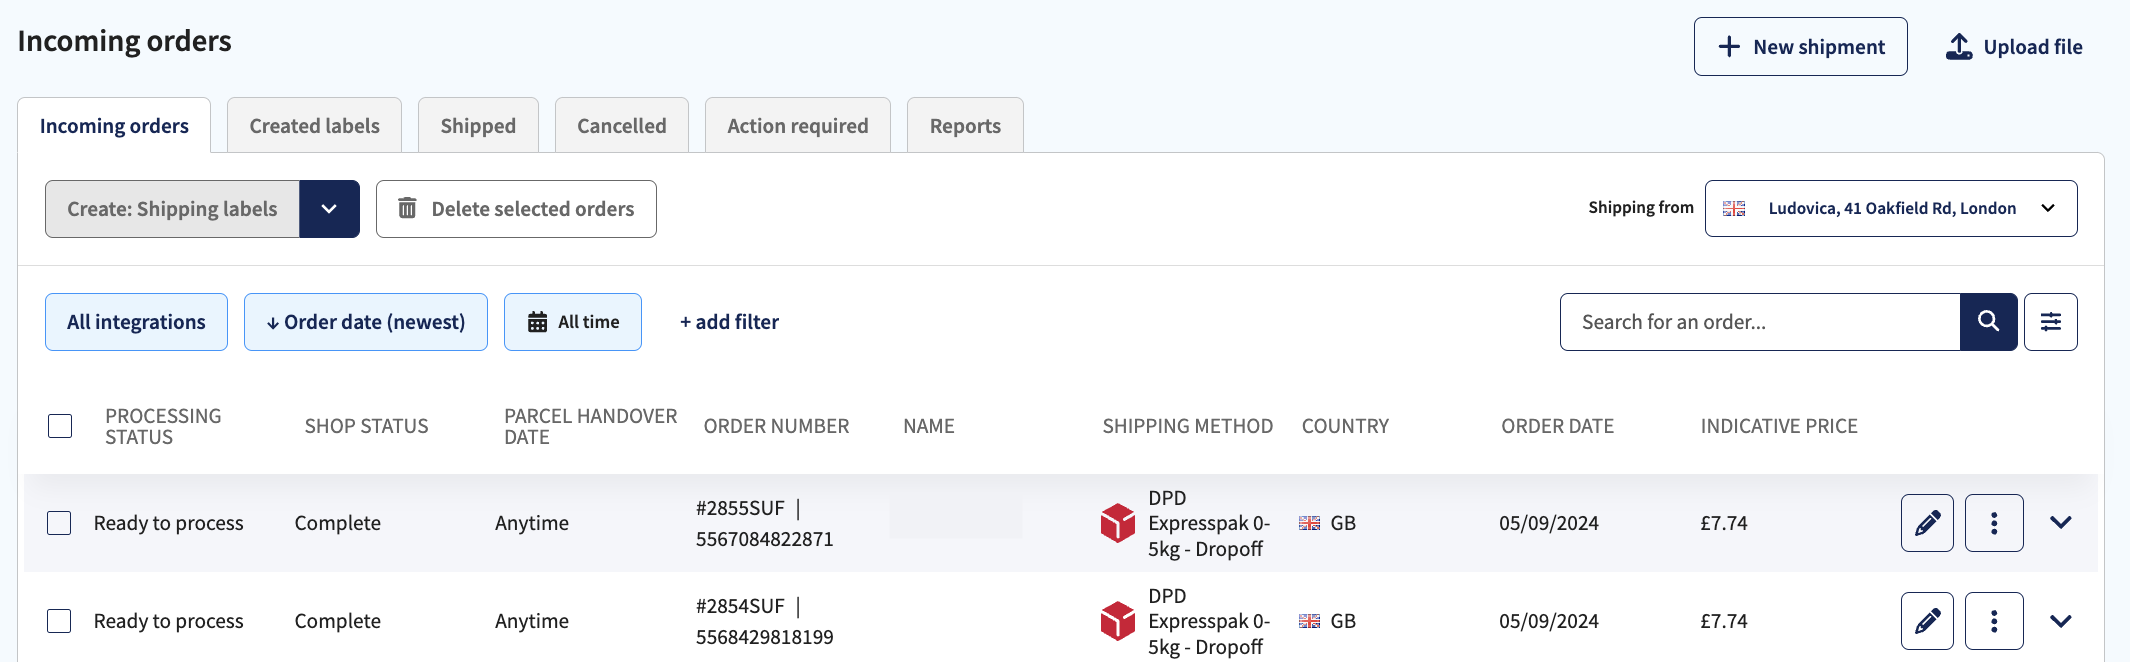
The landing page of your Sendcloud platform is the Incoming orders overview in the Shipping section. This is where your orders are automatically imported into your account from your webshop integration. The system retrieves new orders every 4 minutes.
Tip: You can also bulk import your orders via a .CSV file - click here to see how.
Step 2. Filter or search your incoming orders
By pressing the +add filter button, you can choose which orders you want to view. The filters available depend on the kind of integration you have. For example, you could choose to filter your orders based on destination country, carrier, announcement failed, shop status, and payment status. Click here to learn more about + add filters.
Tips for viewing incoming orders
- You also choose the time frame in which to view incoming orders by clicking the date range button.
- You have the option to view your incoming orders based on all of your shop integrations, or just one. Click on the All Integrations button to select which integration you want to display.
- In the search bar, you can search through your orders based on name or address.
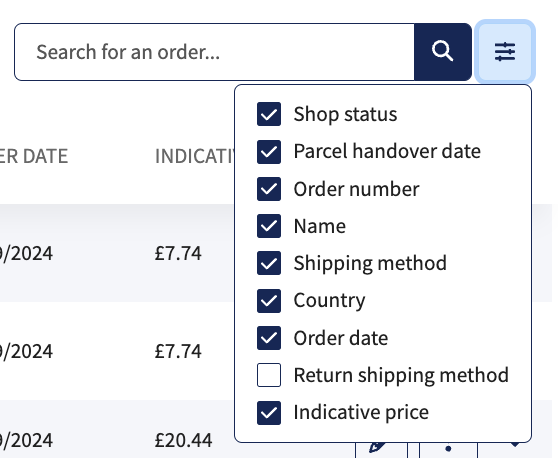
- You can also select which columns to show or not show by using the column filter option.
Step 3a. Edit your orders
You can either click the dropdown arrow to unfold an order to view address details and make changes to the shipping option, or you can click the pen icon next to an order to go into the edit order view.
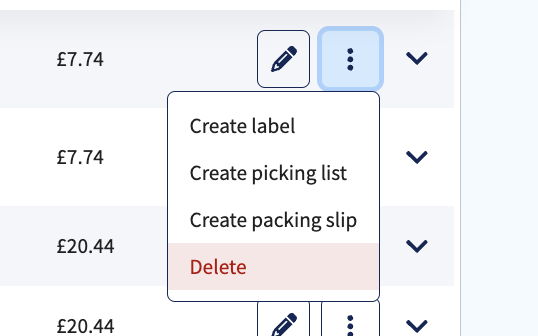
Tip: To delete an order, click on the 3 dots > Delete next to the order you want to delete:
Using the drop-down arrow, you can edit the weight, number of parcels for multicollo shipments, and shipping option, and add Sendcloud Insurance to an order.
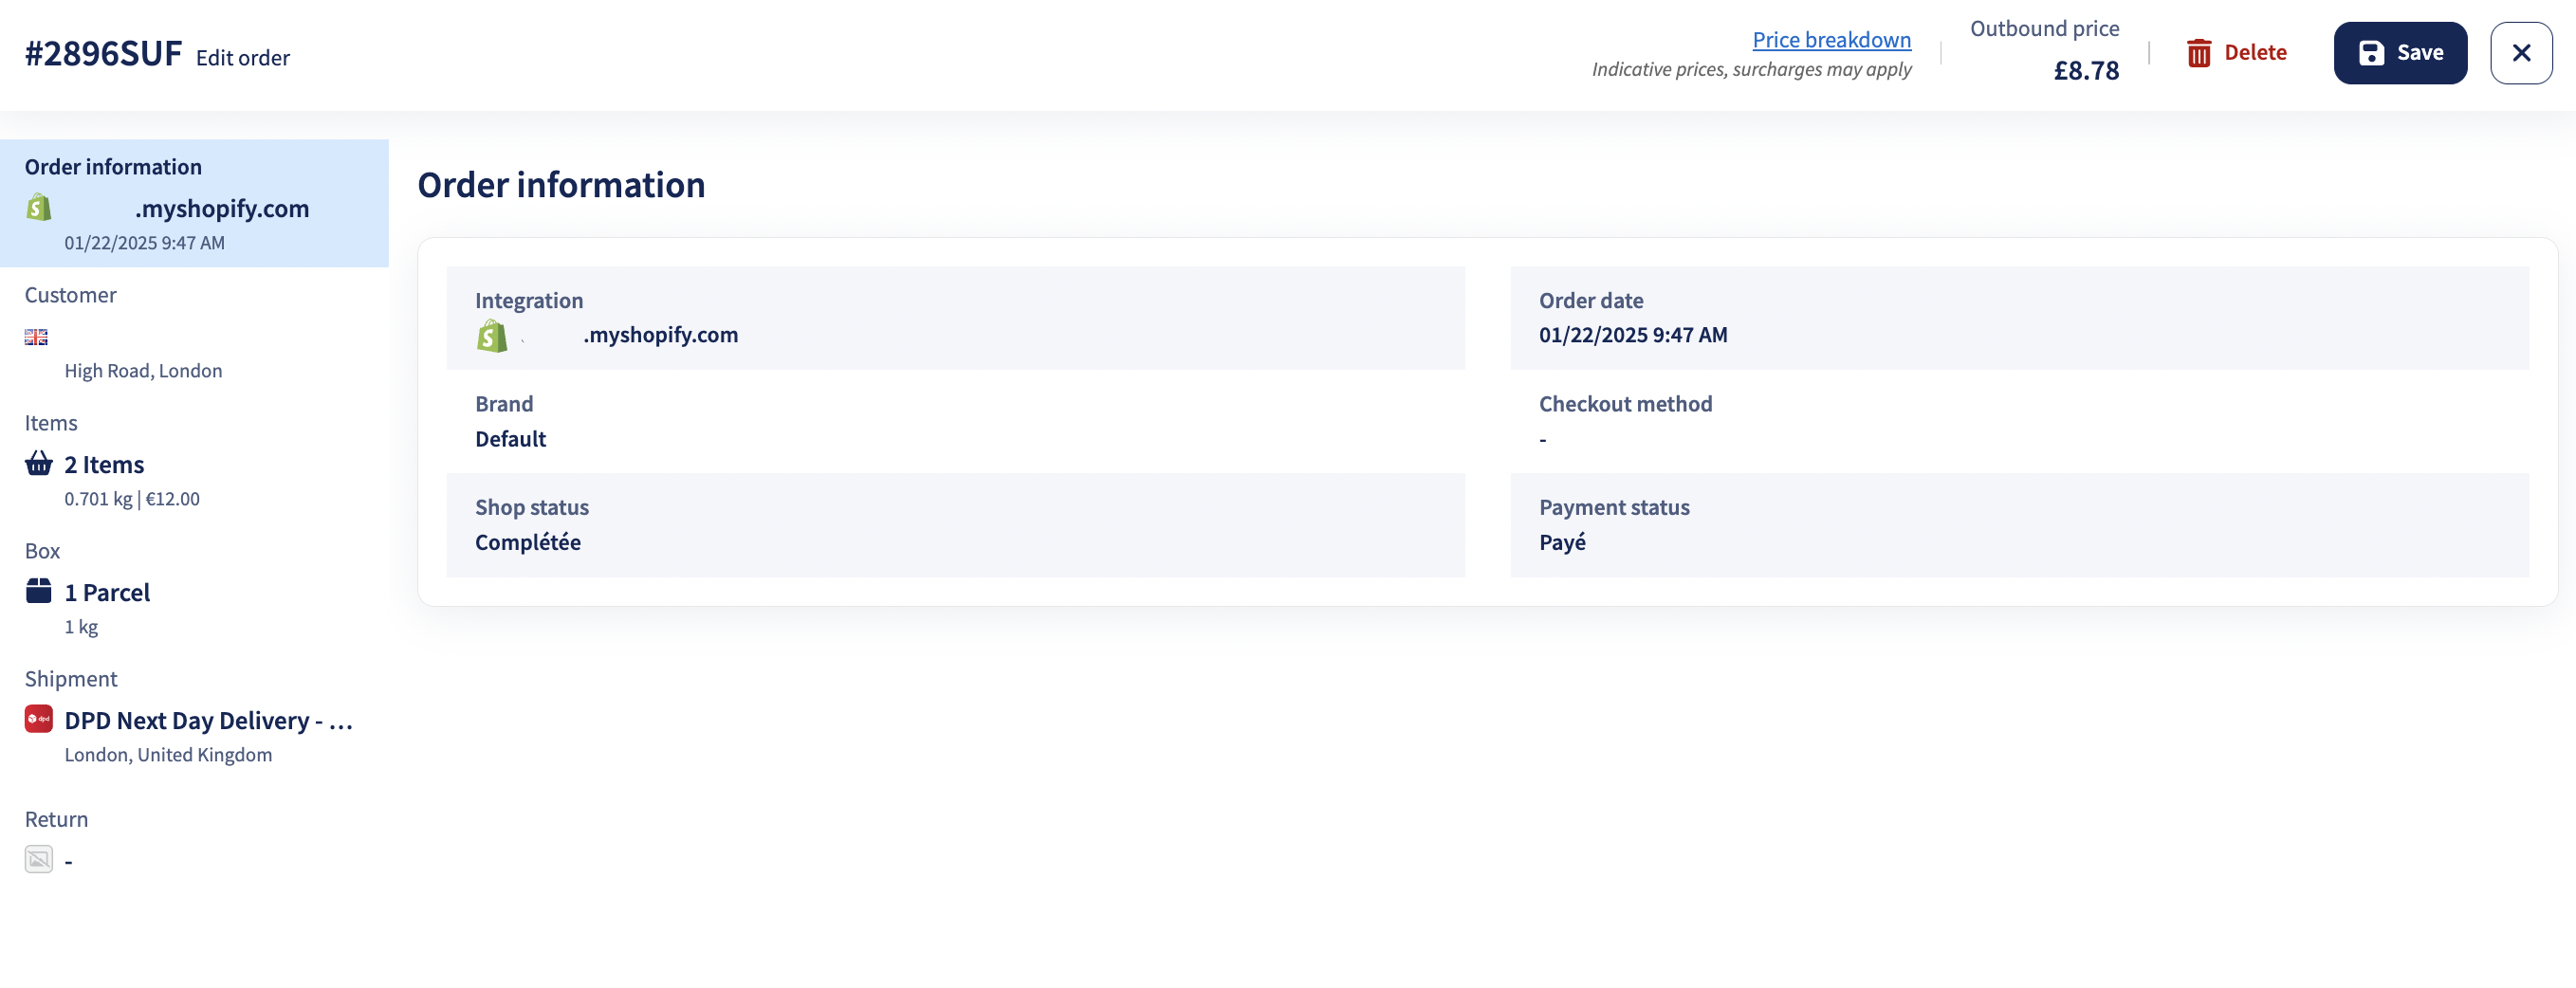
By clicking the pen icon, you can make more changes or corrections to an order. In the order edit view, you can amend the address and contact details of the recipient and change the shipping from (sender address) location.
Step 3b: Edit your orders
- Change carrier and shipping option
- Add additional insurance
- Adjust the number of parcels for multicollo
- Edit shipment weight
- View the parcel volumetric weight
- Enable cash on delivery for suitable shipping options
- View/change a customer's address and contact details
- View information about your shop, brand and the status of the order
-
Change/Add delivery instructions to show either on the label or be provided digitally to the carrier, depending on the carrier
Delivery instructions availability
Not all carriers support delivery instructions. Currently, the carriers that support it are:
Country Carriers AT DHL Freight BE BPost, DPD, DHL Freight, PostNL, PostNL Extra@Home, Transmission DE DPD, DHL Freight ES DHL Freight FR DHL Freight IT DHL Freight NL DPD, DHL Freight, PostNL, PostNL Extra@Home, PostNL Fulfilment, Transmission UK DPD Local, DPD UK, DHL eCommerce UK, DHL Freight
Under Shipment, you can also find Applied shipping rules. If a shipping rule is applied to this order, it will be visible here. If this section does not appear, it means that no shipping rules have been applied. Click here to read our Shipping rules overview and application article.
If you're shipping outside of the EU, you will be prompted to fill in some information about the products in your order, such as the item description, value, country of origin and HS Code. This will then be used to generate your customs documentation.
Step 4. Select your sender address
If you have multiple webshop integrations or shipping locations, you can switch between sender addresses by clicking the "Shipping from" button in the top right of the platform.
Step 5. Set up your printer settings
If you want Sendcloud to save and automatically apply printer settings specific to your laser-jet or label printer, we have created a Print app that you can download by following the steps in this article.
Step 6. Select your orders to process
Orders which are ready to have shipping labels created will have the processing status Ready to process. If a label cannot be created, the order will have the processing status Contains errors. To correct the errors, click the pen icon and add or correct the customer’s address information.
You can either select an individual order to create a label, or select all the orders by clicking the checkbox on the left side of the Incoming orders overview.
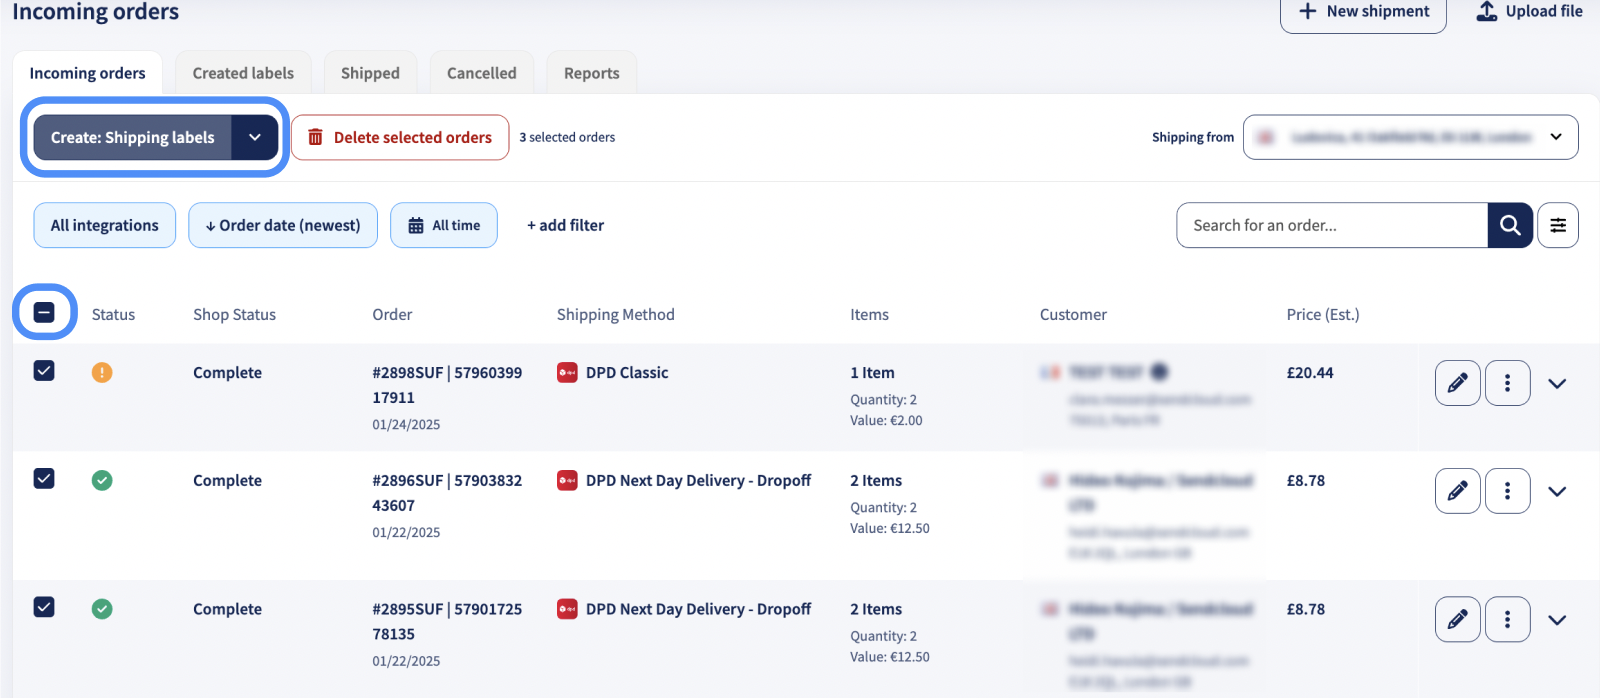
Step 7. Create your labels
When you have selected the orders you want to create labels for, simply press the Create labels button in the top left corner.
If you have followed the instructions in Step 5 and configured your printer settings, your labels will automatically print when you click the Create labels button.
If you have not yet configured your printer and downloaded the print app, your labels will be downloaded to your computer as a .pdf document. If you selected multiple orders, you will receive a multipage .pdf document that contains all the labels you chose to create.
Step 8. Hand over your parcel to the carrier
After you have created and printed your label, the parcel is ready to be handed over to the carrier. Creating a label alone does not mean the carrier will automatically collect your shipment.
You can hand over your parcel in one of the following ways:
- Drop off the parcel at a carrier parcel shop or official drop-off point.
- Arrange a carrier pickup, either as a one-time (incidental) pickup or a recurring pickup, depending on your shipping volume. Learn how to arrange a carrier pickup in this article: How can I request a parcel pick-up?
Once the carrier scans the label, the shipment status will update automatically and the order will move from Created labels to Shipped in your Sendcloud account.
Congratulations! You have just made your first label with Sendcloud. To learn more on how to filter your orders click here. Want to get more out of your Sendcloud account? Click here to see how to set up your Tracking page and emails, and how to set up your Return portal to offer more value to your customers and streamline your logistics process.