Purpose: Learn how to use Pack & Go to automatically prepare and process your orders one by one. This guide will help you efficiently manage your shipments, ensuring each order is ready for immediate dispatch.
What is Pack & Go?
Pack & Go is designed to facilitate easier picking and packing when you have a warehouse, stock room, or packing location. It’s available to users on our Growth and Premium plans and allows you to print packing slips and/or picking lists to process your orders faster, either in conjunction with a bar-code scanner (Load from picklist mode) or without (Chronological Queue Mode). In this article, we will explain how Pack & Go Chronological Queue Mode (formerly Automatic mode) can streamline your workflow for an efficient picking and packing process.
Chronological Queue Mode or Load from picklist mode?
If you have a limited range of products and/or do not require a warehouse walk-through to pick items, Chronological Queue Mode is the ideal Pack & Go mode:
- The orders are displayed on the screen one at a time with a list of products to be included.
This saves time in looking for specific orders or having to manually type details into the search bar in order to locate a label so the associated products can be packed. - You can simply pack the box based on the products in the order as they appear on the screen, print the label and/or packing slip to be included, and then the next order in the queue will appear automatically on screen.
- Orders can be processed using a keyboard or mouse and will appear in order from newest to oldest/oldest to newest, based on your settings.
Read on to see how to configure Pack & Go Chronological Queue Mode and create the ideal picking/packing workflow.
Step 1: Select Chronological Queue Mode
Pack & Go offers the possibility to process orders with or without a scanner. To set up processing without a scanner, visit Settings > Pack & Go settings. Next, select Chronological Queue Mode:

Step 2: Item verification (formerly item packing)
If you prefer, you can select the "Enable item verification" checkbox. By doing so, you activate the ability to scan items as you pack them, providing an extra layer of verification before creating the shipping label.
You can choose to create labels when:
- Always allow
The item scanning is related to the EAN code. Therefore, this option is only available for integration where we import the EAN code.
Compatible integrations:
ccvshop
- Shopify
- Prestashop
- Lightspeed
- Bol.com
- Etsy
- Amazon
- WooCommerce V2
- Magento
Optional features
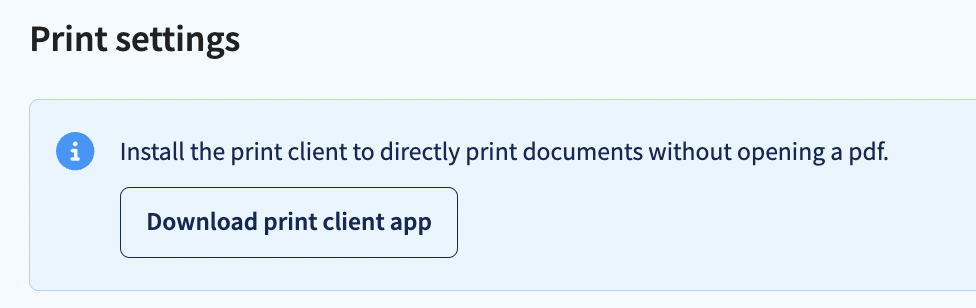
Installing the Print App
Downloading our Print Client is optional if you wish to use Pack&Go.
While it allows you to automatically print labels and packing slips/picking lists as you process them within Pack & Go, it is not mandatory. You can still use Pack & Go without the Print Client. If you choose to download it, go to Shipping > Printing options, and you will be prompted to download the app and configure your printing defaults. For more help setting up your printer, click here.
Set up smart Shipping Rules
Once your printer settings are configured, we recommend you set some Shipping Rules to fully automate your packing process.
Click here for a guide on how you can use Shipping Rules to automatically allocate specific shipping methods to certain types of orders, or insure parcels of a certain value by a set amount, and many more options.
Setting up shipping rules reduces or removes completely the need to individually edit orders as they appear in the queue. This saves you valuable picking and packing time and creates the ideal workflow to maximize your time-saving and cost-efficiency!
Set up the boxes feature
In Shipping > Boxes, you can even add some details related to your standard packaging materials and combine these with Shipping Rules. For example, you can set a rule that all orders above a weight of 5kg should be packed using "Box 2- Double Strength". When the order appears on the screen, the person packing the order will be prompted to use Box 2 for orders weighing 5kg+.
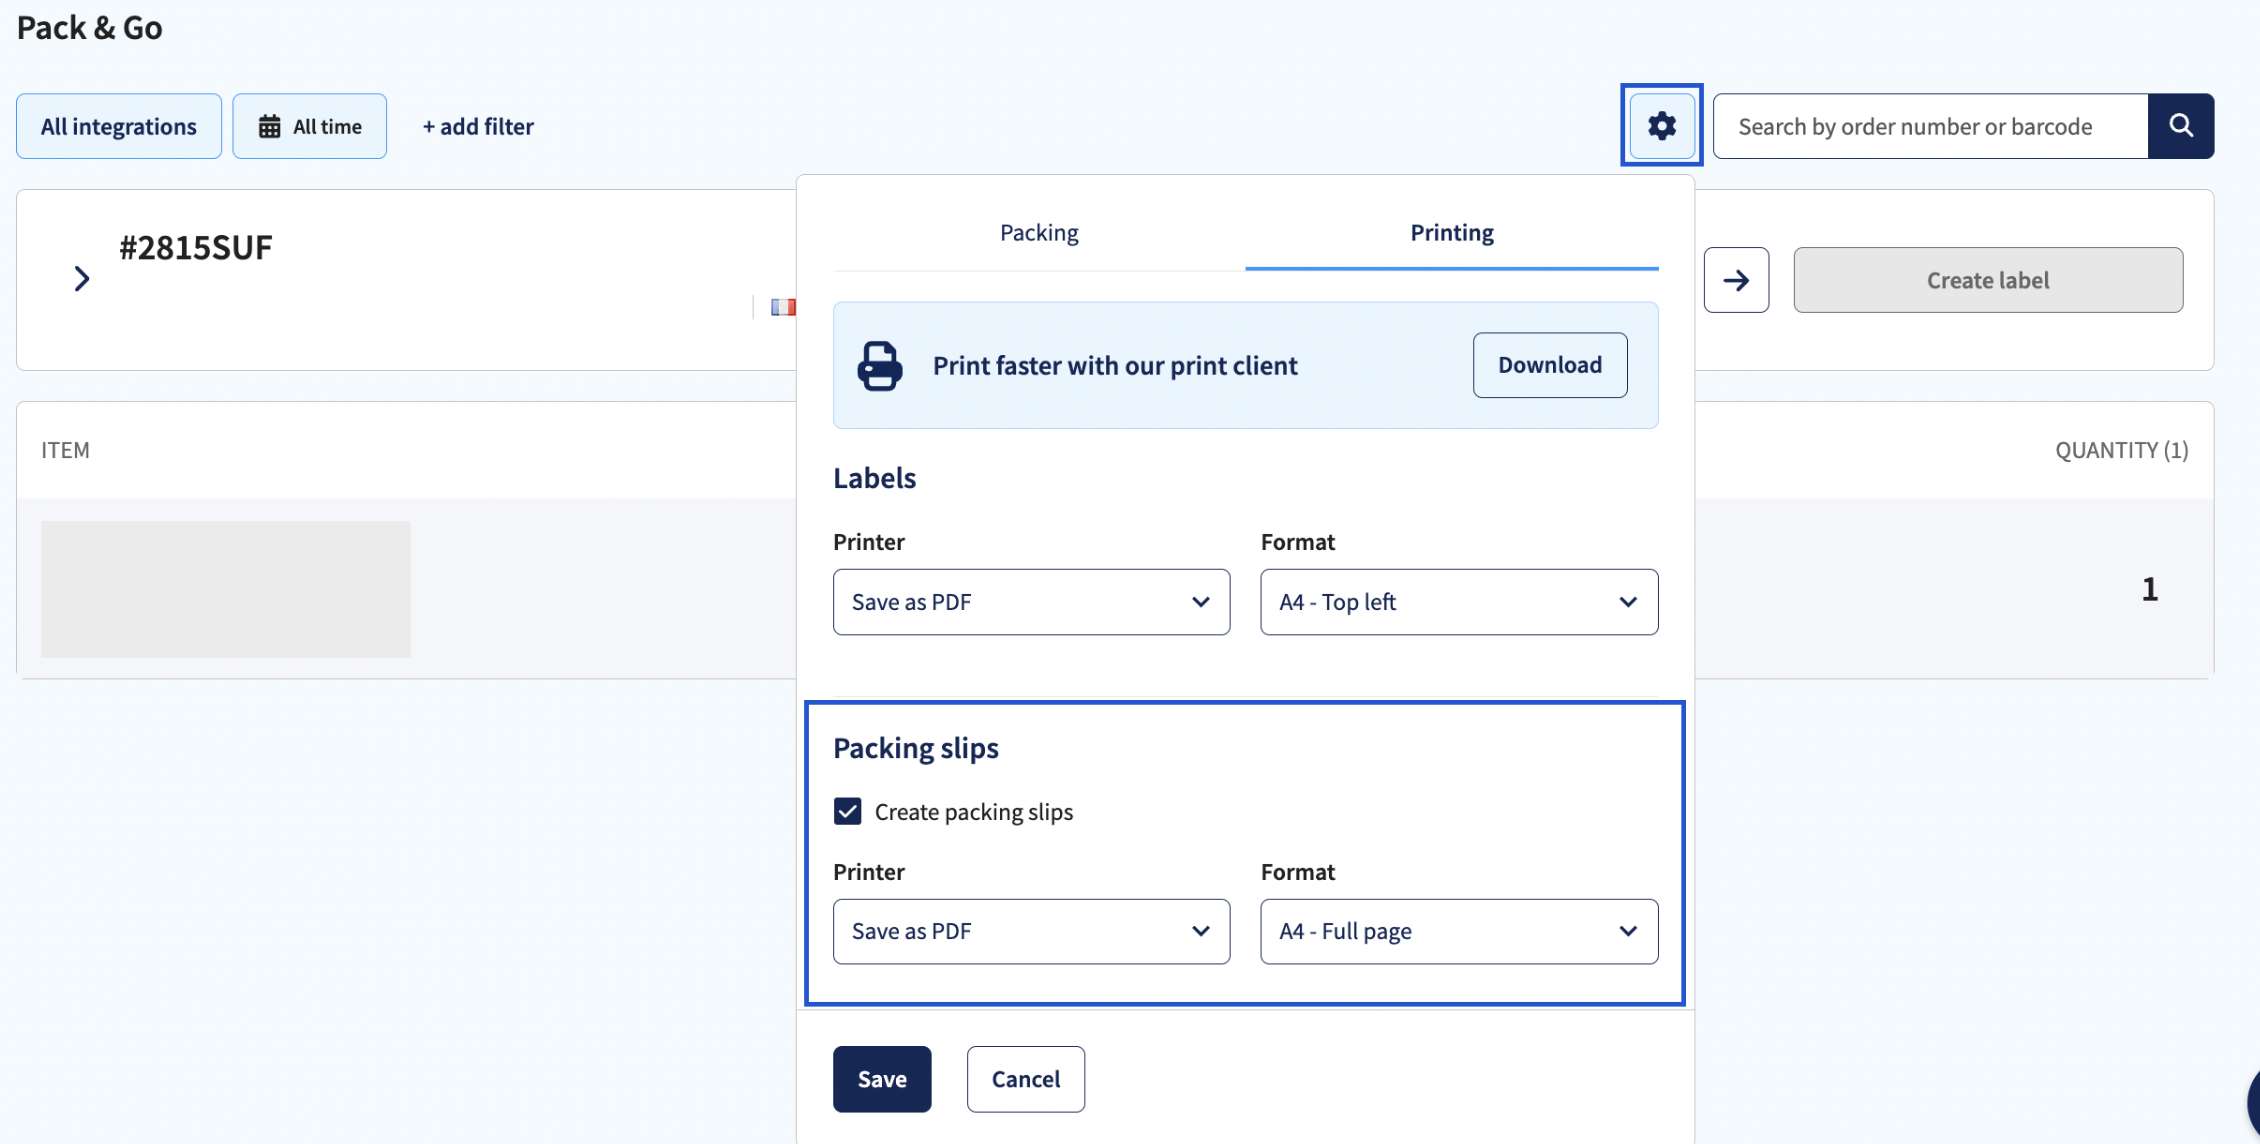
Step 3: Print options
In the Pack & Go tab, you can select whether or not you want to automatically print packing slips alongside your labels:
Go to Shipping > Pack & Go > Click on settings > Select Create packing slips and select the A4 printer you wish to use.
See how it looks in the panel
Step 4: Start processing your orders
Once your settings are set up, it's time to get packing! Click on Pack & Go and you will see that the orders received from your webshop integration will appear one by one on your screen:
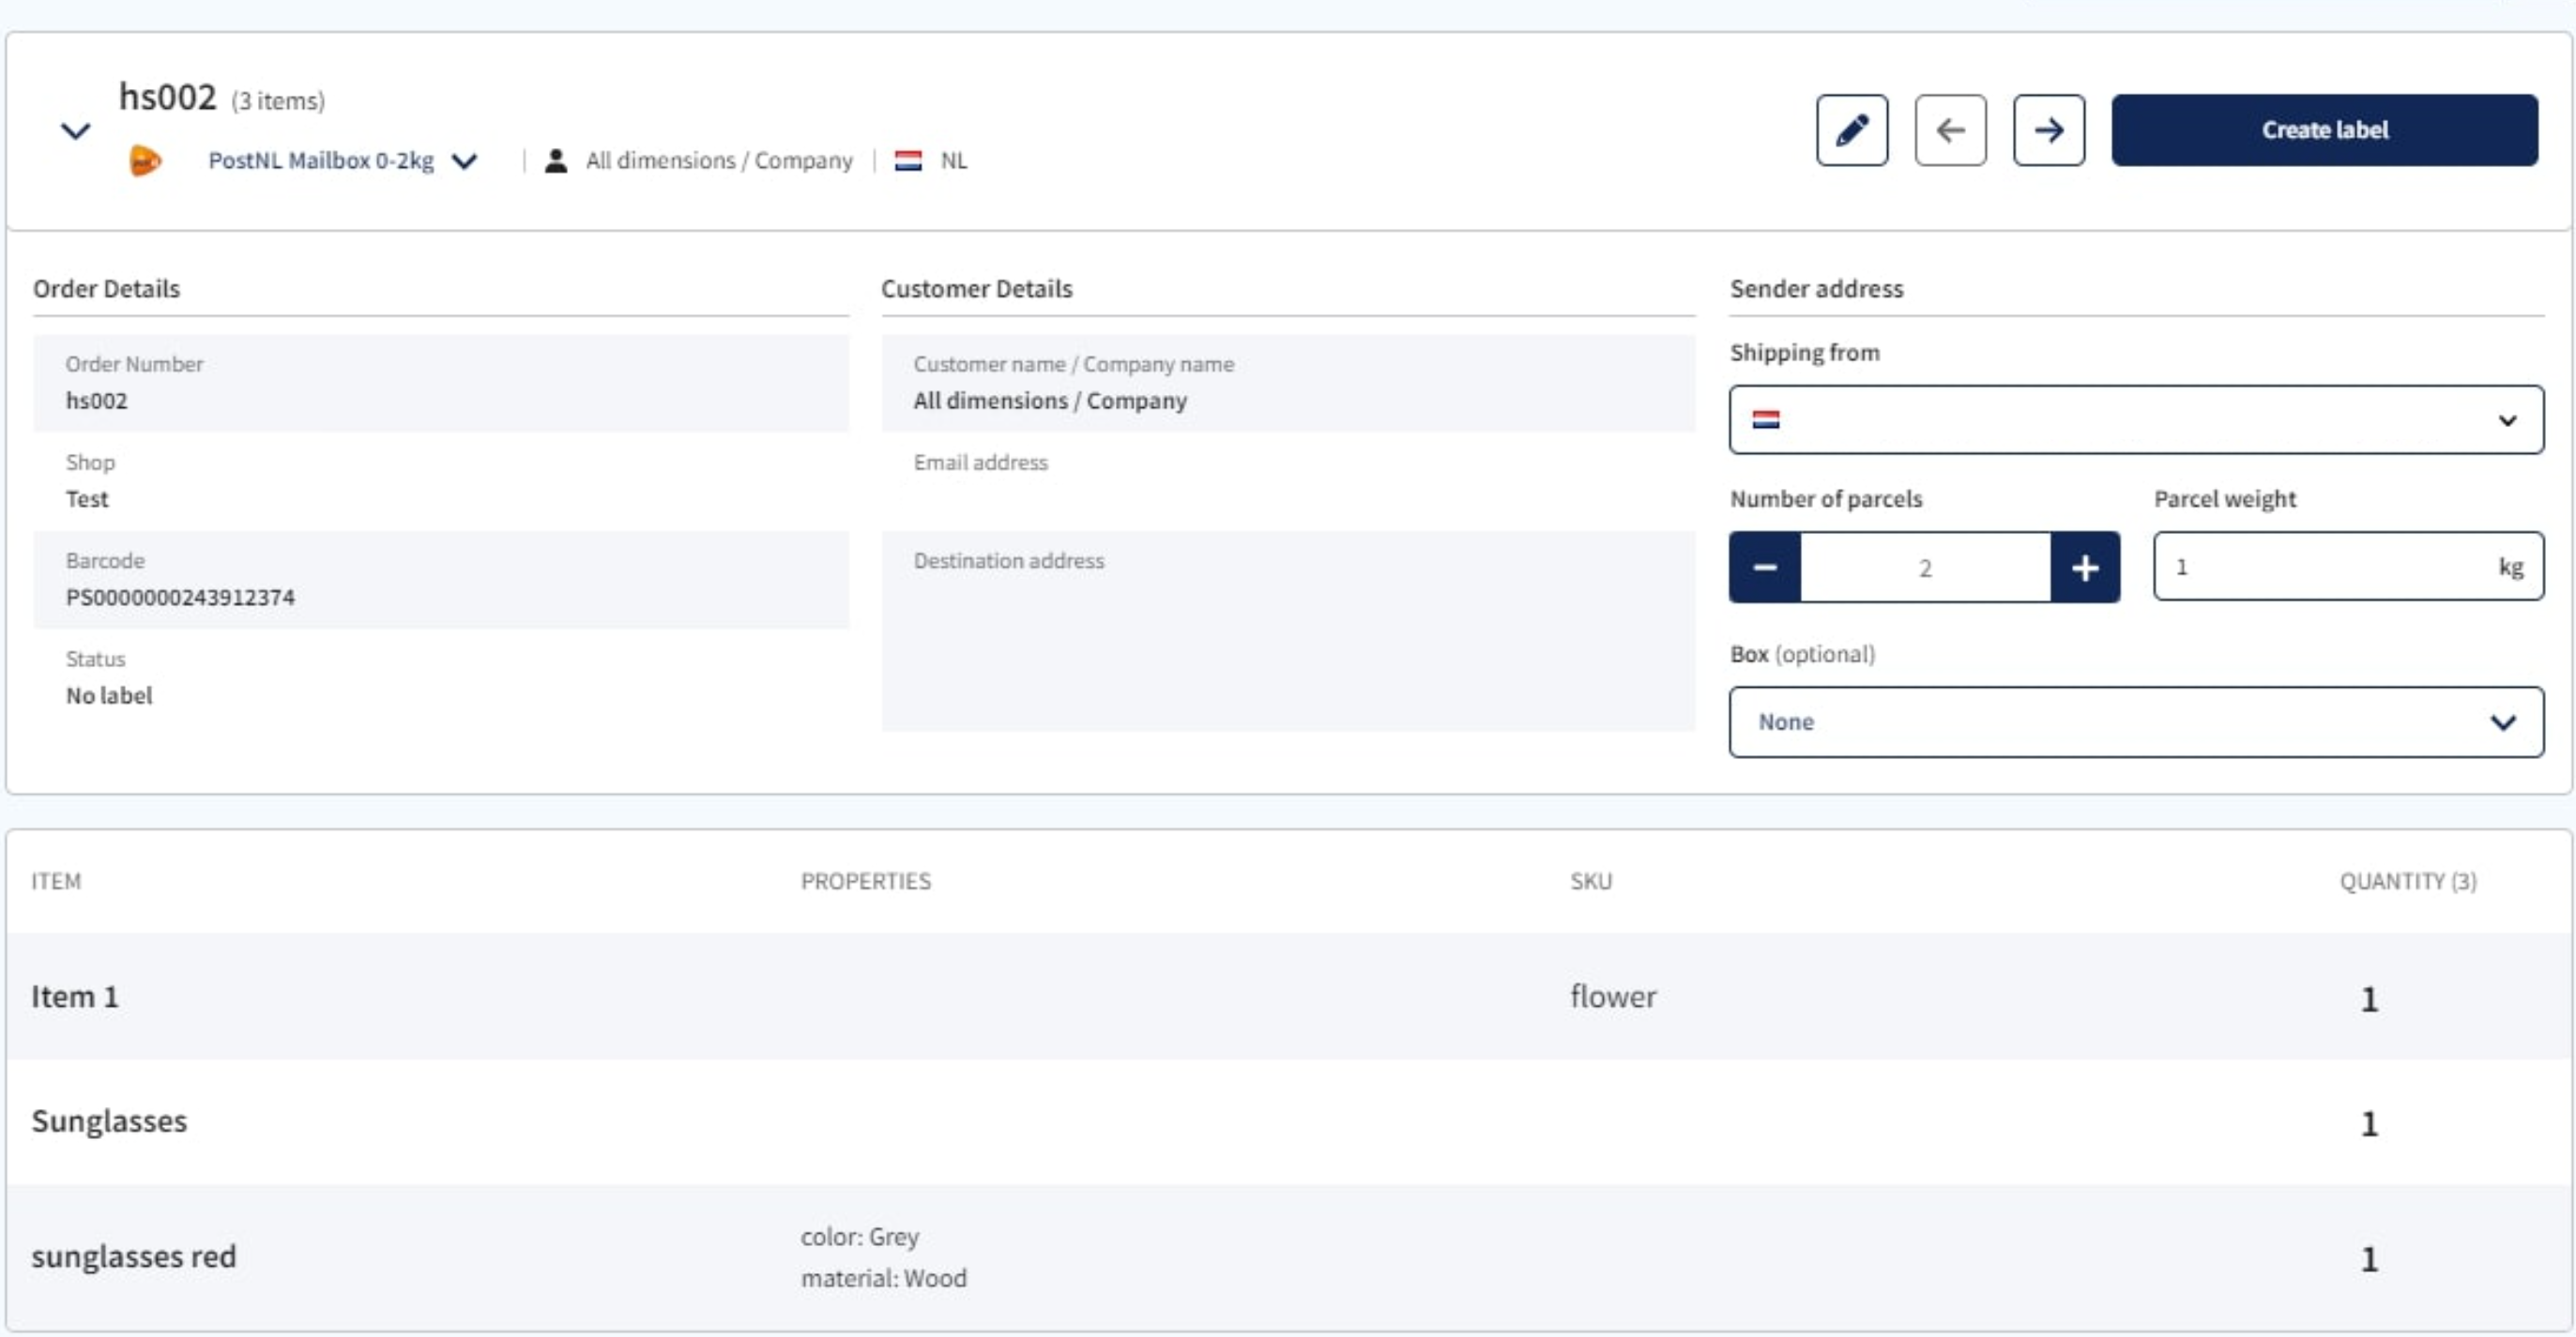
The items included in the order are listed on the page. If you have a limited range of products and/or do not require a warehouse walk-through to pick and pack items, Chronological Queue Mode is the ideal Pack & Go mode to simply pack the box based on the products in the order as they appear on the screen.
- If an order has errors such as a missing house number or incorrect postcode, you will be prompted to correct the order by clicking the pen icon + Edit button before proceeding.
- If a shipping rule has been applied to the order based on the rules you have already configured, the blue lightning bolt icon will appear, as in the example above.
Filter your orders
You can filter your orders to help packers process and pack only the correct orders. This way, the packer will not have to search manually for the relevant orders, as they will all show up in the screen together with the items. E.g.: The packer needs to focus only on the urgent orders that will be shipped with a specific carrier.
You can use the following filters:
- Carrier
- Date Range
- Integration
- Item Quantity
- Order tag
- Payment Status
- Shipping method
- Shop
- SKU
Click the relevant filter and select your preference from the drop-down menu, then click Apply selection.

Step 5: Edit your order
In the menu on the right side, you can adjust the sender address and/or the shipping method and weight.
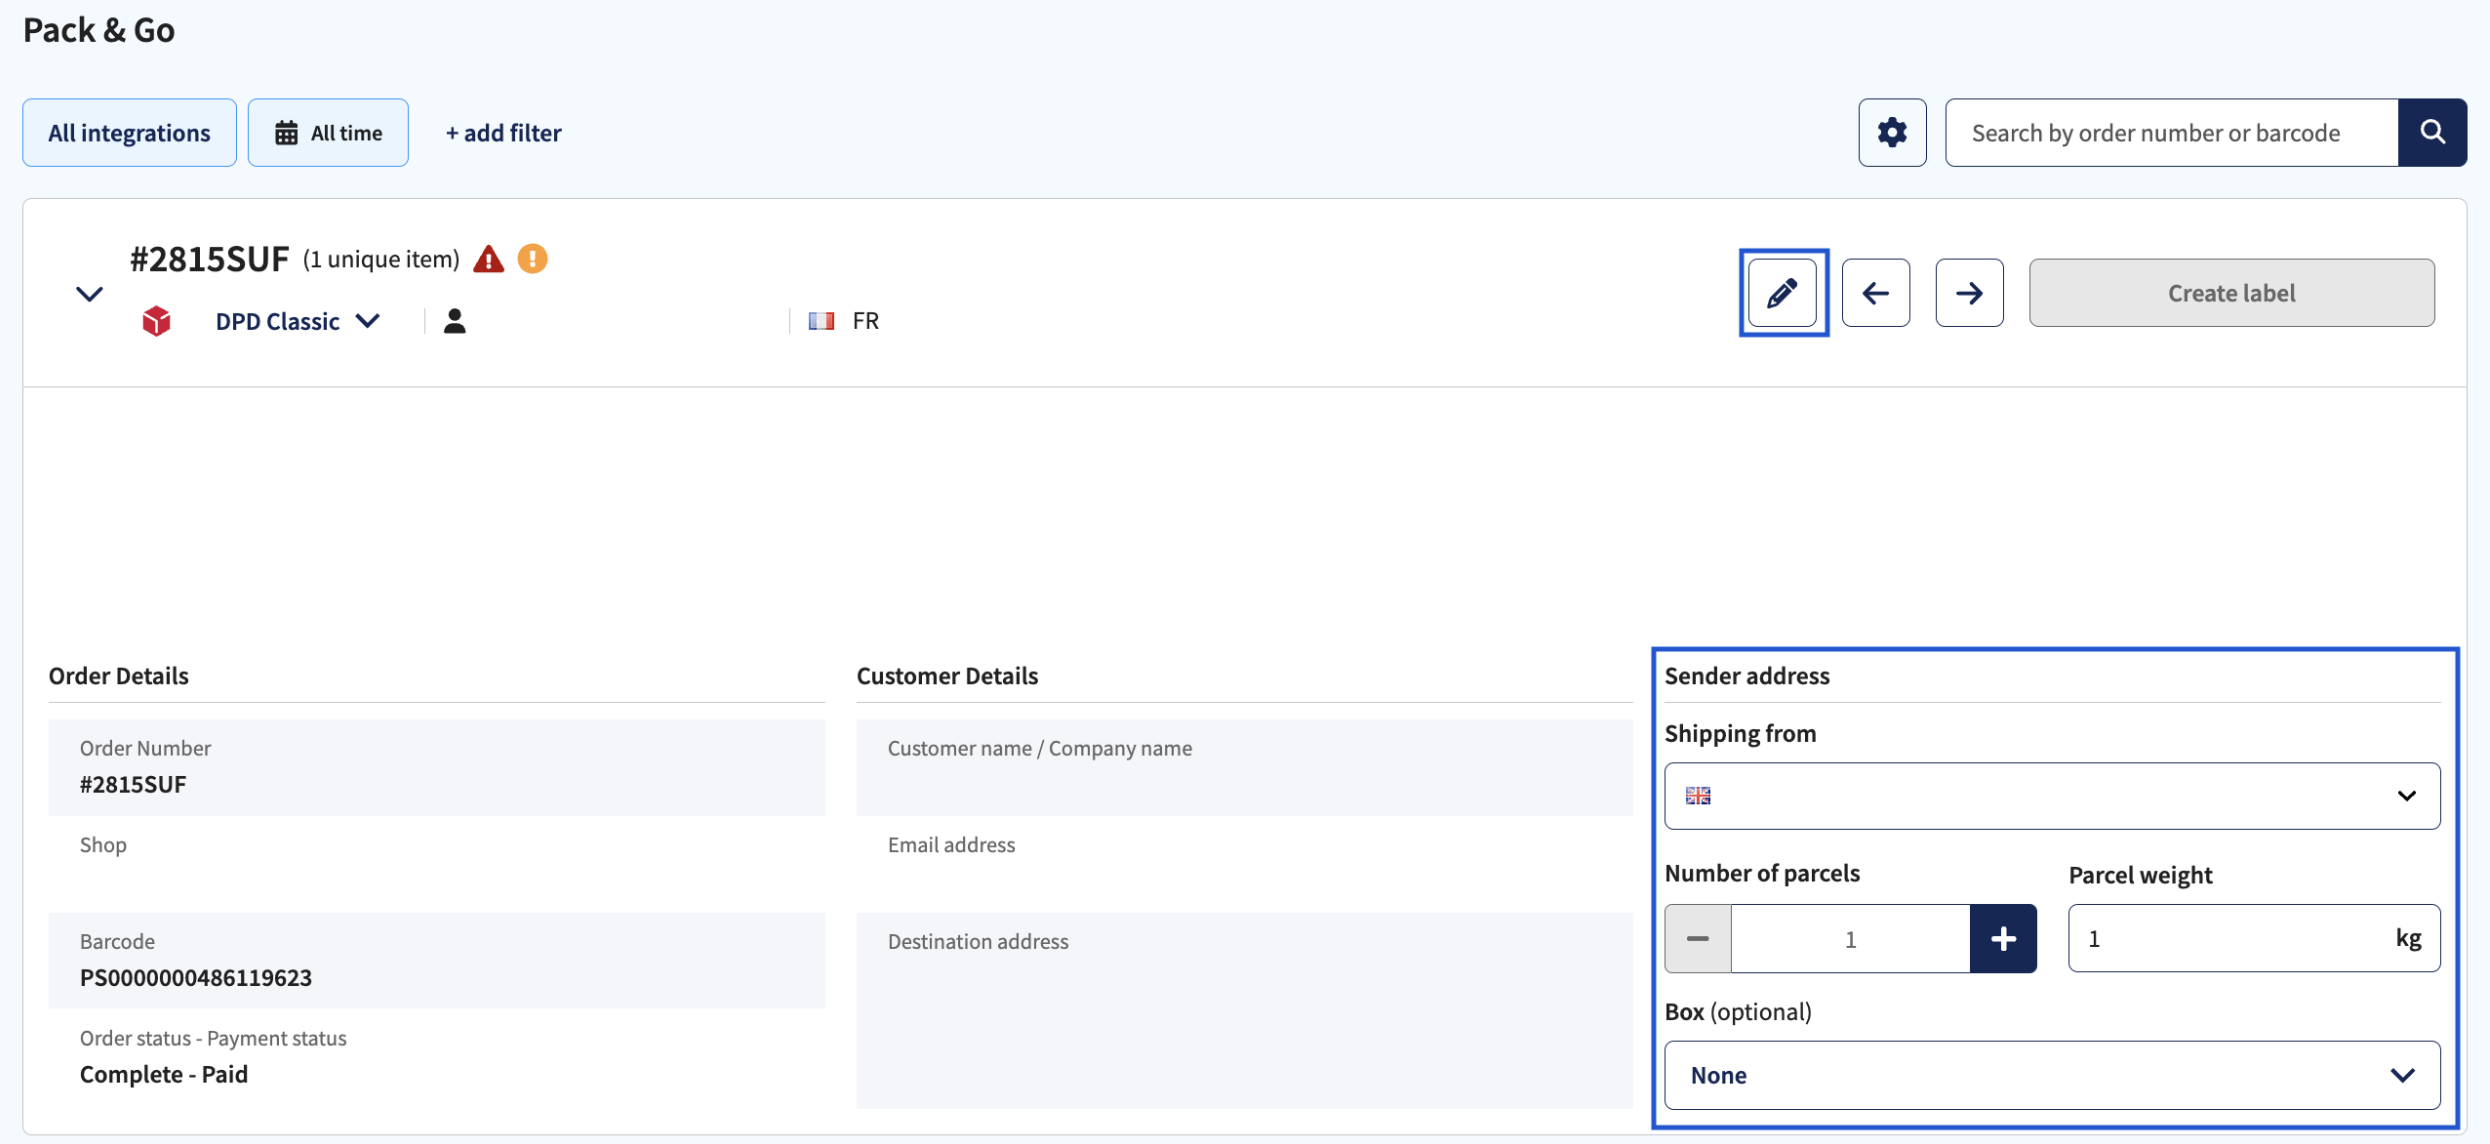
This is why it's handy to set up your Shipping Rules - for example, if you have set up a Shipping Rule to indicate that all orders shipping to a specific country should be shipped with a specific shipping method, you won't need to manually edit the order in this menu because the rule will be automatically applied. You can simply process orders one by one as they appear, knowing that the correct rules are automatically applied without any manual editing!
Step 6: Create label and print
When the order is picked, press Create label to print your label and/or packing slip. Once processed, you will automatically proceed to the next order in the queue. Don't forget to include your packing slip in the box if you choose to print one - click here to read more about how packing slips and picking lists work.
If you want to skip an order in the queue for now, just press the next button. The order you skipped will still be in the queue for when you want to go back to it later. Simple!