
Purpose: In this article, we explain how you can add rates for your Dynamic Checkout shipping methods. You can enter them manually, or let Sendcloud fetch them for you automatically.
WooCommerce V2 supports Dynamic Checkout through the Sendcloud Dynamic Checkout plugin. See Set up Dynamic Checkout for WooCommerce for the complete installation and setup instructions.
What can I do with Dynamic Checkout rates?
Dynamic Checkout lets you fully customize the shipping rates you offer to your shoppers.
- Set a rate per weight class for each shipping method. If you ship with a single carrier using Sendcloud's own rates (also called transactional or TRX rates), Sendcloud can fetch these rates for you automatically instead of entering them by hand.
- Add shipping rates directly in Sendcloud for any of the available Dynamic Checkout delivery options: Nominated Day, Same Day, Standard Delivery and Service Point Delivery.
- Enable free shipping above a certain amount.
How to set your shop currency in Sendcloud
- In Sendcloud, go to Settings > Dynamic Checkout > click on Edit next to your integration
-
From the dropdown menu, select the currency of your webshop (you can search the list via currency code, e.g. USD) and click on Change currency
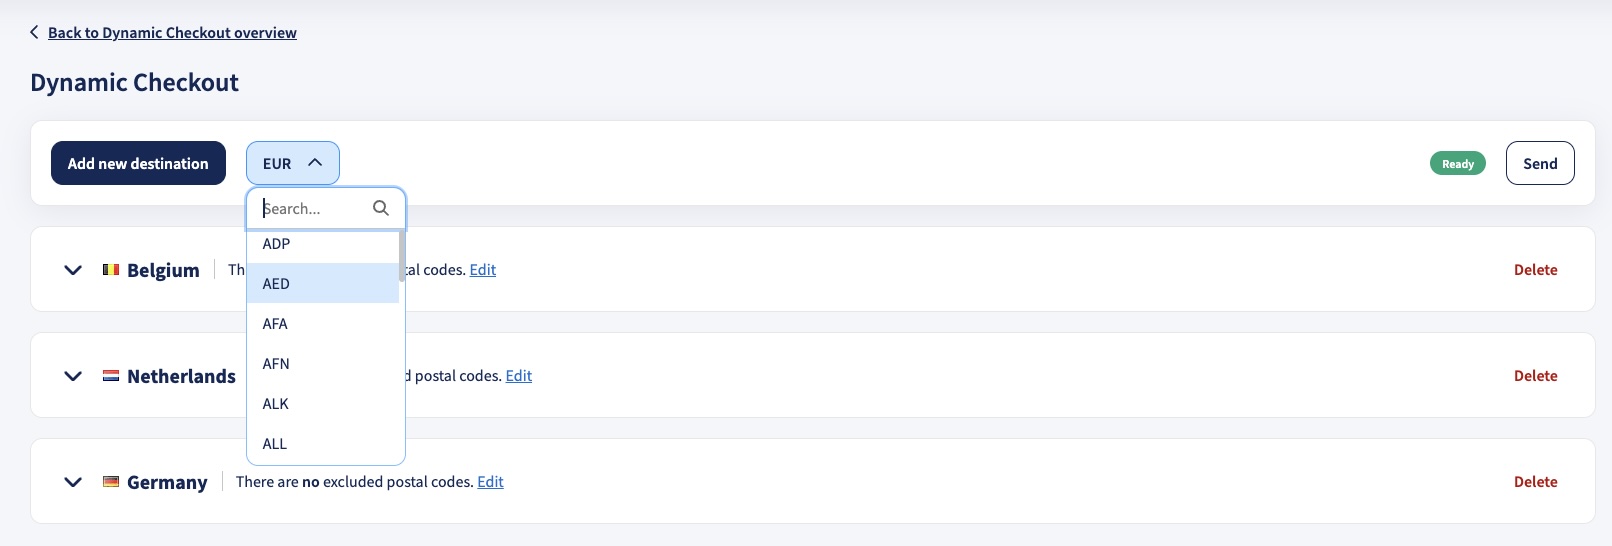
- Rates will now be displayed in Sendcloud in your selected currency.
Step 1: Enable shipping rates in Sendcloud
- To add rates for existing shipping methods, go to Settings > Dynamic Checkout > Edit > click a Delivery Zone > select
Edit next to the method you want to configure
- Go to the Shipping rates step in the delivery method editor
-
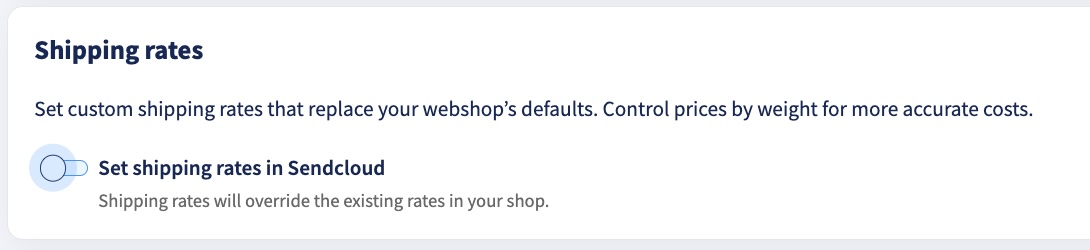
Click
Set shipping rates in Sendcloud to enable shipping rate configuration via Sendcloud
Step 2: Add your weight classes and rates
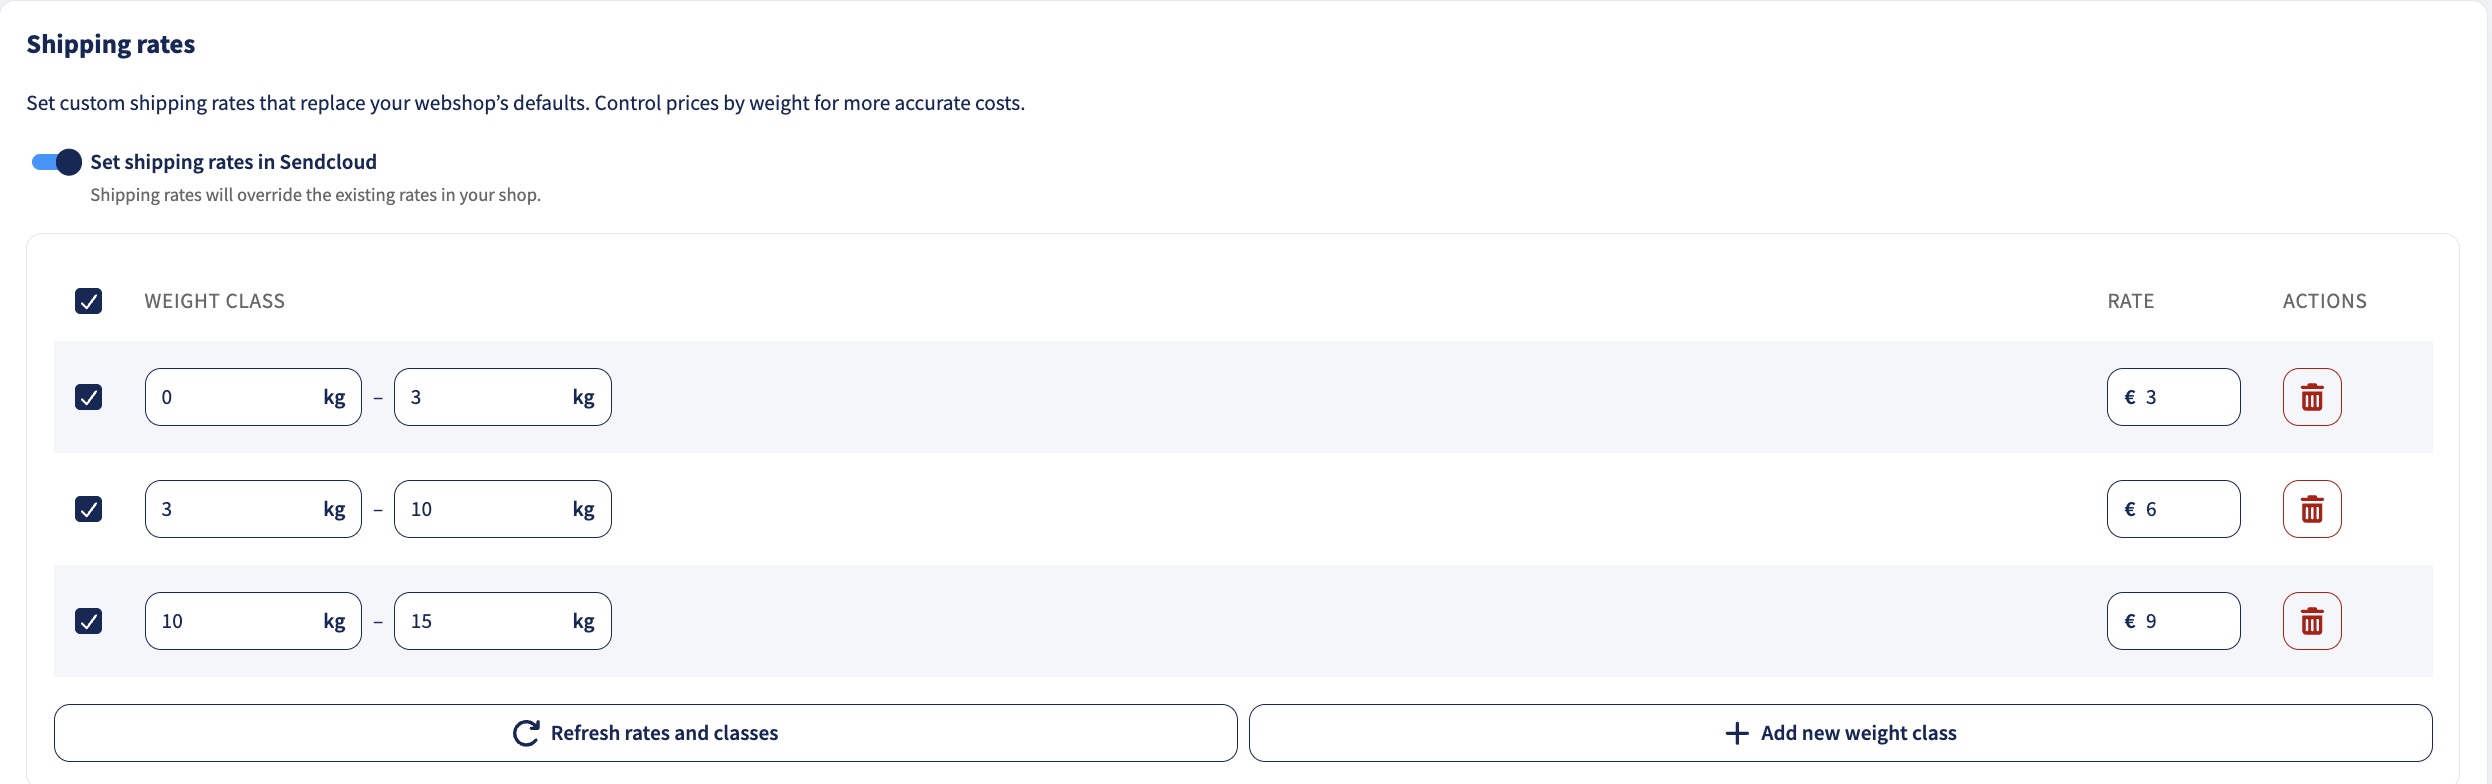
Once shipping rates are enabled, you'll see a table where you set a price per weight class for this delivery method.
- Tick the checkbox next to a weight class to enable it.
- Enter the minimum and maximum weight for that class.
- Enter a rate for that weight class, or use automatic fetching. See below.
- Click Add new weight class if you want to add another weight range, for example if the shipping service you selected covers a very broad range.
Exceeding weight limits
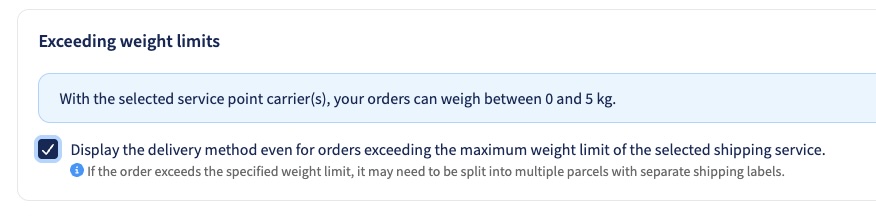
In the Shipping service step, you can enable Display the delivery method even for orders exceeding the maximum weight limit. This shows the delivery method to shoppers even when an order weighs more than the shipping service's normal maximum. It's available for every delivery method, not only Service Point Delivery.
If you enable this, add a separate weight class manually to cover the extra weight range, and enter a rate for it manually. Automatic fetching never covers this extra weight class, even when it successfully fills in the rest of your table.
Fetching your rates automatically
If you ship using Sendcloud's own rates, you can let Sendcloud fill in the rate for you instead of typing it in by hand. For Service Point Delivery, this only works if you've selected a single carrier for the method. If you've selected more than one, add your weight classes and rates manually instead.
- Tick the checkbox next to the weight class you want to fetch a rate for.
- Click Refresh rates and classes.
If a rate is found, the field is filled in automatically and you'll see this message:
You can still adjust the rate afterwards if you want to charge something different. If you make changes to your carrier setup later, click Refresh rates and classes again to pull in the latest rate. Since this replaces what's already in the table, you'll be asked to confirm:
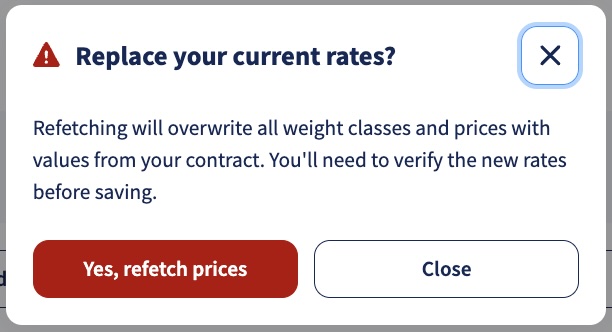
Click Yes, refetch prices to continue, or close the pop-up to keep your current rates.
If exceeding weight limits are enabled for this method, add the extra weight class and enter its rate manually. Automatic fetching never fills this in, even when the rest of your rates are fetched successfully.
What if my rates can't be fetched?
Automatic fetching doesn't work in every case.
If you ship with your own direct carrier contract rather than Sendcloud's rates, you'll see this message:
If more than one carrier is selected for this delivery method, you'll see this message instead. This can happen, for example, when setting up Service Point Delivery with several carriers:
In both cases, the weight classes from your shipping service are still filled in for you. Only the rate is left empty for you to enter manually.
How do weight classes work?
You can set different shipping rates based on the total weight of the order when all the items are packaged into the same box.
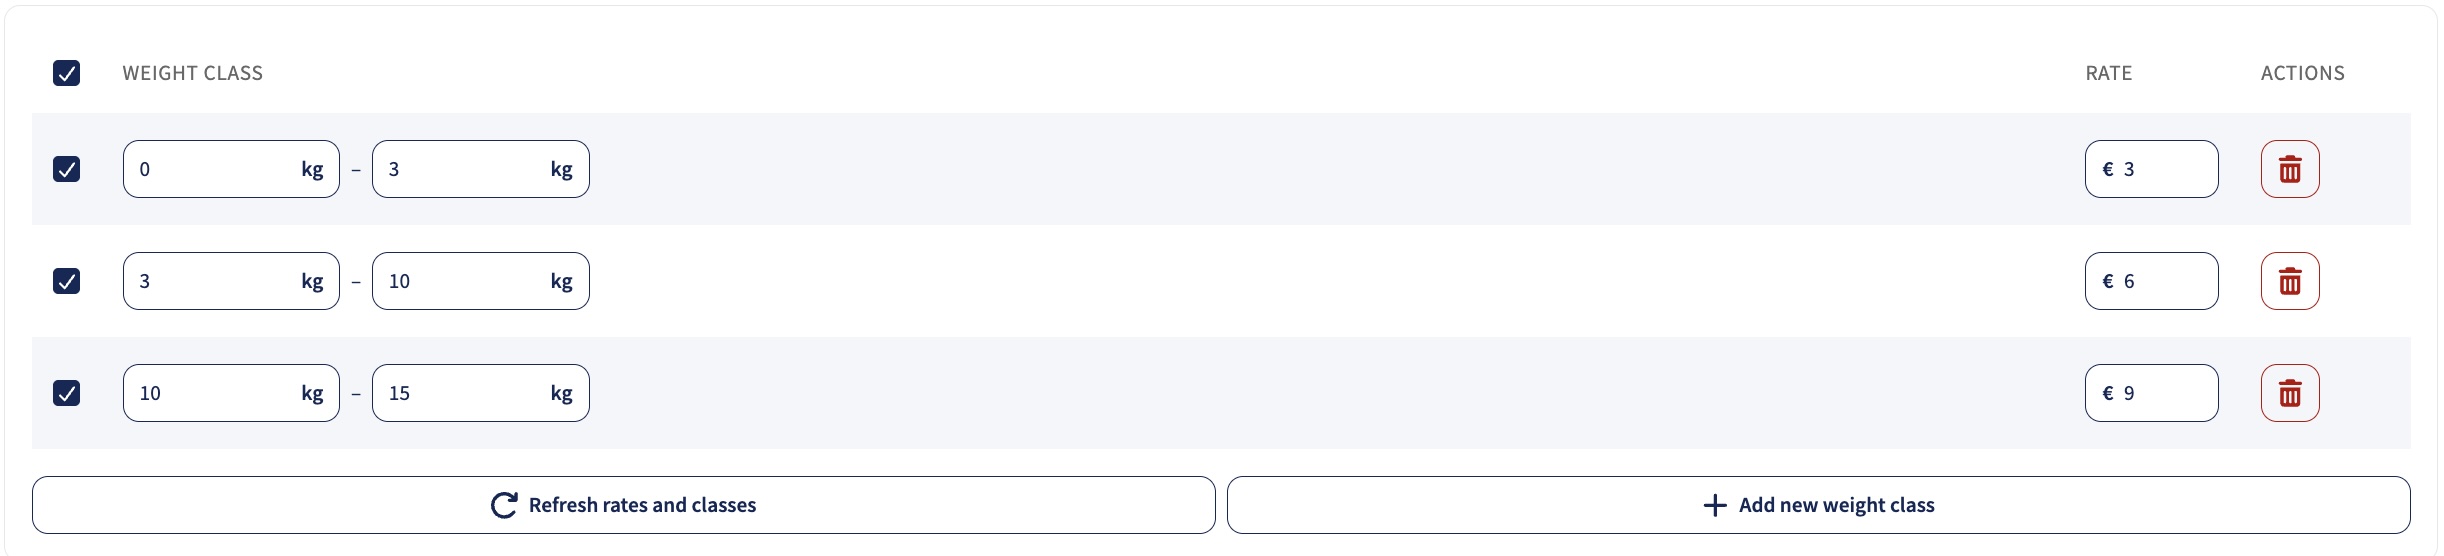
- The shipping price shown to your shoppers at checkout will be based on the total order weight.
- E.g. In the example above, if the order weight is 6 kg, your shopper will be charged 3.00 EUR.
- If the order weight is 6.01 kg, the shopper will be charged 5.00 EUR.
- If the order weight falls within a weight class that you have disabled, this delivery method won't be displayed at checkout.
- E.g. In the example above, if the order weight is above 20 kg, this delivery method won't be displayed.
- If the shopper removes some items from the cart, and the weight is now 19 kg, the method will appear on the checkout page with a delivery cost of 9.00 EUR.
- If the order weight goes beyond every weight class you've set up, this delivery method won't be shown at checkout by default. Enabling Display the delivery method even for orders exceeding the maximum weight limit changes this: the method stays visible, but you still need to add a weight class yourself to set a price for that range.
Step 3: Enable free shipping above an order value
You can offer free shipping to your shoppers over a specified cart value by editing a shipping method and enabling the Offer free shipping option. Enter a value into the From amount field to have free shipping apply for orders with a total value above this amount.

Step 4: Continue configuring your Dynamic Checkout methods
Return to the set-up guide for your shipping method to continue adding Holidays, specify your Cut-off times, and to save and publish your configuration.