
Purpose: Learn how to manually create a shipment in Sendcloud, enter your customer's delivery details, add parcels and items, select a shipping option, and create a shipping label.
You can manually create shipments in Sendcloud for orders that haven't been imported from your online store or uploaded through a file.
Step 1: Open the form and enter your shipment details
- In your Sendcloud account, go to Shipping > Orders.
- Open the Incoming orders tab and click + New shipment.

- In the Your shipment section, select the Sender address from which you want to ship.
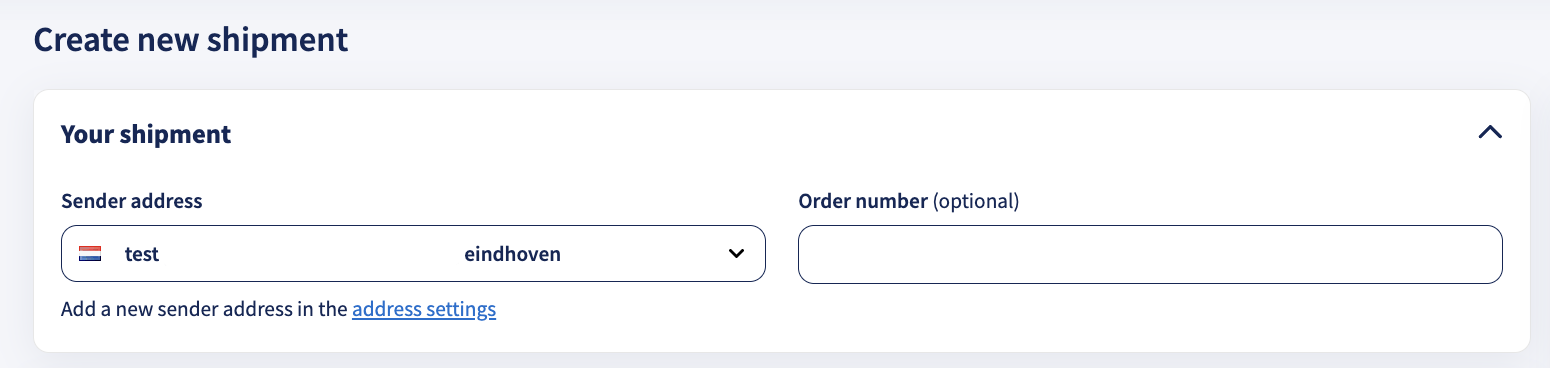
- Optionally, enter an Order number to identify the shipment.
Shipping defaults
Some fields may already be filled in based on your shipping defaults, such as parcel weight or your preferred shipping option. You can manage these preferences under Shipping > Shipping defaults.
For more information, read How to set up your default shipping settings.
Step 2: Enter your customer's information
In the Customer information section, enter the recipient's delivery details.
The form includes the following fields:
- Name: Recipient's name.
- Company name (optional): Recipient's company.
- Email: Recipient's email address.
- Phone number: Recipient's telephone number.
- Destination country: Country where the parcel will be delivered.
- City: Destination city.
- Street name: Delivery street.
- House number: Building or house number.
- Postal code: Destination postal code.
- Address 2 (optional): Additional address information, such as an apartment or suite number.
Use or save a contact
If you've previously saved the recipient's details, use the contact dropdown at the top of the section to search for and select an existing contact. The corresponding fields will be filled in automatically, and you can still edit them.
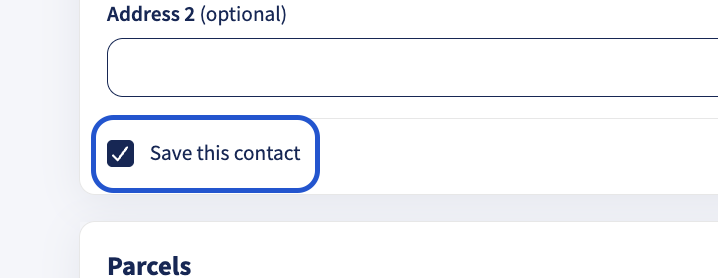
To save a new contact, enter the recipient's details and select Save this contact at the bottom of the section.
Additional information for international shipments
When a shipment requires customs clearance, additional fields appear automatically in the form. These help you provide the information needed for customs documentation.
Receiver's tax registration numbers and importer of record
The Customer information section may display the following additional fields:
- Receiver's tax registration numbers: Add applicable tax registration details by selecting + Add tax registration number. These details are recommended for customs when applicable.
- Importer of record: Identify the party responsible for the imported goods. If the importer is the recipient, leave Details the same as the receiver's selection.
International information and customs declarations
When customs information is required, an additional International information section appears automatically between Customer information and Parcels.
Depending on the shipment, you can enter:
- Export type: Select the type of export, such as Commercial B2C.
- Export reason: Select the reason for sending the goods.
- Tax registration numbers: Enter the sender's applicable VAT, EORI, and destination tax numbers. Where available, these details may be filled in automatically from your sender address or shop.
- Total declared value: The sum of the declared values of the order's items.
- Discount: Enter any remaining discount not already reflected in the item values.
- Freight costs, insurance costs, and other costs: Enter the applicable costs paid by the customer.
- Total invoice amount: The total declared value after discounts, including the applicable additional costs.
- Invoice number and invoice date: Provide the relevant invoice details.
Under Notes & statements, you can also add general notes or additional declaration statements when applicable.
For more information about international shipping and customs requirements, read How to ship internationally with Sendcloud.
Step 3: Add your parcels and items
In the Parcels section, enter the details of each parcel you want to ship.
- Enter the Parcel weight in kilograms.
- Under Box, select a saved box or choose Enter dimensions manually.
- If needed, enter the parcel's Dimensions in L x W x H in centimetres. Dimensions may be required for certain carriers or shipping options.
- To include another parcel, click + Add parcel. Alternatively, click Duplicate on an existing parcel to create a copy.
To learn how to create and manage saved boxes, read Boxes feature.
Add items to your parcels
To add products to a parcel, click + Add item. You can also select an existing product from the Saved products dropdown.
The Parcels section offers two item-entry modes:
- Items quick entry: Displays the basic product information for shipments without customs requirements.
- Items customs entry: Displays additional product information needed for customs documentation.
Items quick entry
Use this mode to enter basic product information without additional customs fields.
For each item, you can enter:
- Saved products (optional): Search for and select a product you've already saved.
- Description (optional): A short description of the item, up to 50 characters.
- SKU (optional): Your Stock-Keeping Unit used to identify the product.
- Quantity: Number of units of the item.
- Value (optional): Price of one unit, without discounts.
- Weight (optional): Weight of one unit.
The form also displays the calculated Total weight and Total value for the item.
Items customs entry
Use this mode when your shipment requires additional product information for customs.
In addition to the basic item fields, the form can display:
- Origin country: Country where the item was originally produced.
- HS code: Harmonized System code used to classify the product.
- Intended use (optional): Code indicating how the item is intended to be used, when applicable.
- Material content (optional): Material composition of the product, such as 100% cotton.
- EU Deforestation Regulation (EUDR): Select the checkbox if the product is made from or derived from relevant commodities covered by the regulation, when applicable.
HS Code Recommender
You can use the HS Code Recommender to find the appropriate HS code for your item. In the HS code field, enter an HS code, part of a code, or a product description in English. A dropdown list of matching HS codes and product descriptions will appear. Select the code that best matches your item.
You can also look up HS codes using the European Commission's TARIC consultation tool .
To add more products to the same parcel, click + Add item again. To remove an item, click the red trash icon next to it. You can also click Delete all to remove all items from that parcel.
Step 4: Select a shipping option
In the Shipping options section, select the carrier and shipping service you want to use.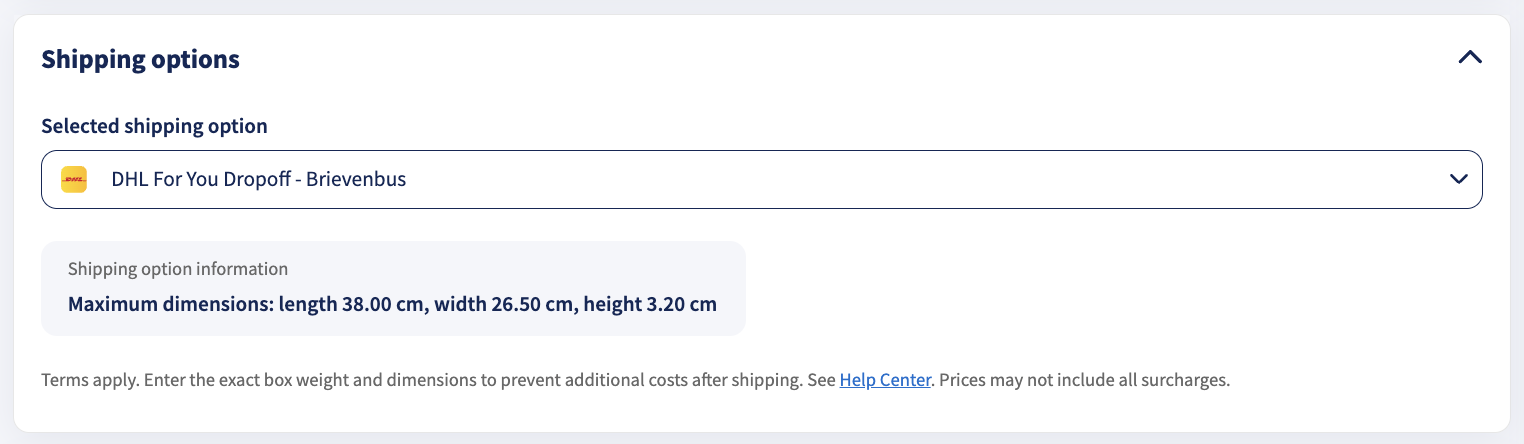
- Open the Selected shipping option dropdown.
- Choose the shipping option that best fits your shipment.
- Review the Shipping option information box, which displays relevant shipping restrictions, such as maximum parcel dimensions.
Step 5: Enter additional shipment details (Optional)
Expand the Shipment details section if you want to provide additional order information.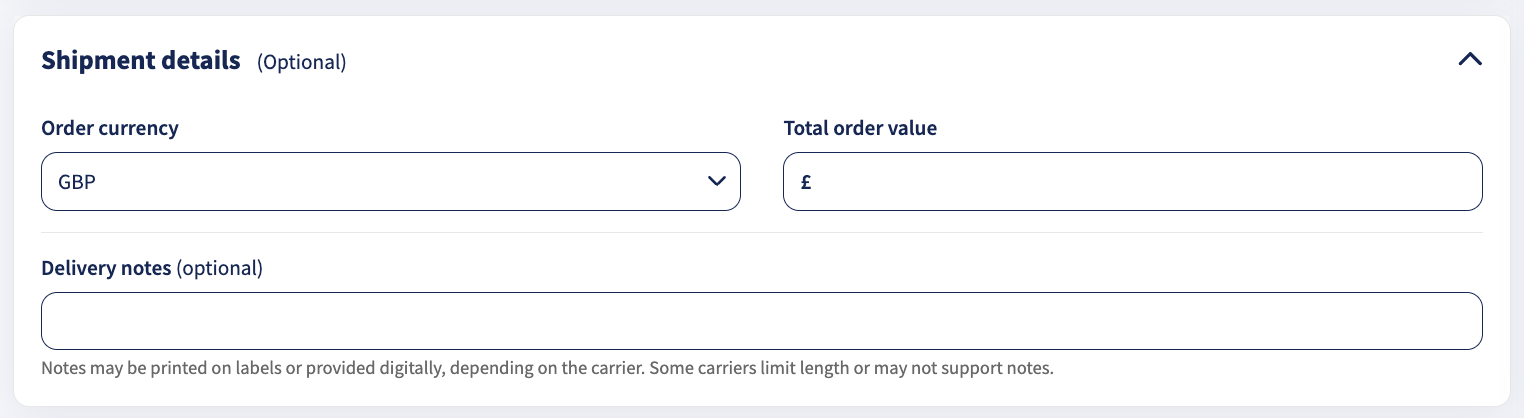
This section contains:
- Order currency: Select the currency of the order.
- Total order value: Enter the total value of the order, including all items.
- Delivery notes (optional): Enter additional delivery instructions for the carrier.
Step 6: Choose Sendcloud Shipment Protection (Optional)
The Sendcloud Shipment Protection section allows you to add optional protection for your parcels against covered shipping risks, such as loss, theft, and damage.
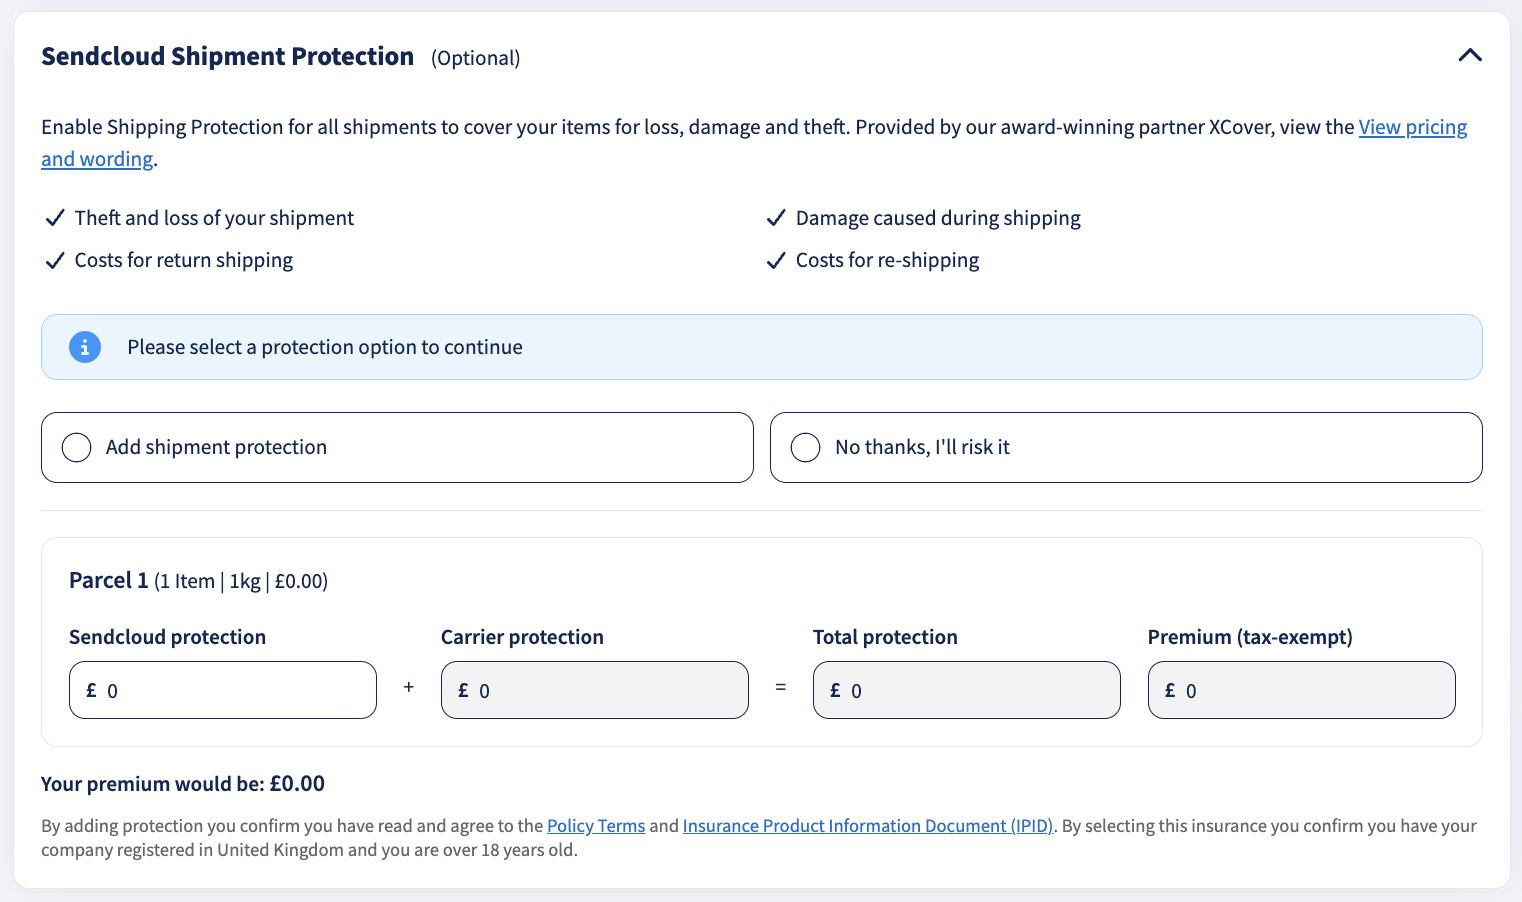
Expand the section to review the available protection options:
- Add shipment protection: Add Sendcloud Shipment Protection to your shipment.
- No thanks, I'll risk it: Continue without adding Sendcloud Shipment Protection.
Adding protection is optional. You can also proceed to create your label without selecting either option.
The section displays the protection details for each parcel, including:
- Sendcloud protection: Protection added through Sendcloud.
- Carrier protection: Protection already included by the carrier, if applicable.
- Total protection: Combined protection amount.
- Premium: The cost of the selected Sendcloud protection.
You can review the total premium before creating the label. Coverage is subject to the applicable terms and conditions.
For more information about coverage and eligibility, read Sendcloud Shipment Protection.
Step 7: Review your shipment and create the label
Before creating your label, review the Summary on the right side of the form.
The Summary displays:
- Sender and recipient addresses.
- Selected shipping option.
- Number of parcels.
- Indicative shipping prices.
Click View price breakdown to review additional pricing information.
Once you've checked the shipment details:
- If you want to create another shipment afterwards, select Create another shipment.
- Click Create label to create your shipping label.
Next steps
For more information about processing shipments and printing shipping labels, see: