
Purpose: You can offer your customers the option to have their parcels delivered to a local service point. This is a guide on how you can implement this feature in the Webador integration.
Important: The Webador integration is developed and maintained by Webador. Sendcloud is unable to provide technical support for the setup, configuration, or troubleshooting of this integration. If you have any questions or experience issues with the integration, please contact Webador Support directly.
Related articles:
→ Before proceeding, please ensure that you have correctly completed the Webador Integration
Step 1. Add service points in Webador
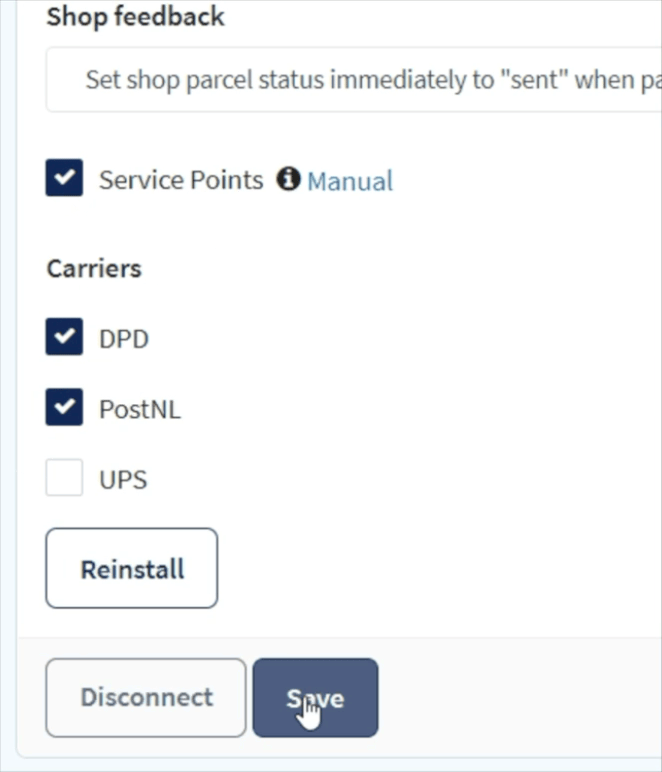
- In your Sendcloud account, go to Settings > Integrations and click edit to change the settings of your shop.
- Tick the box Service Points and the carrier for which you want to activate this delivery option (for instance, a standard and an express delivery option).
Step 2. Configuration in the Webador backend
- Go to the Webshop tab.
- In the menu on the left, click on Settings, then click on Shipping.
- On this page you can enable Delivery to pick-up points.
Now that the shipping method is activated in the checkout, your customers are able to select a location in their neighborhood, where the shipment must be delivered.