Purpose: Learn how to add and manage sub-users in your Sendcloud account, assign roles, control access to features and settings, and identify which sub-user created a parcel.
User management
If multiple employees need access to Sendcloud, you may want to limit their access to certain features, private information, or account settings.
The User management feature allows you to add multiple users to a single Sendcloud account and assign them different roles based on their responsibilities. This helps you manage who can access and use specific parts of the platform.
What is a sub-user?
A sub-user is someone who has been invited to access your Sendcloud account with specific permissions. Once they accept the invitation sent by email, they'll appear as a sub-user in your Sendcloud panel.
Each sub-user can access different parts of the platform depending on their assigned roles . You can assign multiple roles to the same sub-user, such as Shipping and Pick-ups.
If a sub-user tries to access a feature or setting they don't have permission to use, a pop-up will inform them that their access is restricted and advise them to contact the main account holder (admin).
💡 Agent login permission
Only users with the Admin role can enable or disable agent login permission . When enabled, this permission applies to all sub-users associated with the main account, regardless of their assigned roles.
Important: The number of sub-users you can add depends on your Sendcloud subscription:
- Lite: 2 sub-users
- Growth: 5 sub-users
- Premium: 10 sub-users
Roles
Sub-users can be assigned different roles, each with its own set of permissions. The table below provides an overview of the available roles and their access levels.
| Role | Description |
|---|---|
| Admin | As an admin, you have access to all features and settings in your Sendcloud account. This includes managing user roles and enabling or disabling agent login permission. |
| Packer (legacy) | This role combines the Customer Support and Shipping roles. It allows users to create shipping labels, manage pick-ups, and access support tickets. |
| Finance | The Finance role provides access to pricing information, export reports, invoices, and subscription plans. |
| Marketing | The Marketing role provides access to customer-facing features, including the Tracking page, branding, and Return Portal. |
| Customer Support | The Customer Support role provides access to Support Automation (when available), support tickets, label data, and the ability to resend return labels. |
| Analytics | The Analytics role allows users to view analytics and download export reports. |
| Pick-ups | The Pick-ups role allows users to request pick-ups and create pick-up reports. |
| Returns | The Returns role allows users to manage created return labels and view parcel data. |
| Shipping | The Shipping role allows users to create and cancel shipping labels and view parcel data. |
| Warehouse Manager | The Warehouse Manager role provides access to most shipping-related features and settings, including Pack & Go, shipping rules, print settings, integrations, and order uploads. However, this role does not provide access to financial account information or branding and tracking pages. |
| Support Agent | The Support Agent role provides access to deleting accounts, managing tickets, and viewing parcel data. |
| Returns Operations Manager | The Returns Operations Manager role provides access to deleting accounts, managing addresses, viewing analytics, exporting reports, managing branding, and features related to tracking and returns. |
💡 Good to know: For a complete overview of the permissions associated with each role, consult the Roles and permissions overview . Only the Admin role can manage agent login permission.
How to add and manage users
Add users
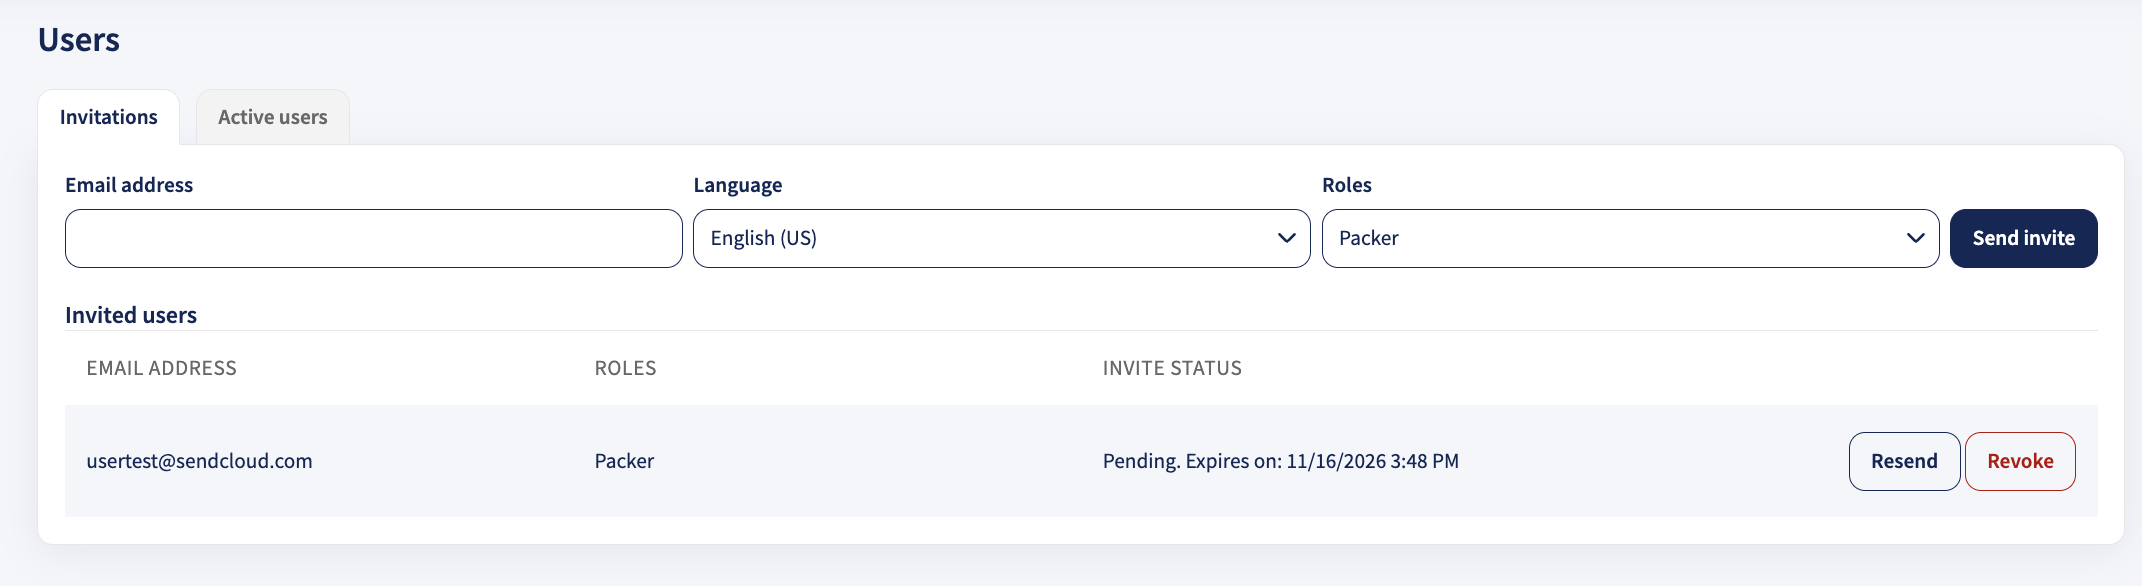
To add a new sub-user, go to Settings > Users & Roles in your Sendcloud account and follow the steps below.
- Enter the email address of the person you want to invite as a sub-user.
- Select their preferred language from the dropdown menu.
- Select the role or roles you want to assign to the sub-user.
-
Click Send invite to send an invitation to the email address provided.

💡 Invitation email: Invitations are sent from noreply@sendcloud.com. If the recipient doesn't receive the invitation, ask them to check their spam or junk folder.
- Invitations are valid for 7 days. If an invitation expires, you can send a new one by clicking Resend.
-
If an invitation expires before it's accepted and the account hasn't been created yet, you can revoke it by clicking Revoke.
💡 Two-factor authentication: You can enable two-factor authentication (2FA) for individual sub-users to add an extra layer of security to their accounts. Learn more in our Two-factor authentication article .
Manage users
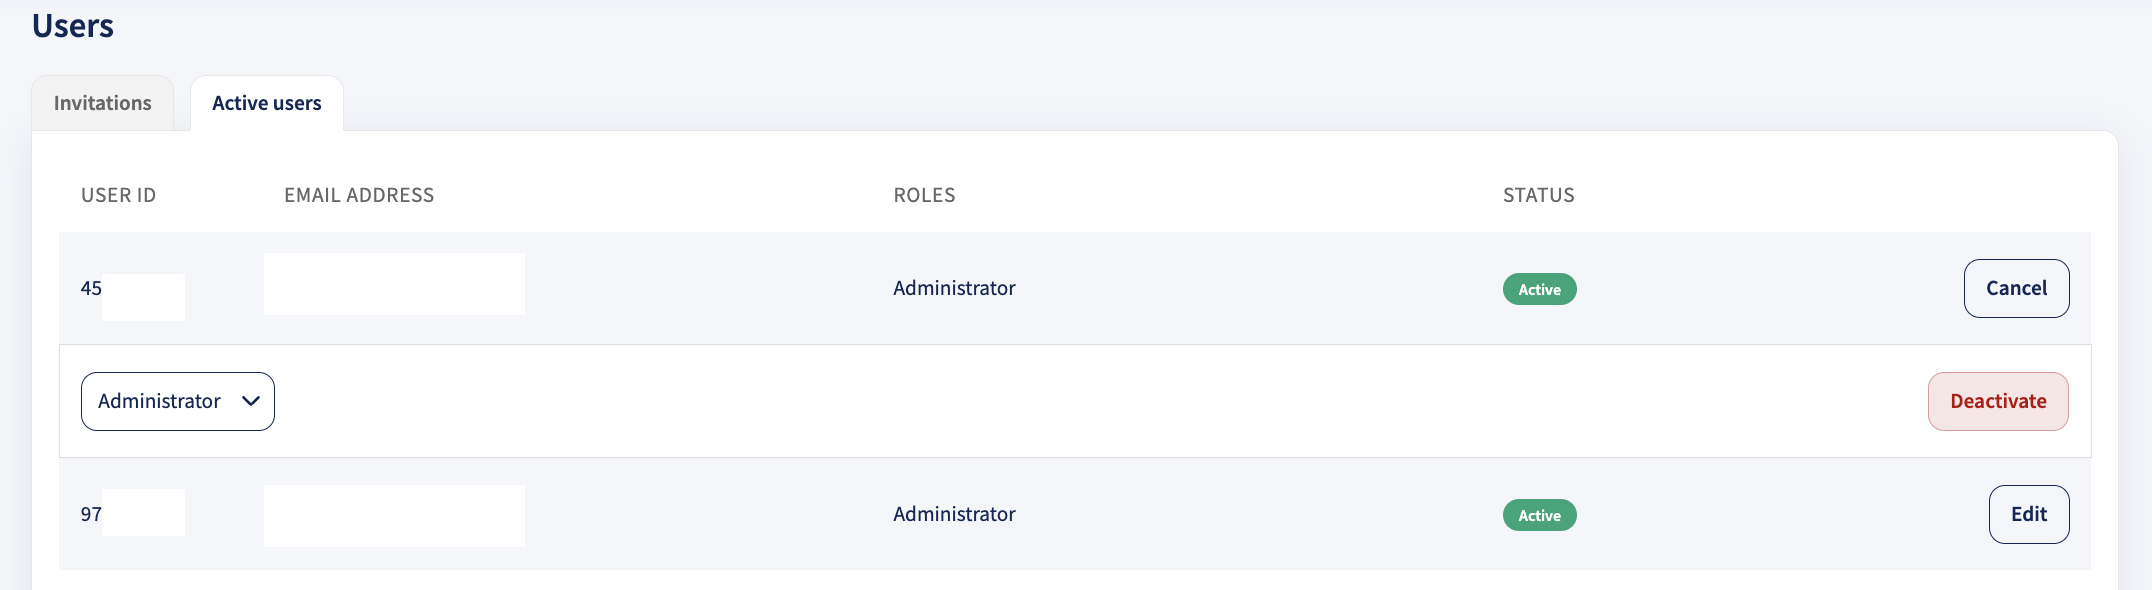
To manage existing sub-users, go to Settings > Users & Roles > Active users.
Here, you can view all active users and their assigned roles. If you have the Admin role, you can also delete other sub-user accounts.
Identify which sub-user created a parcel
If multiple users manage shipments in your Sendcloud account, you can identify which sub-user created a parcel directly in the parcel detail view.
Sendcloud displays the sub-user's name if they've added one to their account profile. If no name has been entered, their user ID is displayed instead.

💡 Good to know: Sub-users can add or update their name in their account profile. The name field is optional, and this information is not managed under Settings > Users & Roles.
Information about the sub-user who created a parcel is also included when you export your Created labels as a CSV file. This makes it easier to identify which team member created each shipment without opening parcels individually.
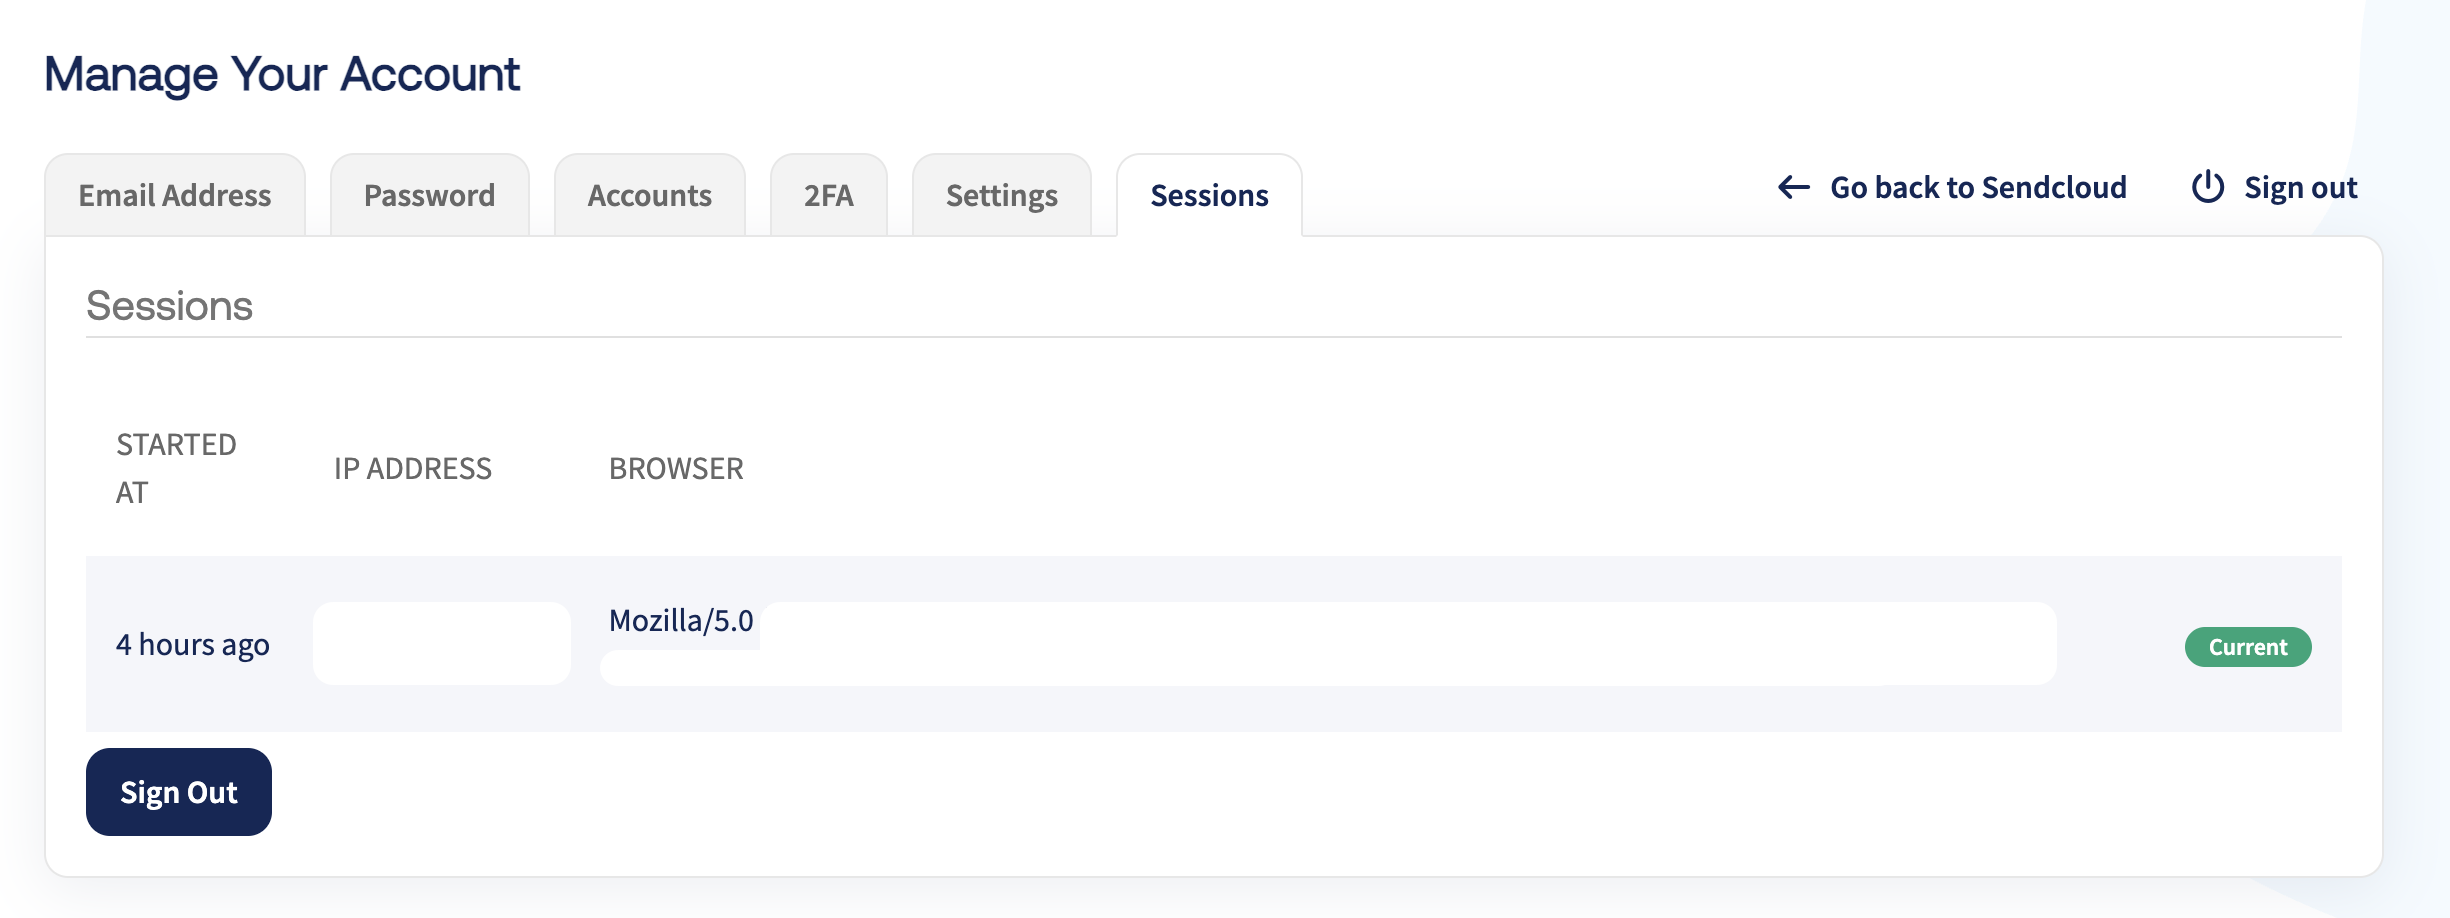
Sessions
The Sessions tab provides information about active account sessions.
To access it:
- Go to Account > Profile.
- Scroll down to Manage account.
- Open the Sessions tab.
From this section, you can:
- Check where and when your account has been accessed.
- Terminate all other active sessions while keeping your current session active.