
Purpose: Learn how you can easily connect your Mirakl marketplace platform to Sendcloud in a matter of minutes.
Step 1: Connect Mirakl
- In your Sendcloud account, go to Settings > Integrations
- Find Mirakl in the list of available integrations and click Connect
- Enter a name for the integration and click Save
- After saving the name, click the new button Go to configuration
- Sign in to Mirakl by entering your authorization credentials.
Step 2: Configure your Mirakl integration
In the configuration page, you can configure the following aspects:
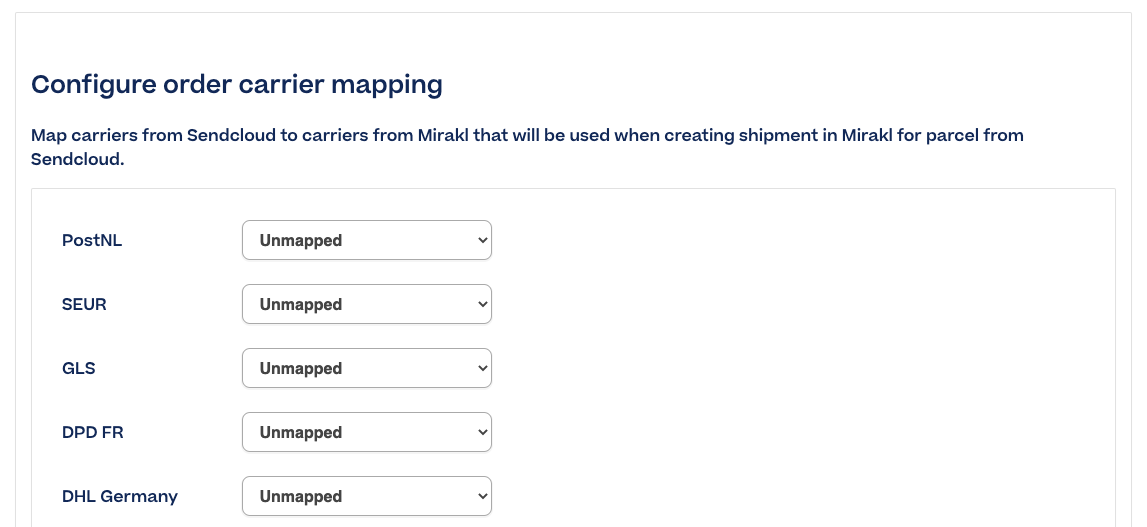
Carrier mapping
Map the carriers you will use in Sendcloud so that they match those in Mirakl. You need to do this one by one.
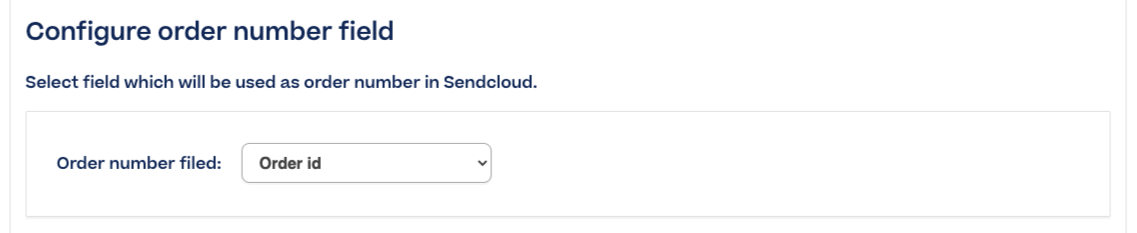
Order number field
You can decide which field in Mirakl will be used as the order number in Sendcloud.
Automatic order number cut
If you enable this option, the order number generated in Mirakl will be cut so it fits in 14 characters when imported into Sendcloud.

Automatic cancellation
If you want Sendcloud and Mirakl to be synchronized when cancelling orders, enable this option so that an order is automatically cancelled in Mirakl when you cancel it in your Sendcloud panel.

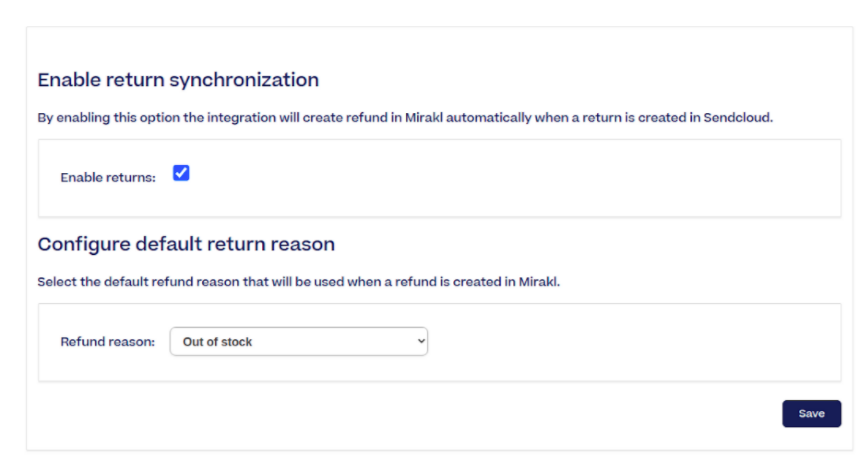
Return synchronization
If you enable this option by checking the case, a refund will automatically be created in your Mirakl environment when a return is created via Sendcloud. If you enable returns, you can also set a default reason for refunds.
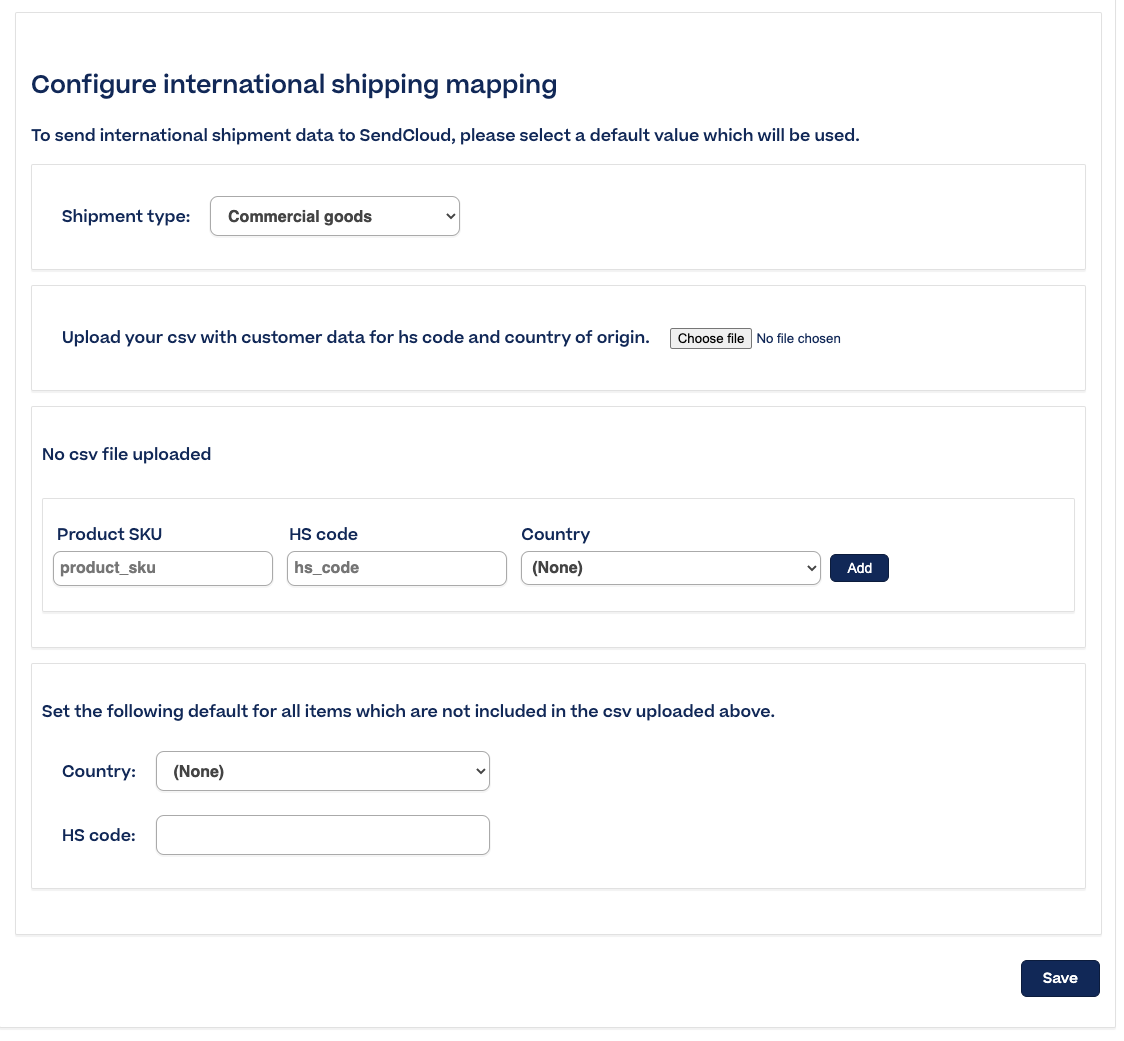
International shipping
If you ship internationally, make sure you configure the following settings:
- Shipment type, e.g. commercial goods.
- Add the HS code and Country of origin of your products: You can either upload a CSV or add it manually.
- Set a default HS code and Country of origin for all items that are not included in that list
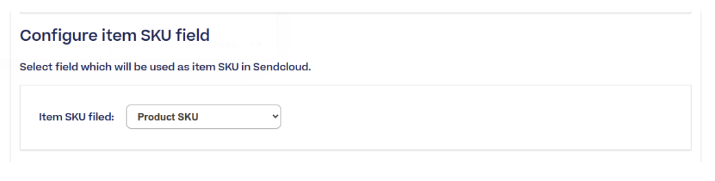
Configure the Item SKU field
Choose whether the Item SKU field should import data from the Product SKU or the Offer SKU. Click the drop-down menu and select the relevant option.
-
A product (product_sku) at Mirakl is a saleable item identified by unique references and described by characteristics: name, brand, description, pictures, features, category... It constitutes the product itself.
- An offer (offer_sku) is the specific product sold by the seller, which includes information like the reference number, quantity, condition (new or used)... An offer is always linked to a product listed in the operator's product catalog. A product can have several offers attached to it.
The product_sku is the default item SKU field.
Step 3: Create your labels
When an order is created in Mirakl, the shipping label and tracking number are not automatically generated in Sendcloud.
To create a shipping label, find the imported order in Shipping > Orders > Incoming order overview in Sendcloud, select it and click Create labels.
How to correct errors in orders
If an order is imported with missing or invalid characters, you will need to correct the incoming order by clicking the pencil icon next to the order and manually editing the address and customer information. Once the order is corrected, you can create the label in Sendcloud as usual.
If the order has invalid fields when it’s created in Mirakl, users will need to correct the incoming order data and create a label in Sendcloud.