Purpose: Learn how to connect your Exact Online store with Sendcloud, and how to configure your integration.
This article explains the legacy steps on how to integrate with Exact Online. As of September 2025, we have a new integration partner (xCore) and therefore also an updated setup process. If you're setting up your Exact Online connection for the first time or if you're looking to migrate to the new setup, please refer to our Exact Online migration (xCore) article.
Step 1: Log into Exact Online and install Sendcloud
To install the Sendcloud app, log into your Exact Online environment. To log in, click the country where you are based to be redirected to the login page. Then enter your Exact online credentials and click Login.
Step 2: Connect to Sendcloud
- After a successful login, you will be able to see the login screen where you can log into Sendcloud. Please note that for each Exact Online Divisions (shown in the respective tabs) you will have to connect again to Sendcloud by clicking the correct tab.
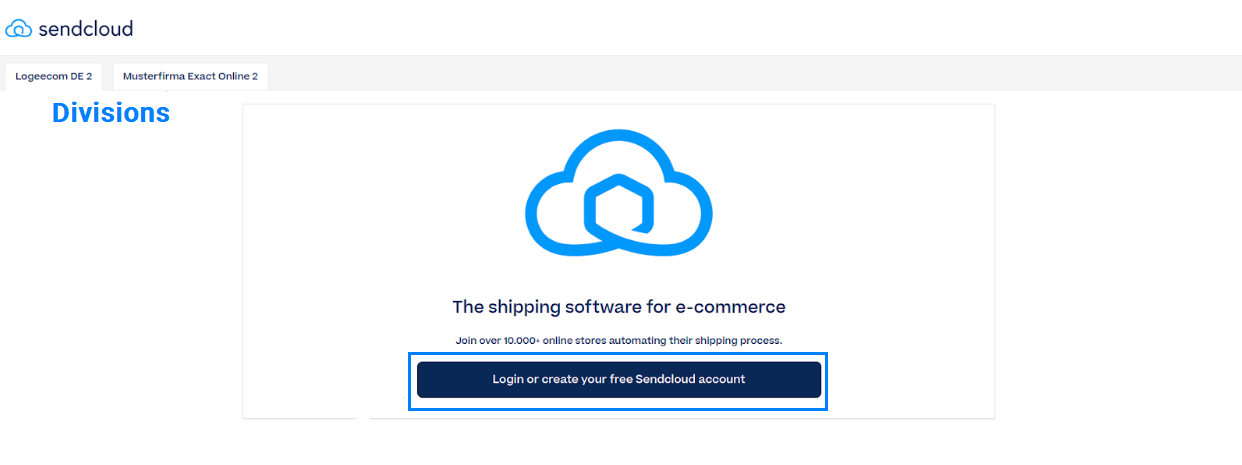
- Select your division and click Connect to authorize Exact Online to access your Sendcloud account.
-
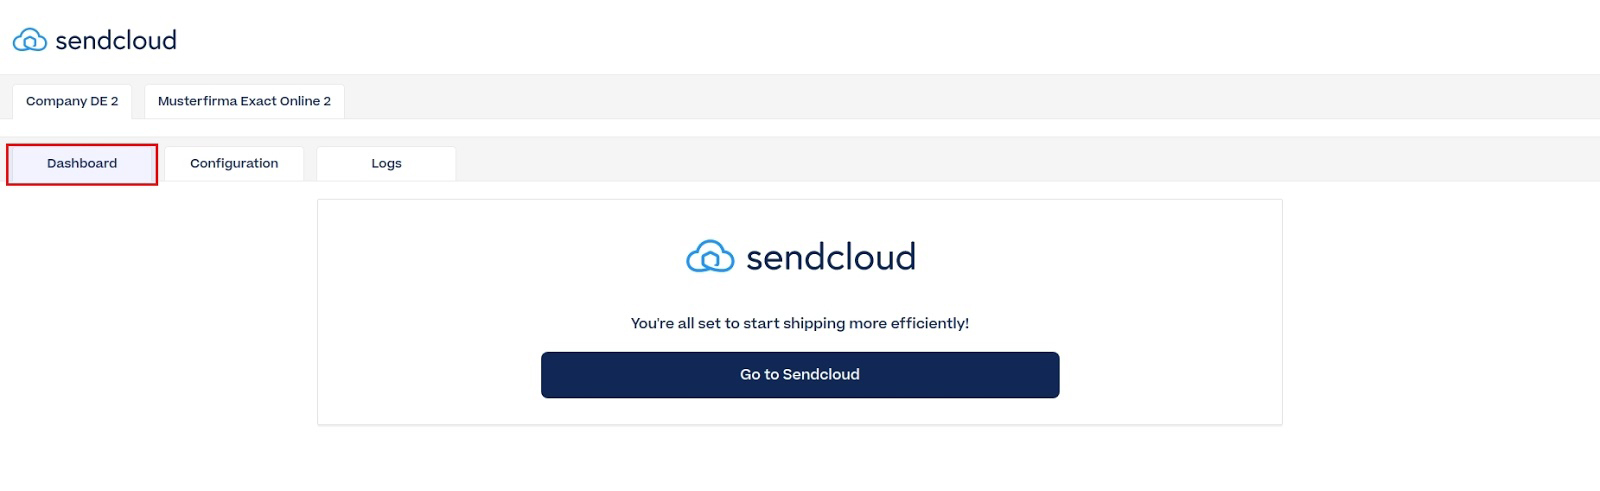
Once the connection is made, you will see the dashboard screen. Synchronization will start running in the background with a default configuration. It will sync all the orders from the last 30 days that are approved and open. You will find these orders in the Incoming Order View of your Sendcloud panel.
Note for dutch users: If you encounter any issues while connecting Sendcloud to Exact Online, you can click on this link to enter your Exact Online credentials and facilitate the connection with Sendcloud.
Step 3: Configure your integration
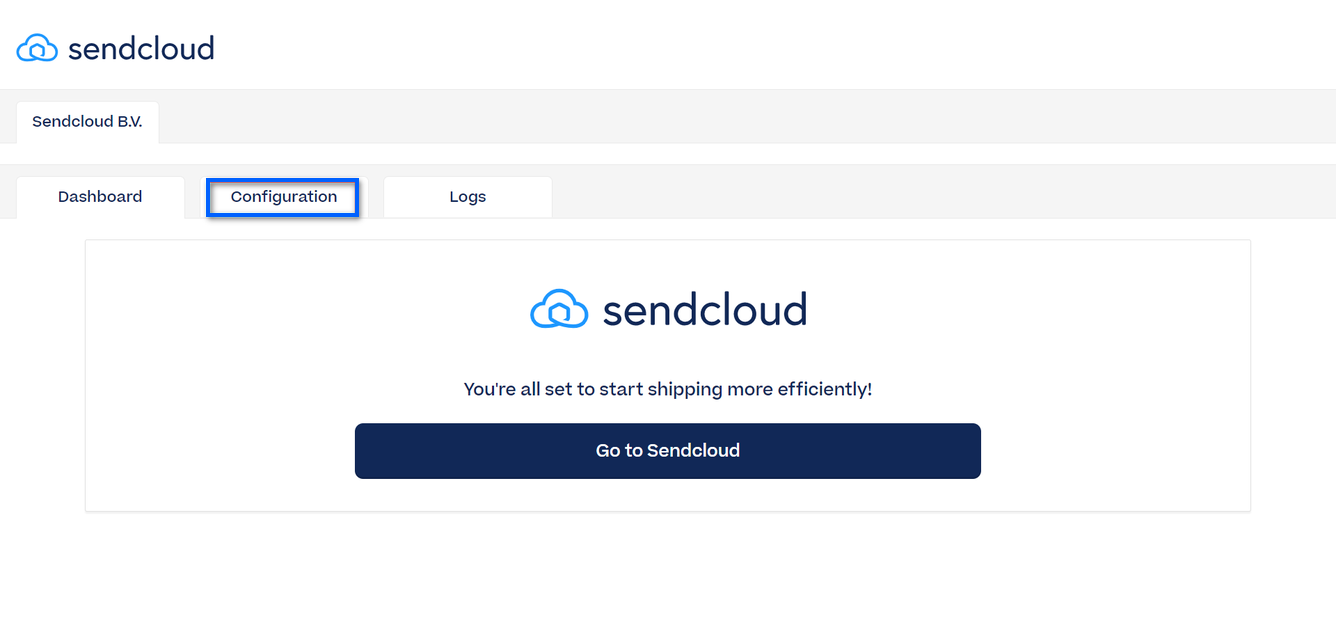
Go to the Configuration tab to configure the following options and click Save when ready.
Label creation
In Exact Online, you have the option to configure how labels are created in Sendcloud. You can choose to automatically generate a label whenever a new Goods delivery is created. To do this, go to the Configuration settings in Exact Online, where you can set this option for each shop. Simply enable the box for "Automatically create label" to ensure that labels are generated automatically for all orders.
If automatic label creation is not enabled, you will need to manually create labels. When a Goods delivery is created in Exact Online, you can go to the Sendcloud panel and generate the labels manually through the Created labels section. This gives you flexibility in managing your label generation process, depending on your needs.
Warehouse mapping
Map your sender addresses in Sendcloud to your Exact warehouses. If you do not map the addresses, the integration will use the default sender address that you have defined in Sendcloud in Settings > Addresses > Sender.
Service point location mapping
Decide whether you want to enable service point delivery and select the field from the Exact sales order that should be used as ID of the service point location.
Customs information
Configure your default customs information by setting a default shipment type, country of origin and HS code. HS codes can be mapped to the custom field per product.
Customs information mapping
Map product HS-codes to ExactOnline custom product attributes. This information will be used for generating customs declarations and commercial invoices when you ship internationally.
Customer data mapping
Choose whether you want to enable dynamic mapping (default option) or manual mapping.
Dynamic mapping
Dynamic mapping is done automatically based on the next rules:- If the account name EQUALS contact name OR contact name IS empty, THEN all the data from the account will be used, AND the company name will not be sent
- If the account name DOES NOT equal the contact name AND the contact name IS NOT empty, THEN all the data from the contact will be used, AND the company name will be set from the account name.
Manual mapping
Manual mapping means that you can manually map each customer field separately. If you choose for this option, then the following extra fields will show up:- Name
- Company name
- E-mail address
- Phone number
- Address
Goods delivery synchronization
If you have chosen to "automatically create label" in the configuration, you can create a label in Sendcloud directly from your Exact Online backend environment by creating a corresponding Goods delivery. To do so, follow the instructions below:
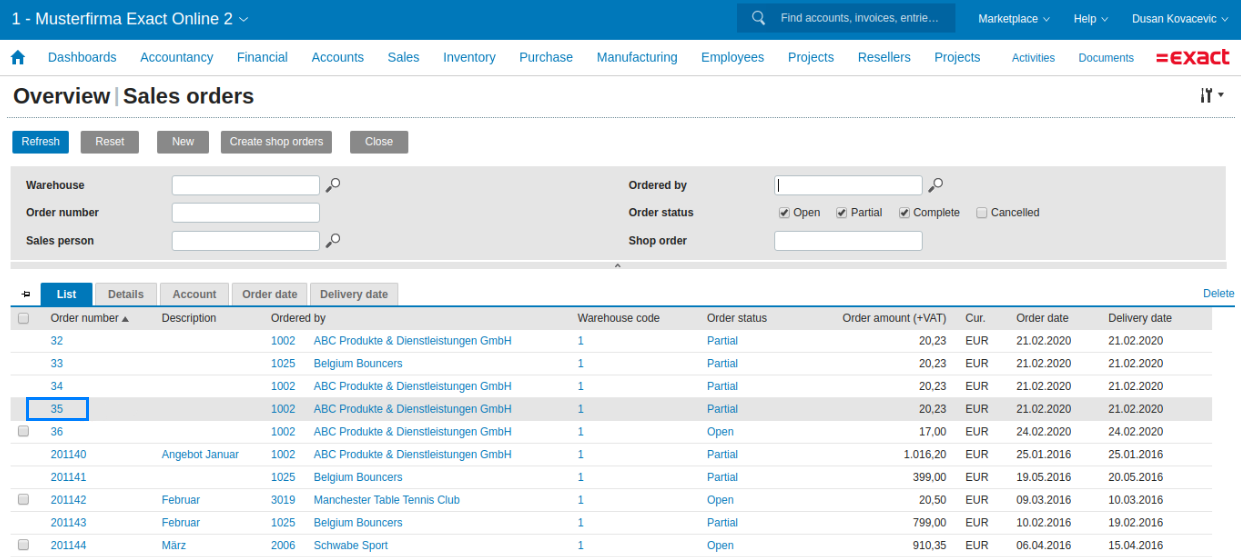
- In your Exact Online environment, go to Sales > Orders > Overview. A list of all the existing sales orders will be displayed.

- Click the order number of the order for which you want to create a Goods delivery
- On the selected sales order page, click Deliver, and then Process


- A parcel for this order will be created in Sendcloud. You can find it under Shipping > Orders > Created labels.

Tracking
In your Exact Online account, your Goods delivery will now be updated with the information from Sendcloud (tracking number, tracking URL and shipping label). To see the tracking URL, click Remarks The tracking URL will be displayed in the pop-up field.![]()
Correction of errors
If the label creation fails, the sales order will be shown under the Logs section in Exact Online. To fix it, go to your Sendcloud panel, find the order in the Incoming Orders View, fix the errors and create the label.
Thee order will then be removed from the logs in Exact Online and the Goods delivery will be updated with the tracking information.
Example of order that contains errors
In the order shown below, the house number is missing.
How to access the Sendcloud configuration settings in Exact Online
To access the Sendcloud configuration settings once you have already made the connection, follow these steps:
- In your Exact Online environment, go to Marketplaces > My App Centre
- Find Sendcloud under My apps and click Start
- You will be asked to log in again with your Exact Online account
- Once logged in, you will be redirected to Sendcloud. Open the Configuration tab.