
Purpose: Learn how to easily connect your Shoptrade e-commerce system with Sendcloud by following these simple steps.
The Sendcloud subscription plans have been updated. If the subscriptions shown in the banner above don’t match your current subscription plan and you’d like to know more, please click here
Step 1: Connect to the Sendcloud app
- Before connecting to your Shoptrader account to Sendcloud, ensure that your Shoptrader account is fully activated.
- Log in to your Shoptrader environment and navigate to Add-ons > Logistics > Sendcloud
- On the right-hand side, fill your name into the correct field and click the button Activate this addon:

- Select Configuration from the top banner
- Select Configure Add-ons

- Select Sendcloud
- Click on Edit to enter your API keys from Sendcloud
- To see where to obtain your API keys, proceed to Step 2
Step 2: Obtain your API keys
- Login to your Sendcloud account
- Navigate to Settings > Integrations
- Find the integration Sendcloud API and click on Connect
- Enter a name for the connection
- Click Save
- Your API Public and Secret keys will be automatically generated. These are the keys you need to copy and paste into Shoptrader as per Step 1.
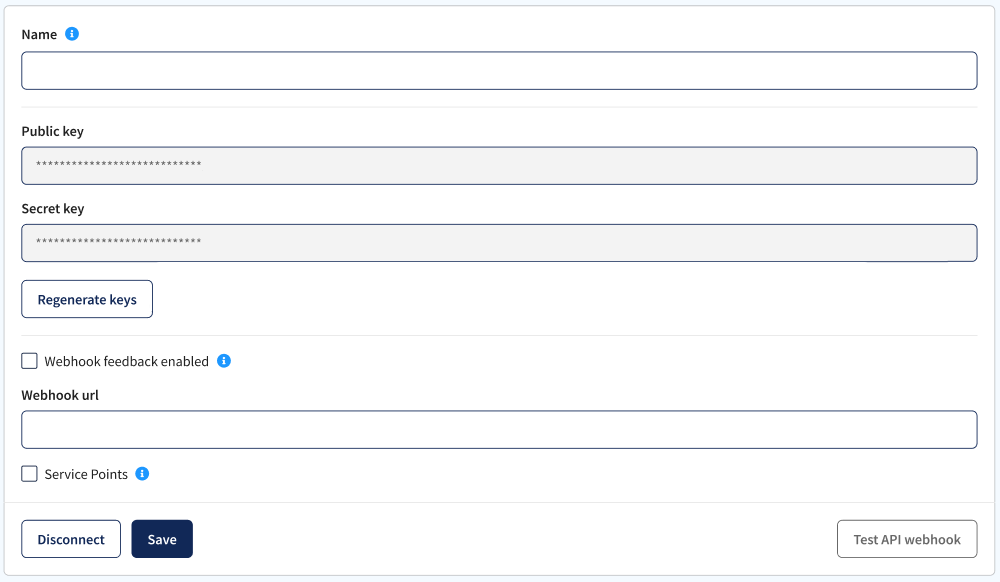
Make sure to copy your keys and store them in a safe place. Once you close this page, your keys will no longer be visible. If you need your keys at a later stage and don’t have them stored anywhere, you’ll be required to generate new keys via the Regenerate keys button. This means that the connection between Sendcloud and your integration needs to be remade with the use of these new keys.
Process your orders to Sendcloud
- Within Shoptrader, go to your order overview
- Select the orders on the left-side of the menu and choose the action you want to apply.
- In this case you choose: Export to Sendcloud

Your orders will now appear in your Sendcloud account in your Shipping tab, ready for processing.