
Purpose: Learn how to customize and activate your branded Tracking Page to provide customers with shipment updates and self-service options after checkout.
Users on Free and Lite plans can access the editor and save their changes, but need to upgrade to activate their Tracking Page.
What is the Tracking Page?
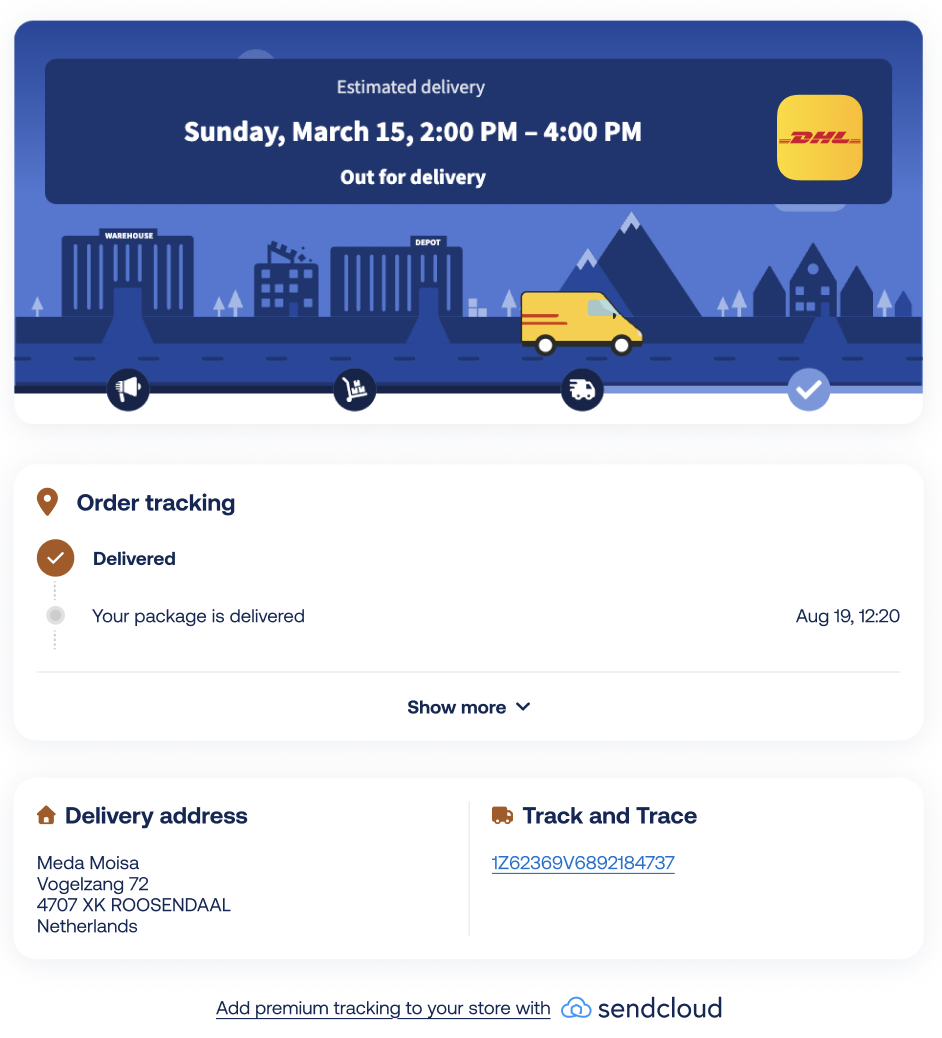
The Tracking Page is the page your customers see when they click a tracking link in your tracking emails.
It allows them to follow the delivery of their parcel while staying within your branded experience.
You can customize different parts of the page, including:
- Global branding settings
- Header and footer
- Delivery status display
- Merchant note, such as a promotional message or discount code
- Instagram feed
- Promotional banners
- Customer actions, such as returns or support links
Changes are displayed instantly in the preview panel, allowing you to see how your Tracking Page will appear on desktop and mobile devices before activating it.
Tracking Page data retention
Parcel data used for Tracking Pages is retained for a maximum of 3 months. After this period, customers who visit the Tracking Page will see a message indicating that no parcel was found.
Before you start
Before customizing your Tracking Page, review your brand settings to make sure your branding information is up to date.
We recommend checking:
- Your logo
- Brand colours
- Contact information
- Social media links
- Assigned webshop (if applicable)
Customize your Tracking Page
The Tracking Page consists of several customizable sections. Expand each section below to learn how to configure its settings.
Global settings
Use Global settings to customize the general look and feel of your Tracking Page:
You can configure:
- Primary colour: This colour is applied to buttons and icons on the Tracking Page.
- Background: Choose a background colour or upload a custom background image.
- Font: Select a font that matches your brand.
- Celebration effects: Enable a falling emoji animation and choose the emoji you want to display.
Header
Enable the Header section to add a branded header to the top of your Tracking Page:
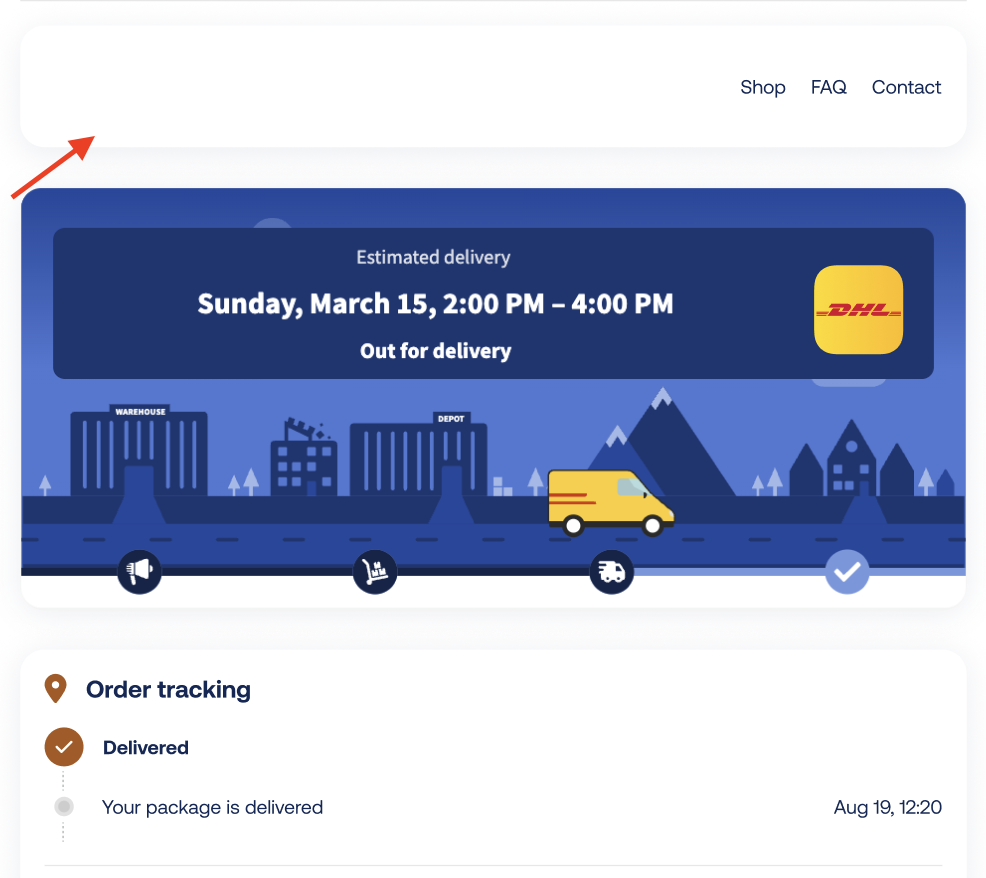
You can configure:
- Logo: Upload a logo or use the logo from your brand settings.
- Header colours: Choose a background colour and font colour.
- Website links: Select which links to show in the header, such as Homepage, Shop, FAQ, or Contact page.
Delivery Status
The Delivery Status section shows your customer the live status of their parcel.
You can choose one of the available delivery status styles, such as:
- Traditional Truck: Displays an illustrated delivery timeline.
- Modern Mosaic: Displays a more minimal delivery status layout.
- Live Line: Displays a real-time timeline that highlights your customer's current delivery step, brightening as the parcel moves closer to delivery.
Depending on the selected style, you can enable or disable the illustration and customise the colour scheme.
Merchant Note
Enable the Merchant Note section to show a short message to your customers on the Tracking Page, such as a promotion or a discount code.
You can configure:
- Message text: Add a message of up to 80 characters for each supported language: English, German, French, Dutch, Spanish, and Italian. Use Auto translate to generate translations from your English text.
- Background colour: Choose your brand colour or a custom colour.
- Border colour: Choose your brand colour or a custom colour.
Enable the Instagram section to display Instagram content on your Tracking Page. This feature is useful if you have an active social media presence and want to encourage customers to follow your page after purchase.
You can use the Instagram section to support brand building, highlight a campaign, promote a new product range, or show content related to a current promotion.
Connect your Instagram account
To connect Instagram to your Tracking Page:
- Open the Instagram section.
- Enable Instagram.
- Click Authorize.
- Follow the prompts to connect your Instagram account.
Instagram requirements
Before connecting your account, make sure that:
- Your Instagram account is set to Public.
- The Instagram post you want to show is set to Public, so customers and non-followers can view it.
- You have disabled any ad blockers before authorizing Instagram.
- Only one Instagram post can be featured on the Tracking Page.
- Only single image posts are supported.
- Videos are not supported.
- Carousel posts or posts with multiple photos are not supported.
Disconnect your Instagram account
If you need to remove your data or disconnect your Instagram account from the Tracking Page, follow these steps:
- In your Sendcloud account, go to Tracking Page.
- Open the Instagram section.
- Click Disconnect.
- Confirm the action.
Instagram troubleshooting
If you cannot connect to Instagram or if Instagram posts are not loading, this may be caused by an ad blocker.
- Disable your ad blocker before connecting your Instagram account.
- Disable your ad blocker when editing the Instagram section.
- Make sure your Instagram account is set to Public.
- Make sure the post you want to display is public.
- Refresh the page and try authorizing Instagram again.
If an ad blocker is active, Sendcloud may not be able to load Instagram posts or connect your Instagram account. Always disable your ad blocker when connecting a new Instagram account or editing the Instagram section.
FAQ
I can't connect to Instagram. What can I do?
You might be using an ad blocker. If an ad blocker is active, Sendcloud may not be able to load posts or connect your Instagram account. Disable your ad blocker, refresh the page, and try again.
Are videos and multiple-photo posts supported?
No. Videos and carousel posts with multiple photos are not supported. Only one single image post can be displayed.
Banner
Enable the Banner section to add a promotional banner to your Tracking Page.
You can use banners to promote campaigns, new products, discounts, or other important information.
You can configure:
- Background image: Upload a PNG or JPG image.
- Background image alignment: Choose how the image is positioned.
- Banner ad link: Add the URL customers should open when clicking the banner.
- Heading: Add a title of up to 50 characters.
- Subheading: Add supporting text of up to 80 characters.
- Button text: Add a call-to-action button of up to 35 characters.
- Text alignment: Choose where the banner text appears.
- Keep image dimensions: Keep the image dimensions to prevent cropping on smaller screens.
- Styling: Customise the background, button, heading, and subheading colours.
Actions
Enable the Actions section to let customers take action directly from the Tracking Page.
You can add:
- Link to Return Portal: Allows customers to start a return. This is only shown after the order has been delivered.
- Link to change delivery moment: Allows customers to change the delivery moment when supported by the carrier.
- Link to support: Adds a support link to your Tracking Page. You can use a chat, help center, or AI agent URL.
Save and activate your Tracking Page
Use the preview panel to check how your Tracking Page looks on desktop and mobile before activating it.
- Choose the brand you want to configure from the brand selector.
- Customise the Tracking Page sections you want to use.
- Click Save to save your changes.
- Use the Activate Tracking Page toggle to make the page available to customers.
To deactivate your Tracking Page, switch off the activation toggle and confirm your choice. Your settings will be saved, and you can reactivate the page later.