
Purpose: Learn how to connect your own LandMark Global carrier contract with your Sendcloud account in three easy steps.
The Sendcloud subscription plans have been updated. If the subscriptions shown in the banner above don’t match your current subscription plan and you’d like to know more, please click here.
Step 1: Activate your Sendcloud subscription
Sendcloud offers three subscriptions with which you are able to use your own transport contract: Lite, Growth, and Premium.
For more information regarding which plan is best for you and the needs of your business, you can always contact us via the support section of your Sendcloud account or visit our website here.
Step 2: Enable your carrier contract
Once you have activated a Sendcloud subscription, you can connect your carrier contract.
In your Sendcloud panel, navigate to Shipping > Carriers > My contracts and click Add your own contract. Find LandMark Global in the list and click Add contract. Here you can add the credentials needed to validate the connection to the carrier.
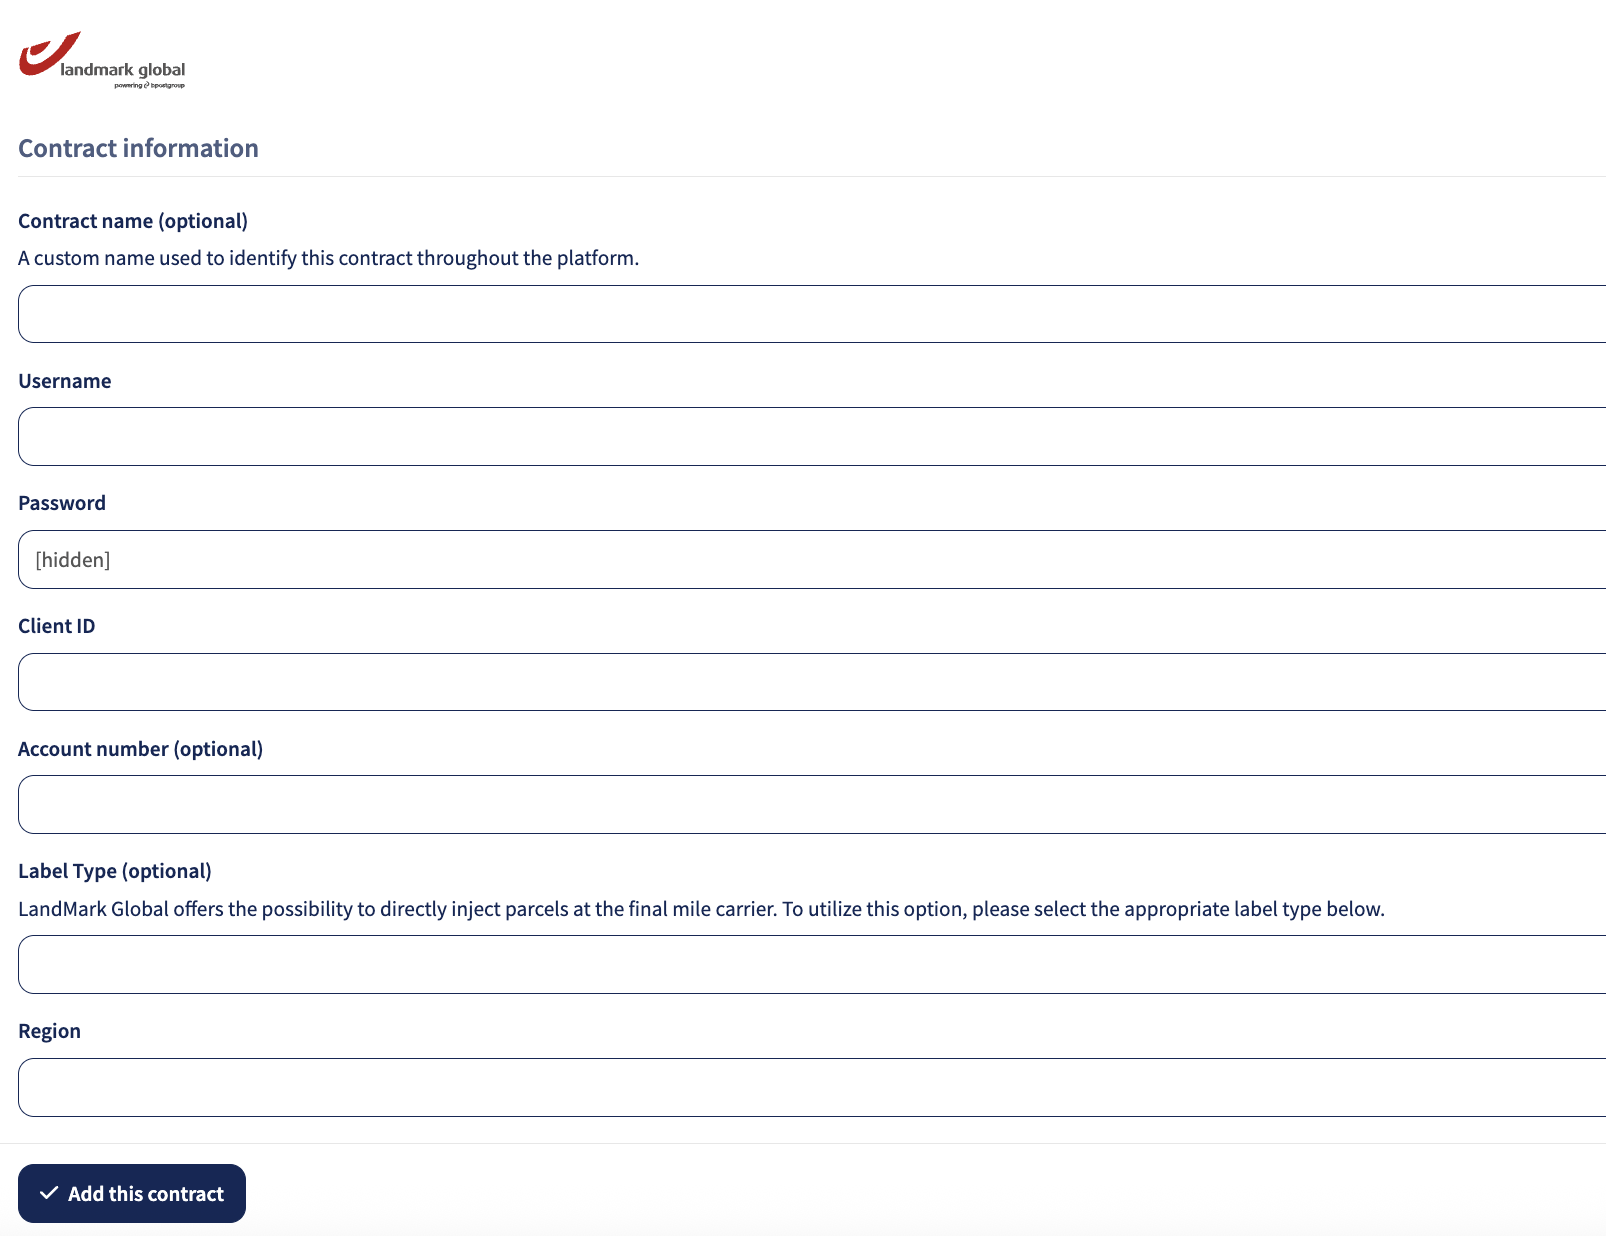
Step 3: Enter your LandMark Global contract information
To activate your LandMark Global contract, fill in the following fields and do not forget to click Add this contract:
-
Contract name: This field is optional. You can give a name to the contract in Sendcloud, for example, "My LandMark Global contract".
- Username
- Password
-
Client ID
- Account number
- Label Type:
LandMark offers two possibilities:
Import Request: This is a white-label solution where a generic label is generated to ship items to the Landmark facility. Shipments are then processed and relabeled with the final-mile carrier label.
Ship Request: This is the final-mile carrier label API, enabling shipments to be requested and labeled directly at the originating facility using the final-mile carrier’s label. -
Region
You can find the required credentials in the LandMark Global portal.
Direct contract shipping methods
Here's a complete overview of all the available direct contract shipping methods offered by LandMark Global.
Direct contract shipping methods
| Shipping method | Shipping method ID |
| LandMark Global - Bpack Bussable (LGBEBPB) | 29342 |
| LandMark Global - MaxiPak DAP (LGINTBPMU) | 28376 |
| LandMark Global - MaxiPak DDP (LGINTBPMP) | 28375 |
| LandMark Global - Maxipak Scan DDP (LGINTSTD) | 28370 |
| LandMark Global - Maxipak Scan DDP - Saturday (LGINTSTD) | 29345 |
| LandMark Global - Maxipak Scan DDP - Signature (LGINTSTD) | 30430 |
| LandMark Global - Maxipak Scan DDU (LGINTSTDU) | 28371 |
| LandMark Global - Maxipak Scan DDU - Signature (LGINTSTDU) | 30431 |
| LandMark Global - Minipak Scan DDP (LGINTBPIP) | 28373 |
| LandMark Global - Minipak Scan Sorted Prio DDP (LGINTBPVSD) | 29343 |
| LandMark Global - Minipak Scan Unsorted Prio DDP (LGINTBPVDP) | 29121 |
| LandMark Global - Minipak Scan DDU (LGINTBPIU) | 28374 |
| LandMark Global - Minipak Scan Sorted Prio DDU (LGINTBPVSD) | 29344 |
| LandMark Global - Minipak Scan Unsorted Prio DDU (LGINTBPV) | 29122 |
| LandMark Global - Bpost Easy Return (LGINTBPER) | 28377 |
| LandMark Global - Bpost Return (LGBEBPER) | 30433 |
| LandMark Global - Pudo DDP (LGINTPUDO) | 28372 |
| LandMark Global - Pudo DDP - Saturday (LGINTPUDO) | 29341 |
| LandMark Global - Pudo DDP - Signature (LGINTPUDO) | 30432 |
Done!
If you have followed the steps described above, your LandMark Global contract should now be successfully linked to your Sendcloud platform, and you can begin shipping using your LandMark Global rates. When you create a label with a LandMark Global shipping method, the label price will now show as 0.00 EUR in your account.