Purpose: learn how to connect your Wix webshop with your Sendcloud account in three easy steps.
Step 1: Install the Sendcloud application
- Go to the Wix App Market and search for "Sendcloud" in the search functionality:
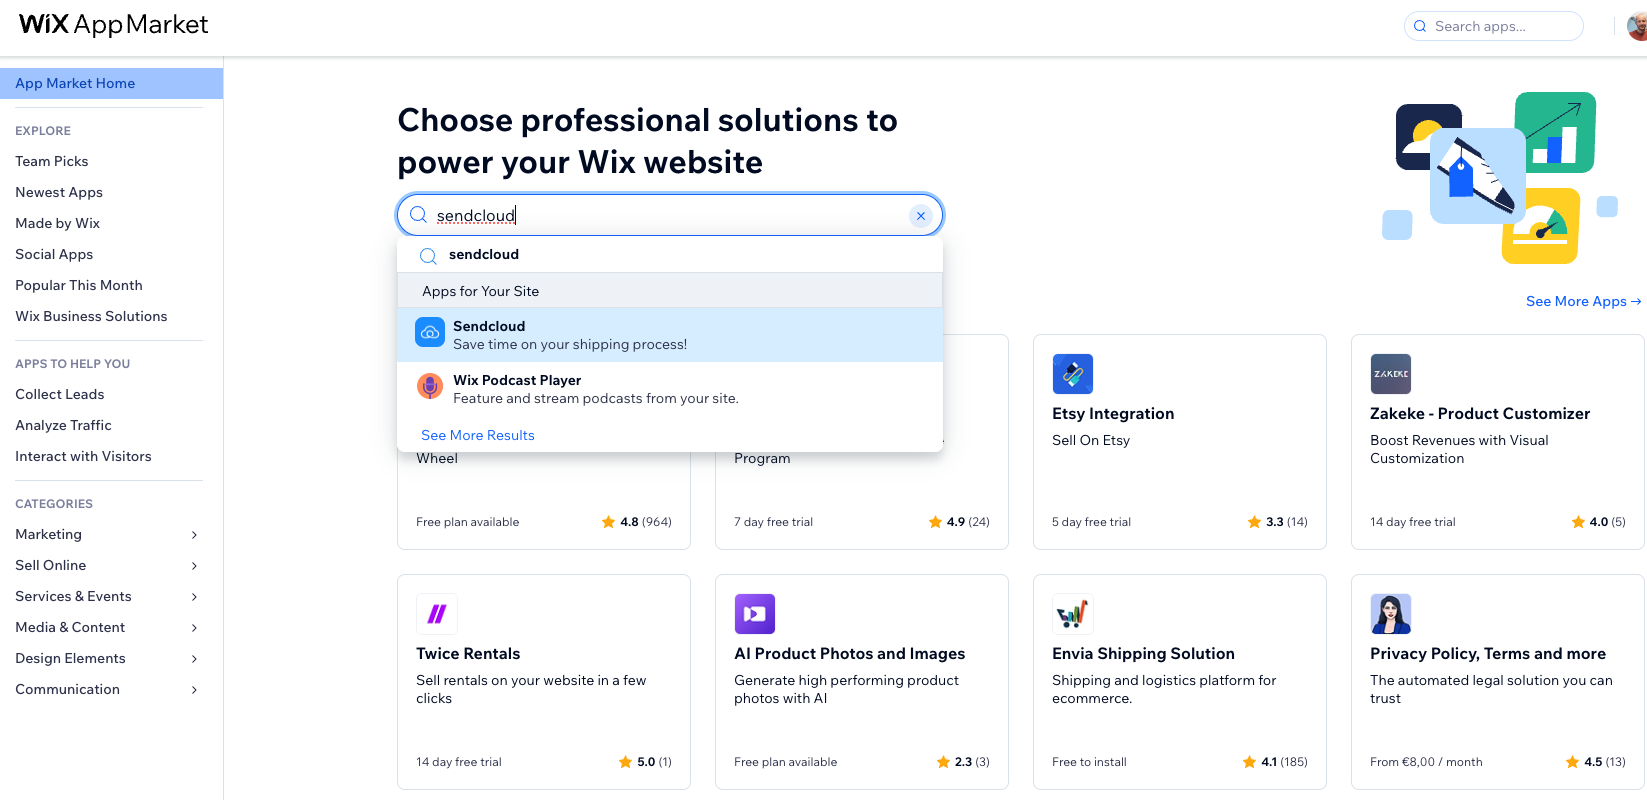
- Select the Sendcloud app and click Add to site
- You will be prompted to select for which site you want to install the Sendcloud app. Allow the following permissions:
- Read basic site info
- Read orders
- Modify orders
- Read payments
- Modify currencies
Step 2: Connect to Sendcloud
-
Log in to your Wix site admin and go to Manage Apps on the admin dashboard
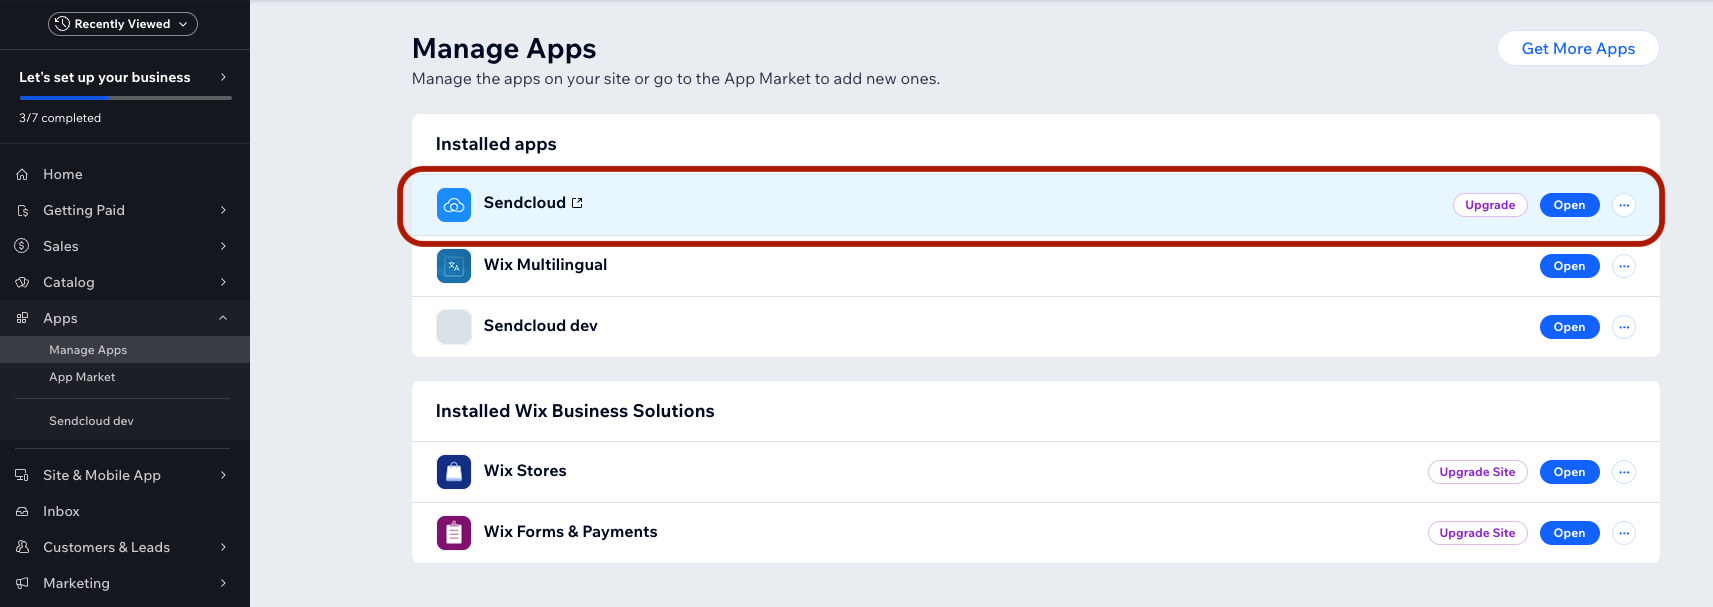
- Click Open next to the Sendcloud app.
- On the welcome page click Login to create your Sendcloud account and login using your Sendcloud account details to authenticate the connection. You will be asked if you want to authorize Wix to access your Sendcloud account. Clcik on Connect.
- Once you've logged in the dashboard screen will be shown and the initial synchronization will start.
Step 3: International shipping information (optional)
Sendcloud will automatically generate customs documentation for parcels with a shipping destination outside the EU. On the configuration page, you can select some options which will be used as input for generating customs documentation for international shipments.
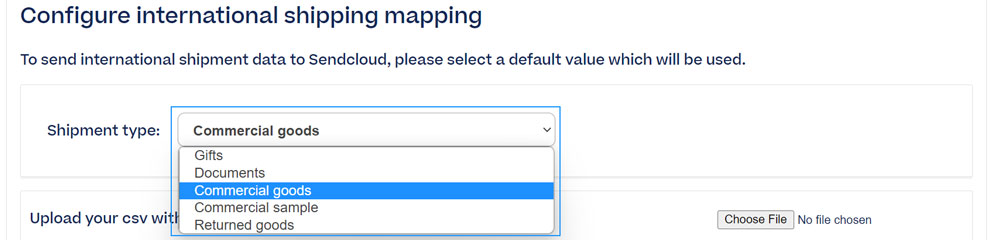
Default shipment type
Select the default type of shipment which will apply to most of the items you ship. The most commonly used value is “Commercial goods”.
Product data
In order to generate accurate customs documentation, Sendcloud needs information about the HS Code and country of origin for every product you sell on your Wix website.
There are two means of providing Sendcloud with this information:
Option 1 - Manual
- In Wix, navigate to Apps > Manage Apps and find Sendcloud under Installed Apps
- Next to the Sendcloud app, click Open
- Go to the International shipping configuration tab
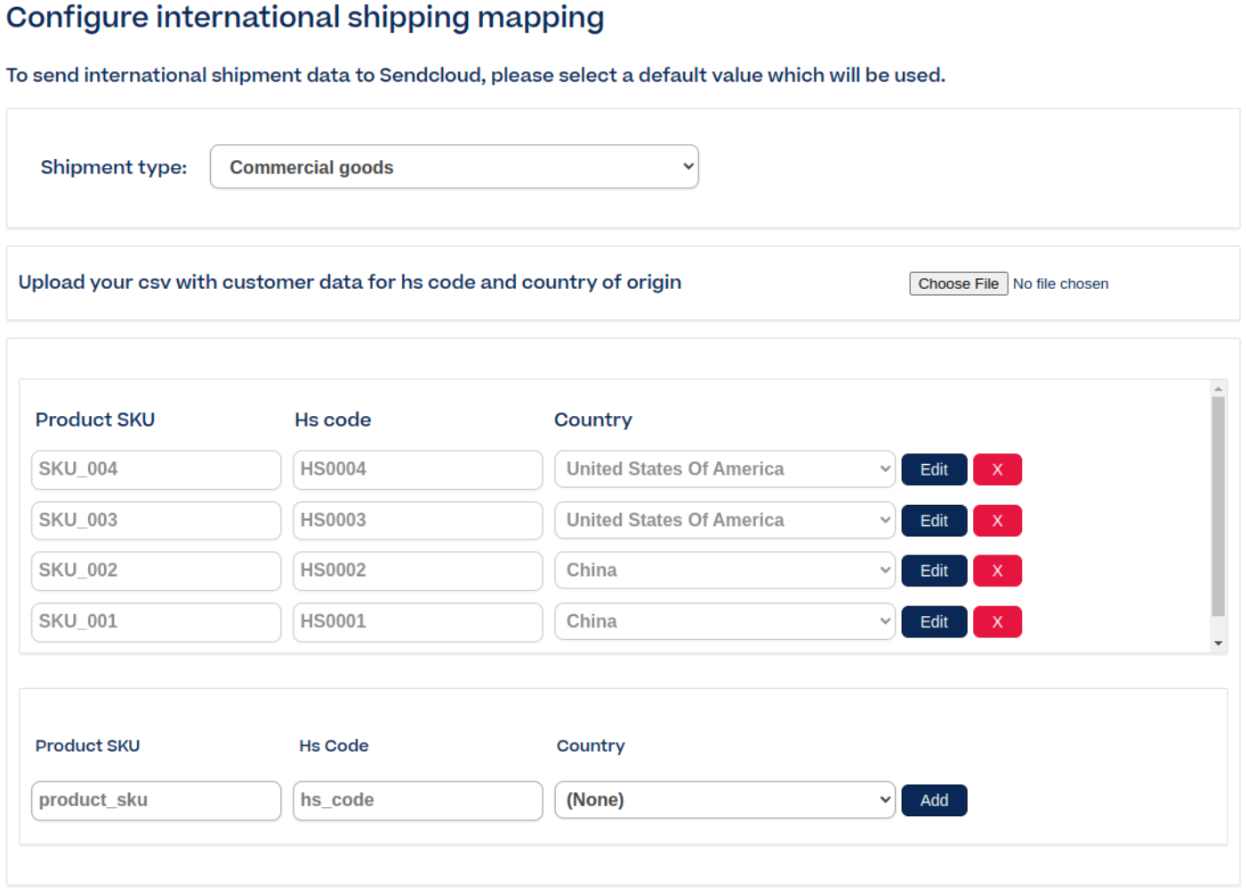
- You can use this tab to map your international shipping information( HS codes and country of origin). Add the product HS code and then match it to the applicable information.
- Don't forget to click on
Addafter filling in the information
Option 2 - CSV file
-
Export a CSV file of your product list (SKU), by following these steps described by Wix:
- Go to the Product tabin your site's dashboard.
- Choose what you want to export:
- Export all products: Select the checkbox at the top left.
- Export a category or other filtered products: Click filter, select the type of products you want to export, and click Done.
- Export selected products: Select the checkboxes next to the products you want to export.
- Click More Actions.
- Click Export.
- Select an export option.
- Click Export.
- Make sure the file only contains three columns by the following names: product_sku, hs_code and country_code
- The SKUs should already be in there from the export. Next, make sure to add all the HS codes and countries of origin in the designated columns.
- Save the file as an CSV file
- Follow the first three steps of option 1
- Use the Choose File option to upload the CSV file you created
- The data should now be shown at the International shipping configuration tab in the form of a list
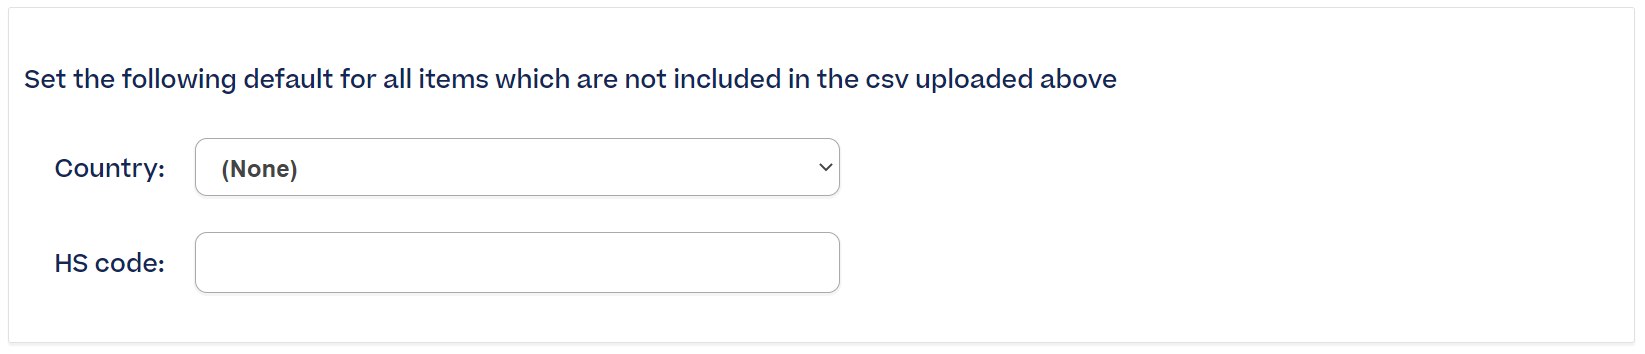
Set values for unmapped products
Finally, you can set a default Country of Origin and HS Code value which will automatically apply to any products which are not included in the CSV file or not yet mapped. This will prevent items from being entered onto the customs documentation with missing values.
Step 4: Fulfilment synchronization
Congratulations - your Wix webshop is now connected to Sendcloud. All orders which have been created in the last 30 days will appear in Sendcloud in your incoming order overview. From here you can edit your order details and create shipping labels.
After creating or updating a label for a specific order in Sendcloud, a fulfilment will be created or updated in Wix with the tracking number and tracking link.
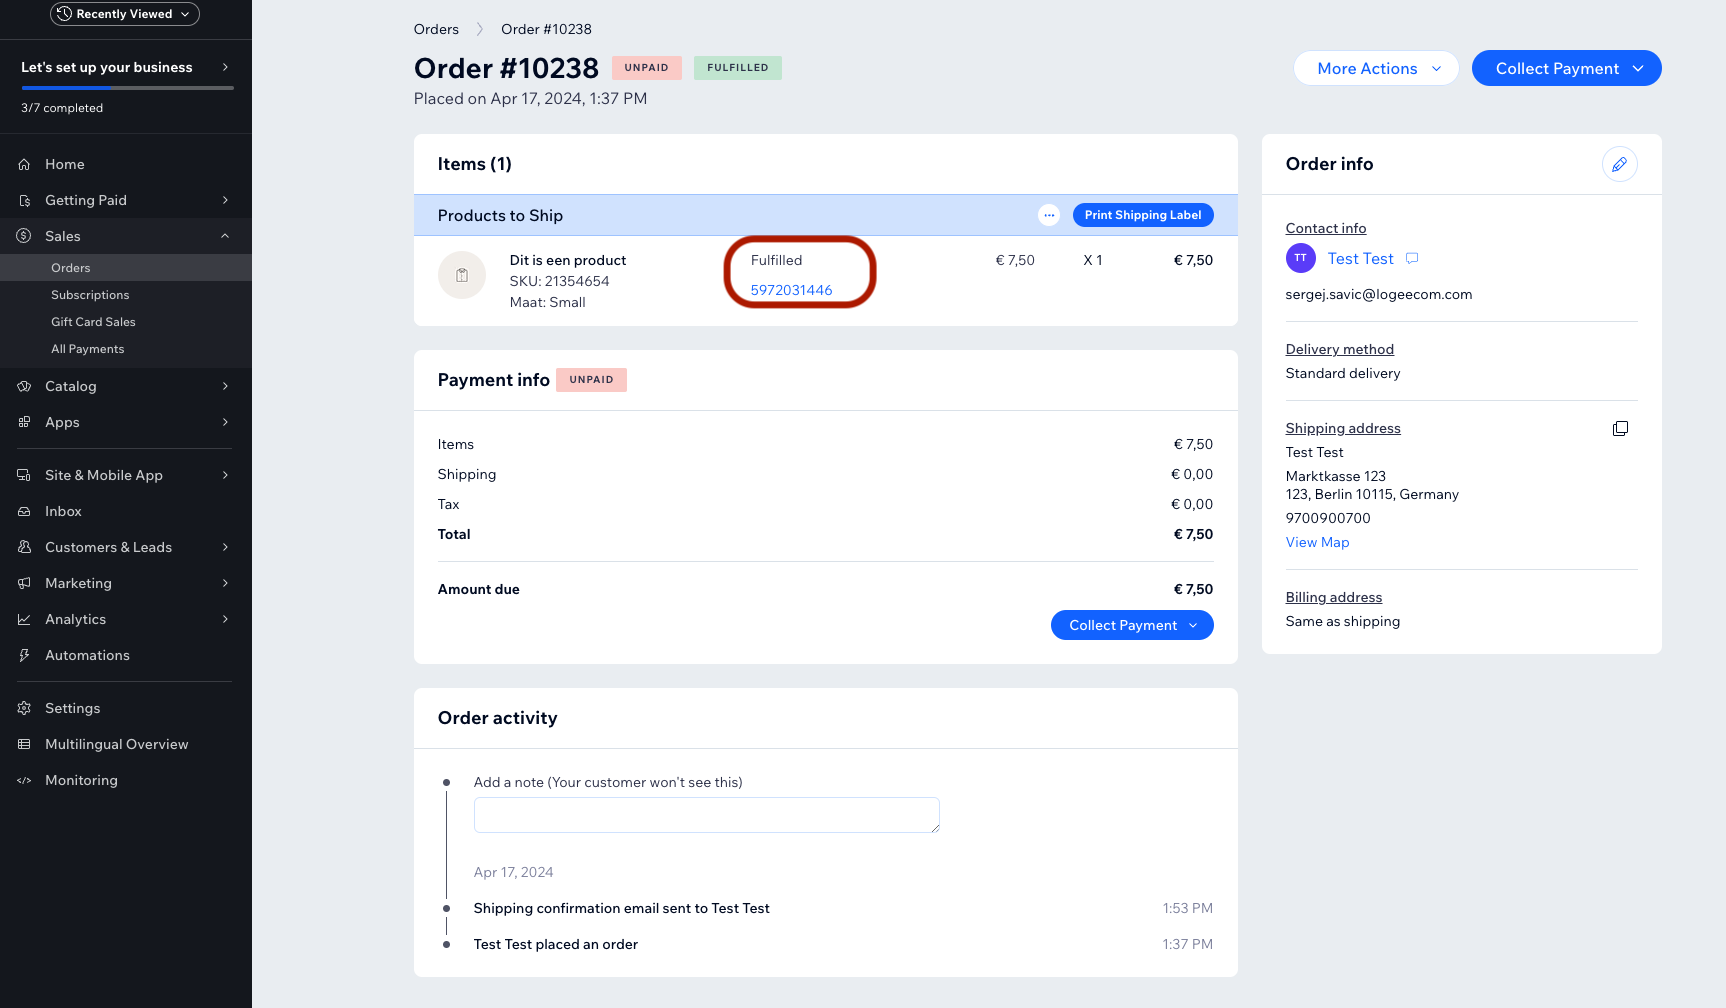
Please note that if you are shipping with carrier BRT the tracking number sent back to Wix will not be traceable. BRT generates the actual tracking number once they received the parcel. Our statuses are sent back to the webshop upon label creation.
Shipping rates and Wix limitations
Wix controls how shipping prices are shown at checkout.
You can set different shipping rates based on the weight of an order, for example:
-
0–2 kg = €5
-
2–5 kg = €8
-
5 kg and up = €10
But keep in mind: Wix only lets you use one rule type at a time.
So if you choose to charge by weight, you can’t also charge by price in the same shipping method.
For more details, check the Wix Help Center:
Disable Wix shipping confirmation emails
There've been cases where Wix users came to us, because their customers are receiving more shipping confirmation emails than they should. Wix sends out an email every time a tracking number is updated. If you want to stop this from happening, you can change your Wix settings by following these steps:
- Go to Checkout settings in your site's dashboard.
- Scroll down to Order emails
- Click Edit Emails
- Go to the Order email notifications section
- Deselect the Send email automatically when a third party updates a tracking number to stop Wix from sending emails at every update:
Do you need extra help connecting your integration? Check our troubleshooting guide or contact us by logging a support ticket from your Sendcloud account.