
UPS contract activation
Purpose: Learn how to connect your own UPS carrier contract with your Sendcloud account in three easy steps.
The Sendcloud subscription plans have been updated. If the subscriptions shown in the banner above don’t match your current subscription plan and you’d like to know more, please click here.
Step 1: Activate your Sendcloud subscription
Sendcloud offers three subscriptions with which you are able to use your own transport contract: Lite, Growth, and Premium.
For more information regarding which plan is best for you and the needs of your business, you can always contact us via the support section of your Sendcloud account or visit our website here.
Step 2: Add your UPS contract
- In your Sendcloud account, go to Shipping > Carriers
- Click on the My contracts tab
- Click + Add your own contract
- Find UPS in the list of carriers and click Add contract.
Step 3: Activate your contract
Follow the instructions below:
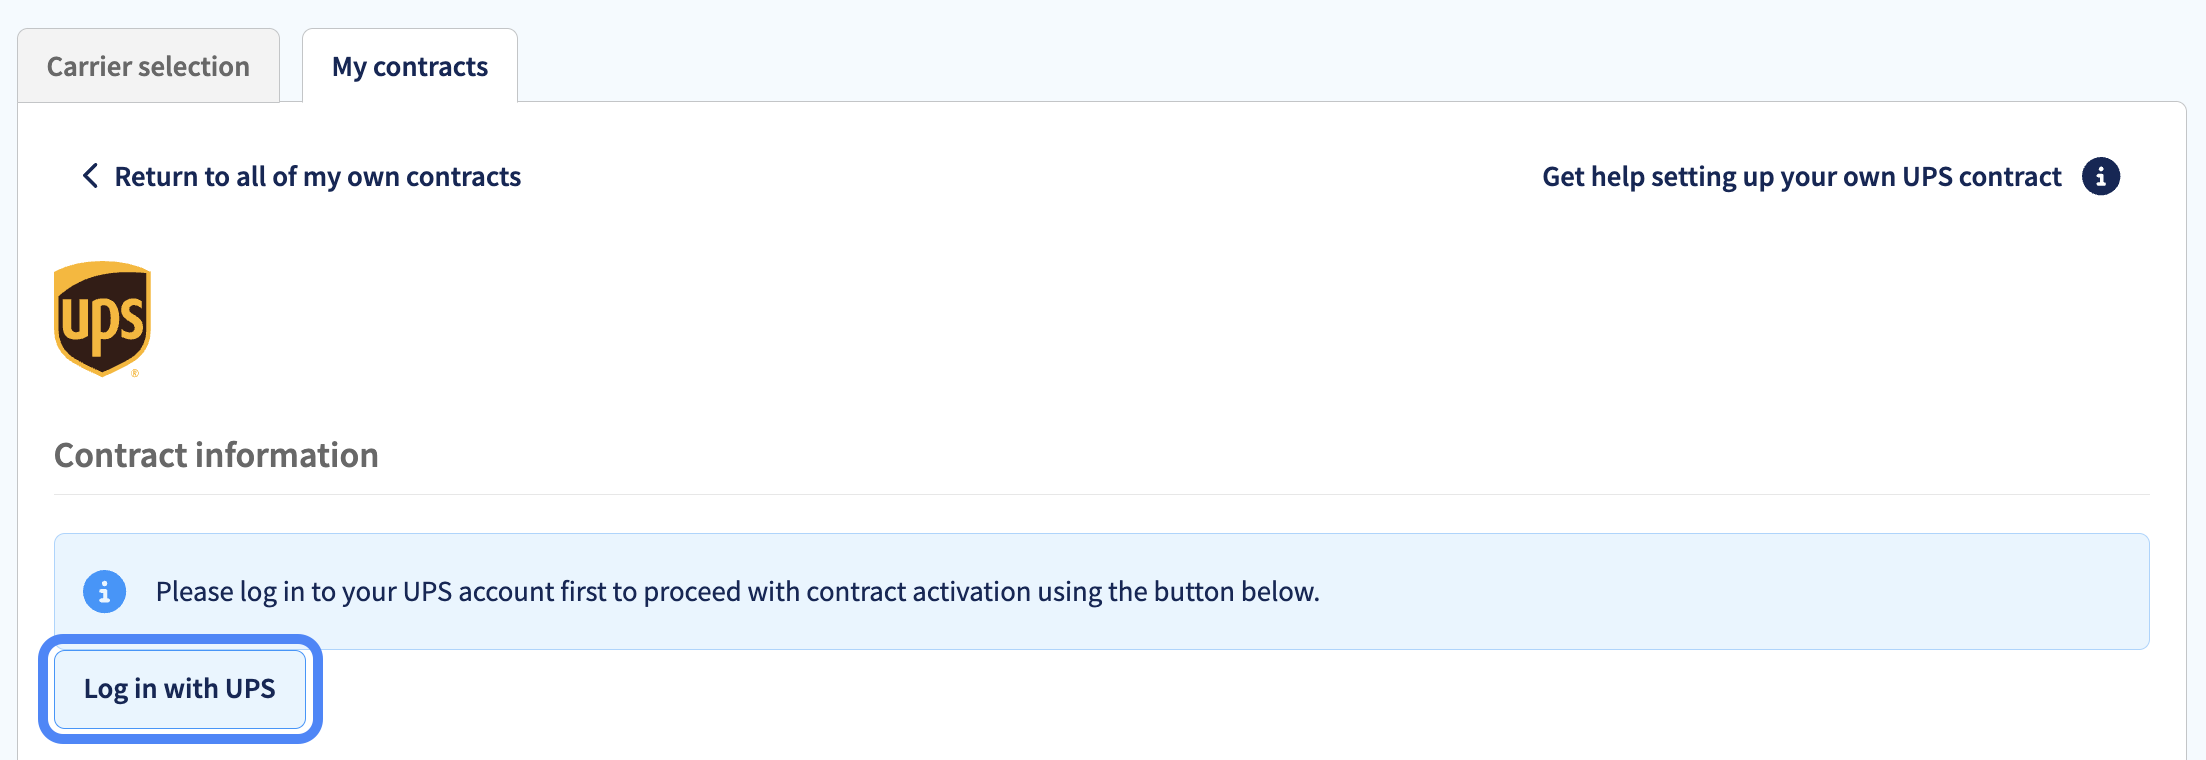
- From the carrier activation page in Sendcloud, click Log in with UPS
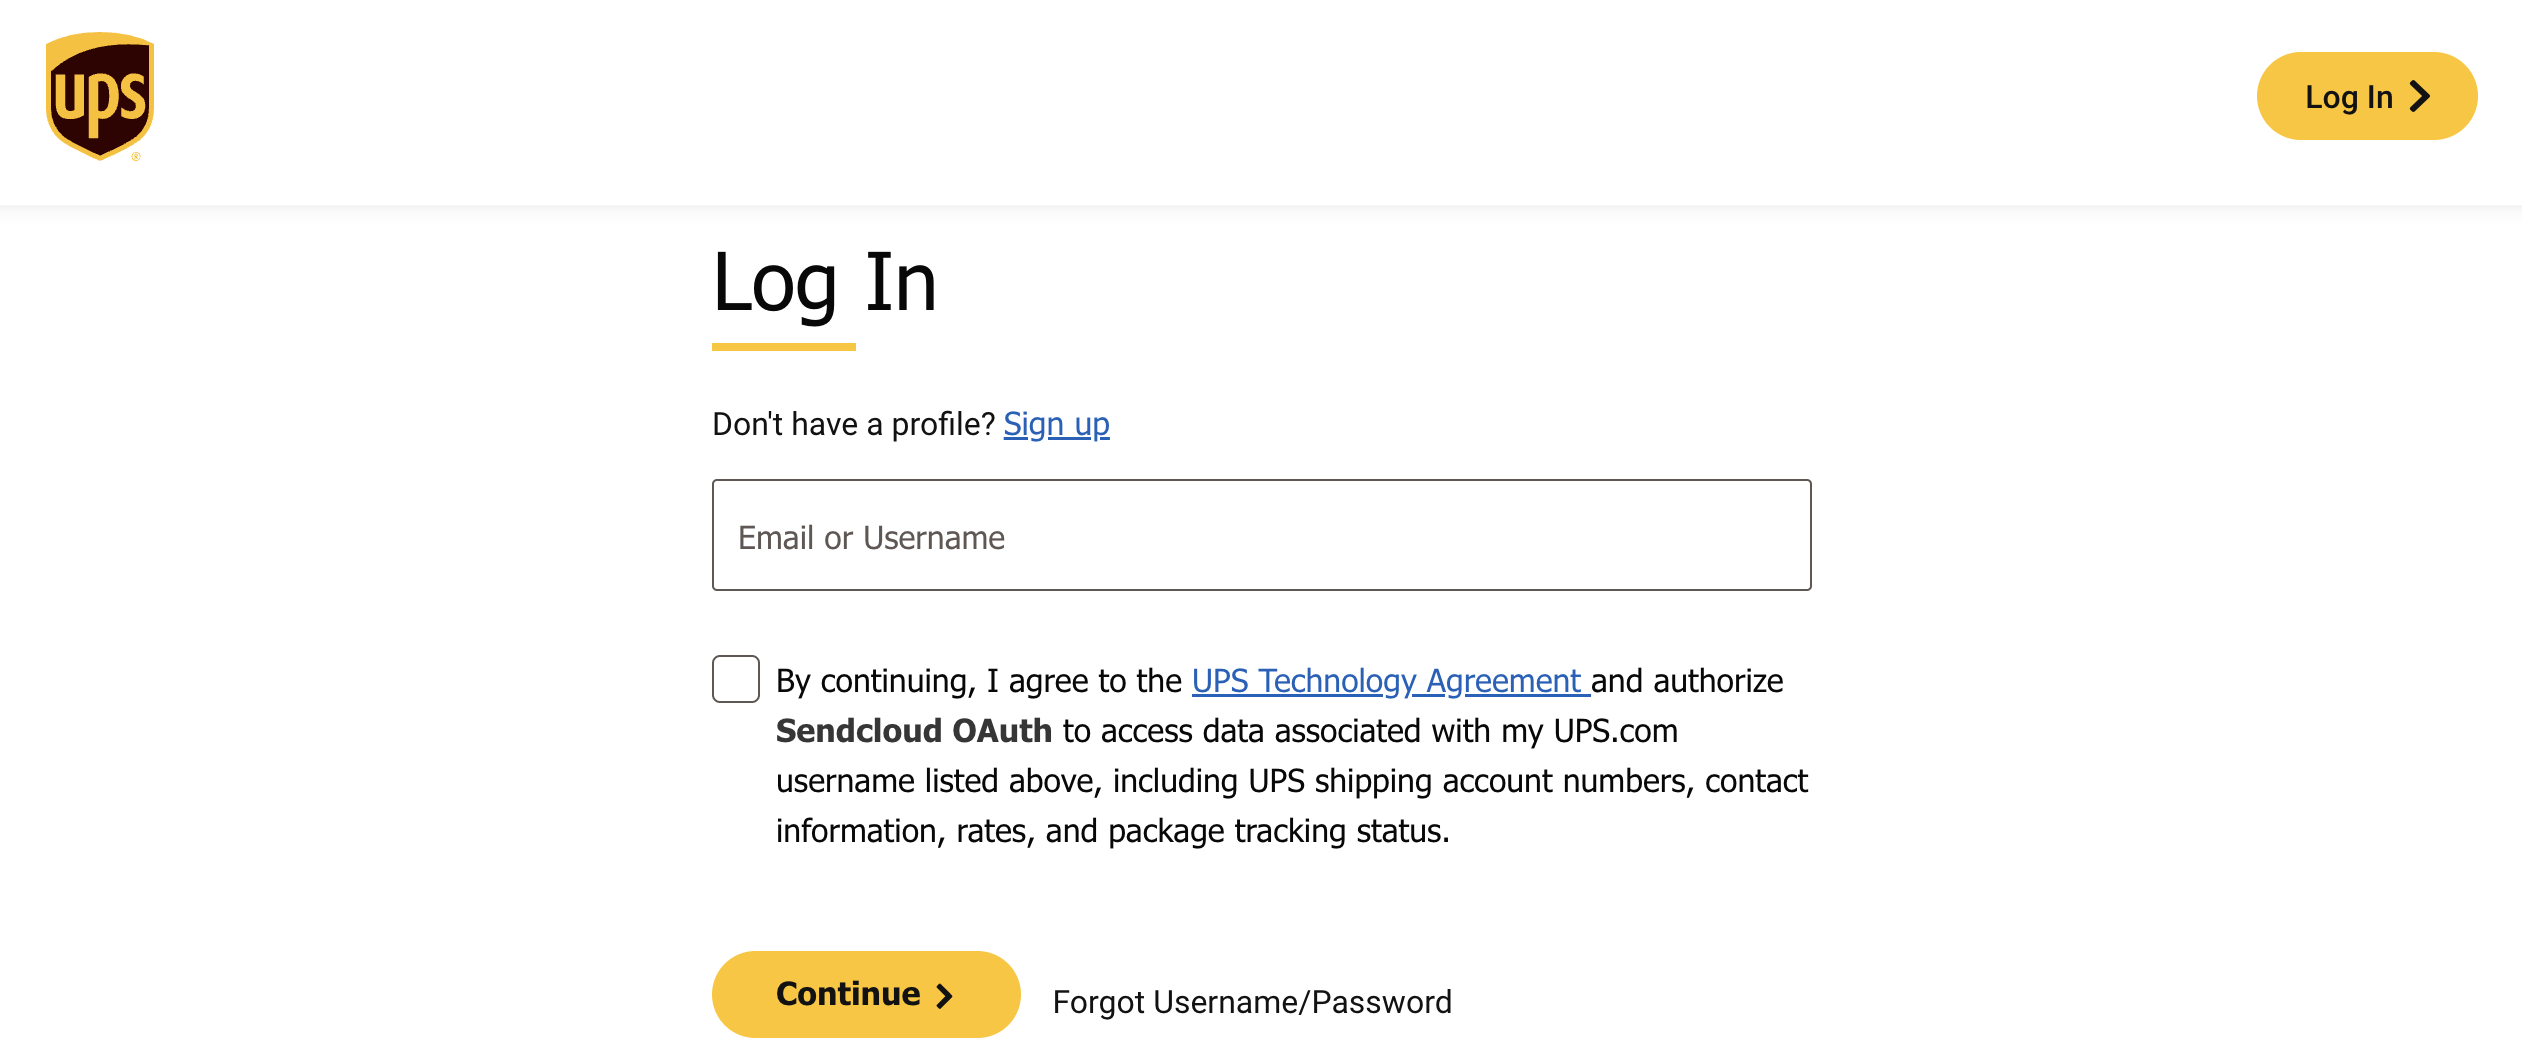
- You are now redirected to the UPS website. Enter your UPS credentials to log in
-
Once you provide your credentials and log in, you will be automatically forwarded back to the carrier activation page in Sendcloud, where the authentication code will have been generated automatically
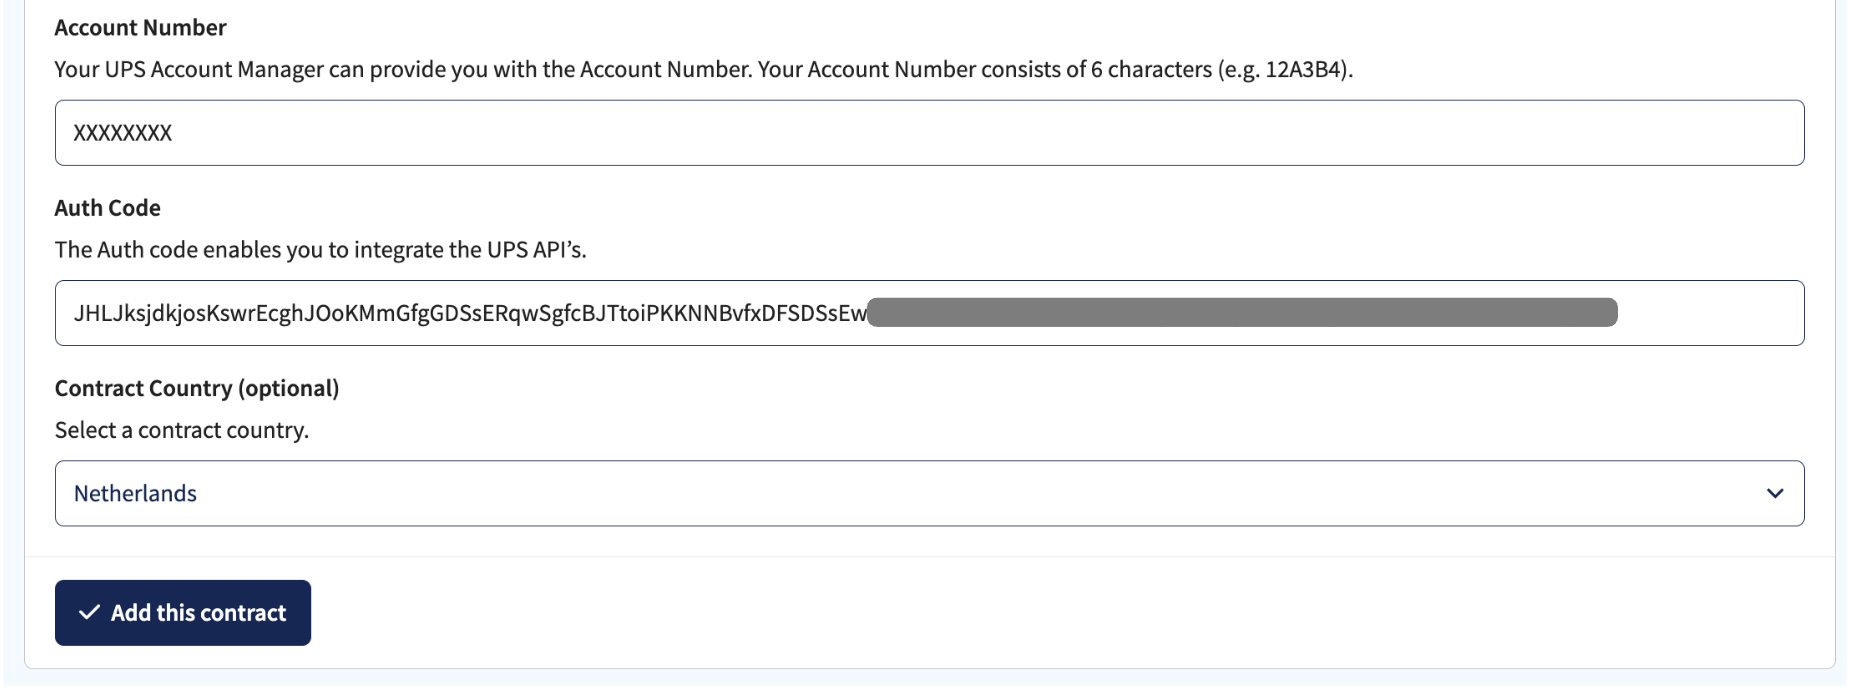
Note: If you are not forwarded to Sendcloud after logging in via the UPS website, you won’t be able to activate your UPS contract. Instead, you will be redirected to the “create a shipment screen” (known as CampusShip) which is not compatible. Please contact your Account Manager to make the existing account API compatible. - It is also important that you enter your account number (6 characters, e.g. 12A3B4)
- Enter optional fields such as the name of your contract (e.g. "My UPS contract") and the country of your contract from the drop-down menu
- Click Add this contract
- Make sure the contract is set to active (toggle on)
Re-enabling existing contract
UPS has changed its Authentification process, and you must re-enable your active UPS contracts in Sendcloud before June 1, 2024. Follow the simple steps below to re-enable your UPS contract:
- In your Sendcloud account, go to Shipping > Carriers
- Click on the My Contracts tab
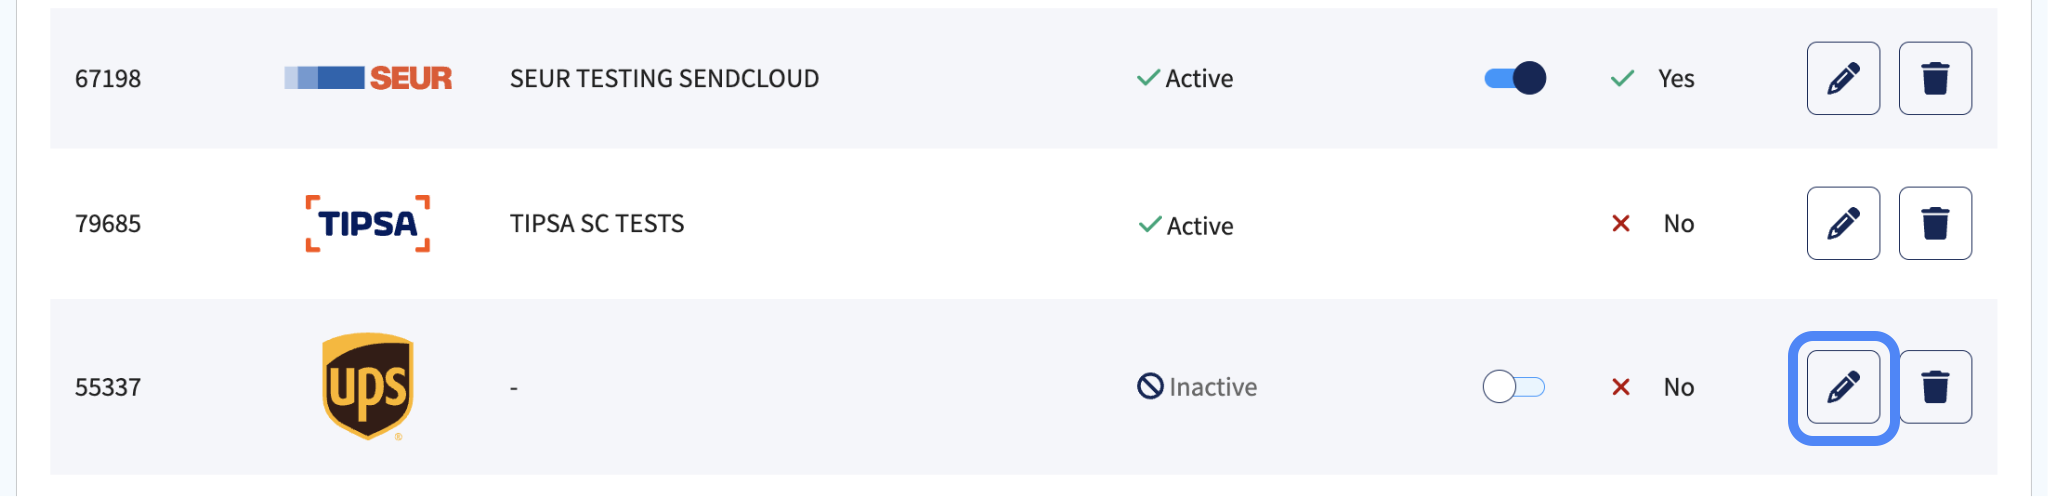
- Find UPS in the contract list and click on the Pen Icon
- From the carrier activation page in Sendcloud, click Log in with UPS
- Now you are redirected to the UPS website. Enter your UPS credentials to log in
-
Once you provide your credentials and log in, you will be automatically redirected back to the carrier activation page in Sendcloud, where the authentication code will have been generated automatically
Note: If you are not forwarded to Sendcloud after logging in via the UPS website, you won’t be able to activate your UPS contract. Instead, you will be redirected to the “create a shipment screen” (known as CampusShip) which is not compatible. Please contact your Account Manager to make the existing account API compatible. - It is also important that you enter your account number (6 characters, e.g. 12A3B4)
- Enter optional fields such as the name of your contract (e.g. "My UPS contract") and the country of your contract from the drop-down menu
- Click Save Changes
Paperless trade
UPS offers the option to use Paperless trade. If you have your own direct contract with UPS, please keep in mind that you should enable paperless trade in order to use it. Click here to go to the UPS website and enable paperless trade.
FAQs
Waarom komt de afzendernaam op mijn UPS-trackingpagina of -melding niet overeen met mijn zending?
De bedrijfsnaam die wordt getoond op UPS-trackingpagina's en in UPS-meldingen wordt niet overgenomen van je verzendlabel. Dit wordt bepaald door een instelling in je UPS-account die alleen van toepassing is als UPS deze voor dat account heeft ingeschakeld. Is deze instelling niet ingeschakeld, dan toont UPS de bedrijfsnaam die bij het account is geregistreerd, ook als de juiste naam wel in je zending is meegestuurd.
Dit geldt alleen voor zendingen die je verstuurt. Bij retourzendingen wordt altijd de naam getoond die bij het UPS-account is geregistreerd.
Om dit op te lossen:
- Vraag je UPS Account Executive om te bevestigen dat deze instelling is ingeschakeld voor het UPS-account dat je voor deze zendingen gebruikt.
- Controleer of het juiste afzenderadres is geselecteerd in Sendcloud, want de getoonde bedrijfsnaam komt daarvandaan.
- Is de instelling ingeschakeld en het afzenderadres correct, maar blijft het probleem bestaan? Neem dan contact op met Sendcloud Support. We maken een testzending aan en delen het verzoek met UPS, zodat zij kunnen controleren wat er aan hun kant wordt gebruikt.
Why does the sender name on my UPS tracking page or notification not match my shipment?
The company name shown on UPS tracking pages and in UPS notification emails isn't taken from your shipping label. It's controlled by a setting on your UPS account that only applies if UPS has enabled it for that account. If it isn't enabled, UPS shows the company name registered on the account instead, this can happen even though the correct name was included in your shipment.
This only applies to shipments you send out. Returns always show the name registered on the UPS account.
To resolve this:
- Ask your UPS Account Executive to confirm this setting is enabled on the UPS account you use for these shipments.
- Check that the correct sender address is selected in Sendcloud, since the company name shown comes from there.
- If the setting is enabled and the sender address is correct but the issue continues, contact Sendcloud Support. We can create a test shipment and share the request with UPS so they can review what's being used on their end.
The Auth code I received is much shorter than the one displayed here, is this correct?
Yes, Auth codes can vary in length, if the contract can be activated and you can create labels without issues it means everything is correct.
I haven't used my UPS contract with Sendcloud in over 60 days and now its failing, why?
UPS Auth Code is only valid for 60 days, if you don't use it after this period you will need to login again and create a new Auth Code.
Done! Once you've followed the steps above, your UPS contract should now be successfully linked to your Sendcloud platform and you can begin shipping on your UPS rates. When you create a label with a UPS shipping method, the label price will now show as 0.00 EUR in your account.