
Purpose: Learn how to activate Sendcloud's shipping rates for UPS New Partnership by following a few simple steps. Before you begin shipping, you’ll need to read and accept UPS’s Terms & Conditions.
Step 1: Activate UPS with Sendcloud rates
To activate and use Sendcloud’s UPS rates:
- In your Sendcloud account, go to Shipping > Carriers
- In the Carrier overview, locate UPS
- Click on Add or Activate
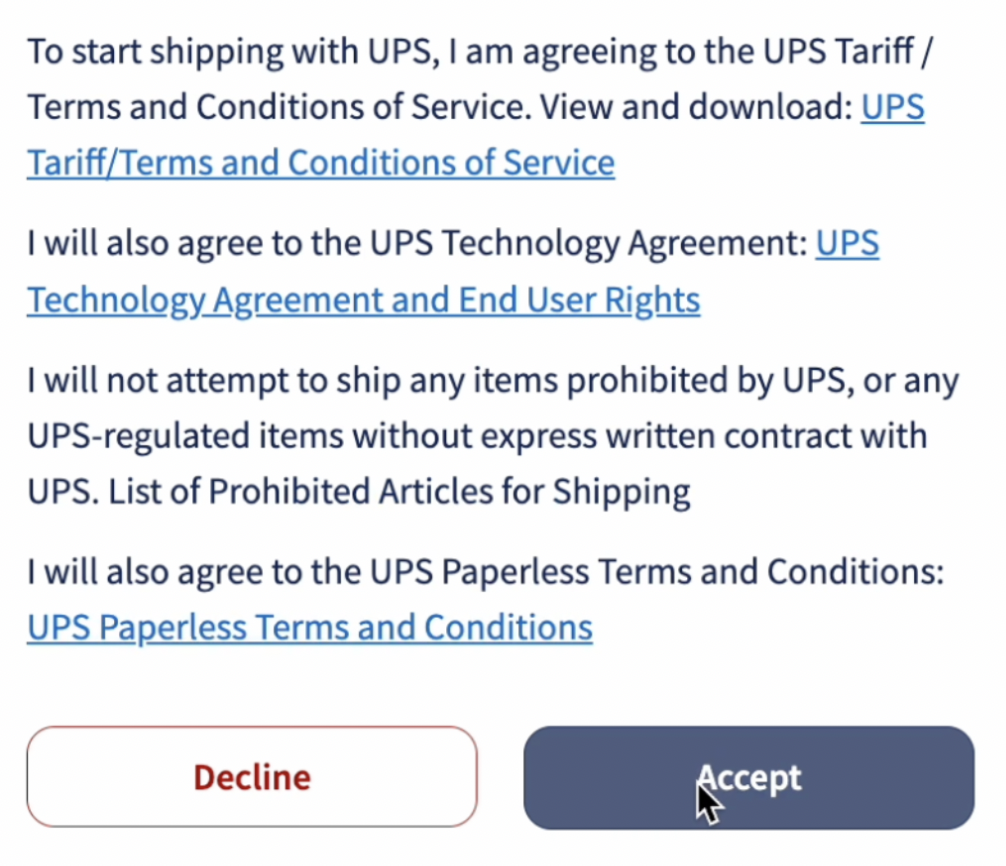
- A new screen will appear with the UPS Terms & Conditions
- Carefully read the Terms & Conditions
- Click Accept Terms & Conditions to proceed
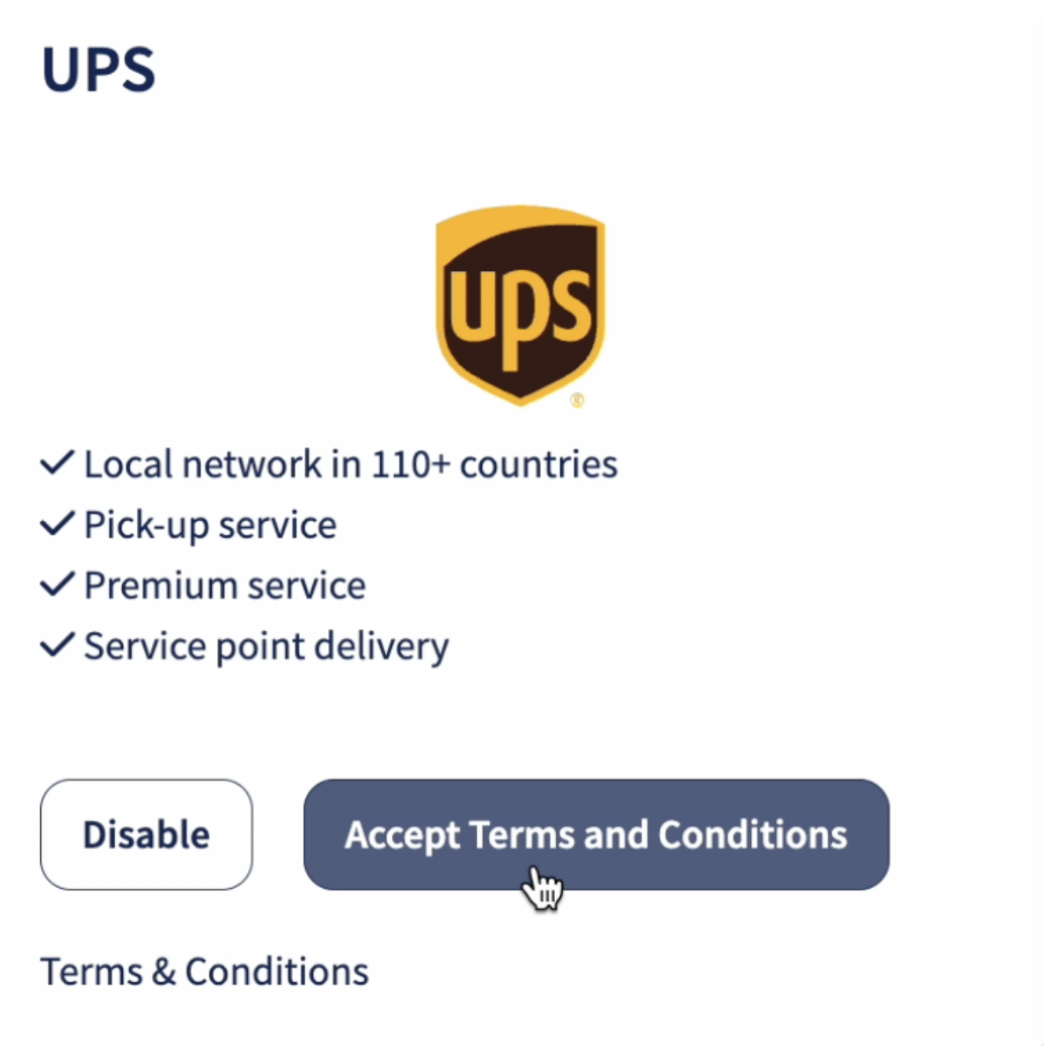

Once accepted, UPS shipping methods will become available in your account.
Step 2: Start shipping with UPS
After activating the UPS rates:
- Go to your shipping panel
- Create a label using one of the UPS shipping methods
- Your rates will be automatically displayed
- Once a label is created, the UPS rate will show directly at the label step
By accepting the Terms & Conditions, you acknowledge that all shipping rates and surcharges are set and managed by UPS. You will always see the latest pricing directly at the label creation step in your Sendcloud account.
FAQs
Why don’t UPS prices appear in the Price List?
UPS pricing is managed directly by UPS and is dynamically retrieved at the moment of label creation. For this reason, the Sendcloud Price List feature does not support UPS shipping methods. Always refer to the price shown during label creation for the most accurate UPS rate.
What if I forget to accept the Terms & Conditions?
You won’t be able to use UPS shipping rates until you accept them. Revisit the carrier activation page to review and accept them.
Where can I find the most updated UPS prices?
UPS rates are automatically updated and shown during label creation. Pricing is managed by UPS, not Sendcloud.
Will UPS notify about price changes?
The most recent price is always shown when creating a label. UPS does not send separate notifications about price changes.
You're all set!
Once you've followed the steps above, you can begin shipping with UPS via Sendcloud. Your labels will now reflect the Sendcloud UPS rates in your account.