
Purpose: Learn how to connect your own InPost Italy carrier contract with your Sendcloud account in three easy steps.
⚠️ Note on InPost services
InPost services in Sendcloud are available through two different integrations:
- InPost Italy (Italy API) → enables to-Locker shipments, both domestic and international
- InPost Global (Global API) → includes home delivery services (Home Delivery), available only at a domestic level
This article refers exclusively to connecting the InPost Italy contract.
Step 1: Activate your Sendcloud subscription
Sendcloud offers three subscriptions with which you are able to use your own transport contract: Lite, Growth and Premium.
For more information regarding which plan is best for you and the needs of your business, you can always contact us via the support section of your Sendcloud account or check the pricing page on our website.
Step 2: Enable your carrier contract
Once you have activated a Sendcloud subscription, you can connect your carrier contract.
In your Sendcloud panel navigate to Shipping > Carriers. Go to the My contracts tab and find InPost Italy from the list. Click Add contract. Here you can add the credentials needed to validate the connection to InPost Italy.
Step 3: Enter your InPost Italy account details
Reach out to your account manager/contact person at InPost Italy and request your credentials. Make sure to mention that you'll be shipping through Sendcloud.
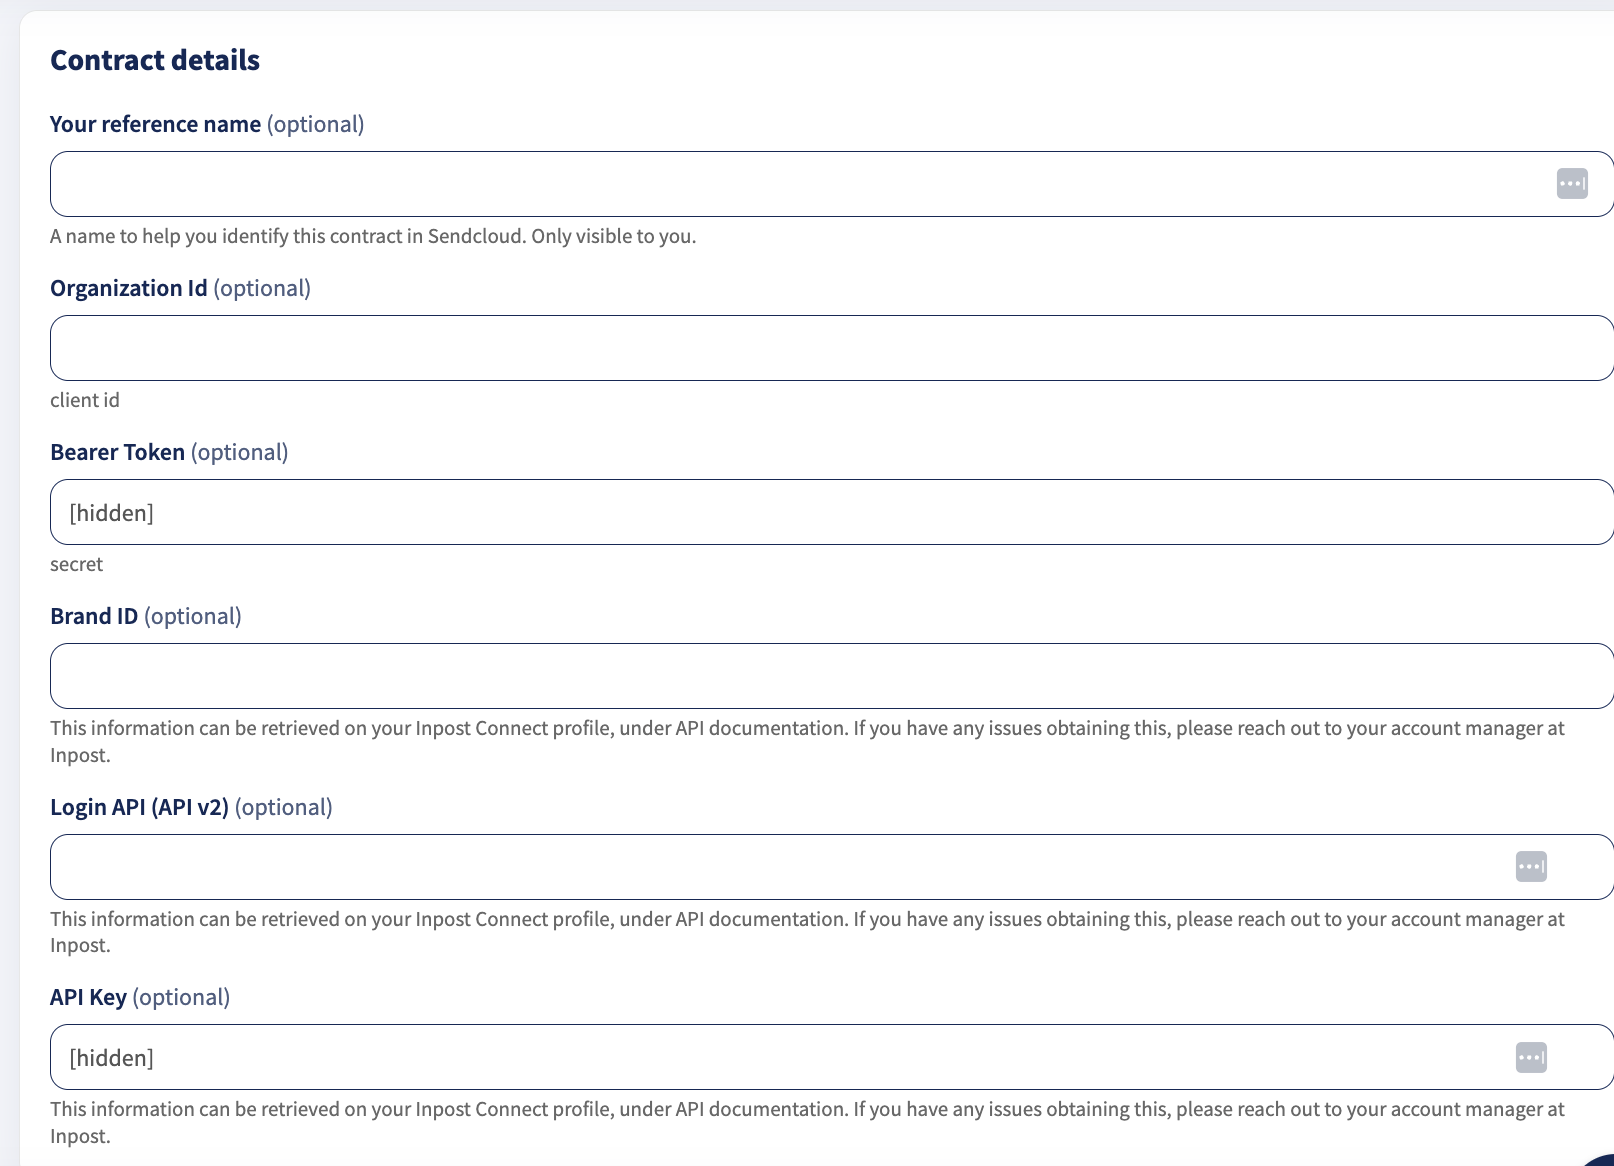
You will need to enter the following details into the correct fields and click Add this contract when you are done.
- Reference name (optional): Add a name to easily identify your contract throughout the panel, e.g. "My InPost Italy contract".
- Organization ID
- Bearer Token
- Brand ID
- LoginAPI (API v2)
- API Key
Done! Once you've followed the steps above, your InPost Italy should now be successfully linked to your Sendcloud platform and you can begin shipping on your InPost Italy rates. When you create a label with an InPost shipping method, the label price will now show as 0.00 EUR in your account.