
Purpose: This guide provides a step-by-step process to set up and integrate the Sendcloud Dynamic Checkout app with your Shopify Plus store. By following these instructions, you’ll enable dynamic shipping options directly in your checkout, offering a more flexible and optimized shopping experience for your customers.
This feature is available exclusively for Shopify Plus users and premium Sendcloud users. If you use the standard Shopify plan or a non-premium Sendcloud plan, you must upgrade to access these capabilities.
Before You Set Up
Before you begin setting up the Dynamic Checkout app, ensure you meet the following requirements:
- Shopify Plus Subscription
- Premium Sendcloud Account
Steps to Set Up the Shopify Plus Dynamic Checkout App
Step 1: Create the Integration
-
In Sendcloud:
- Navigate to Settings > Integrations.
- Click on Sendcloud API integration and then click Connect
- Copy the provided API keys and securely store them for step 4.
Step 2: Configure Dynamic Checkout in Sendcloud
-
Prepare Your Configuration:
- Follow the detailed instructions available in Sendcloud to set up your Dynamic Checkout configuration.
- Add a new template and update the delivery zones to include all shipping zones in Shopify that you want to offer through the Dynamic Checkout app.
-
Send Configuration:
- Once your configuration is ready, click on "Send".

- Choose the integration you have created in the first step and either "Send" or "Send and Publish".
If you choose "Send and Publish," the configuration goes live immediately. Otherwise, you can publish it later by going back to Shops, clicking on the three dots, and selecting Publish:
- Once your configuration is ready, click on "Send".
- Retrieve Configuration ID:
- After publishing your checkout template, retrieve the configuration ID.
- To get the configuration ID, click on the three dots next to your template and select "Copy configuration ID".

Step 3: Install the Sendcloud App and Integrate with Shopify
-
Visit the Shopify App Store:
- Search for "Sendcloud Dynamic Checkout" app
- Click "Install" to add Sendcloud to your store.
-
Integrate with Shopify Plus:
- Open the Dynamic Checkout app in your Shopify Plus Store.
- Enter the API Keys (from Step 1) and the configuration ID (from Step 2) provided by Sendcloud.
- Save your settings to complete the integration.

- Install carrier service:
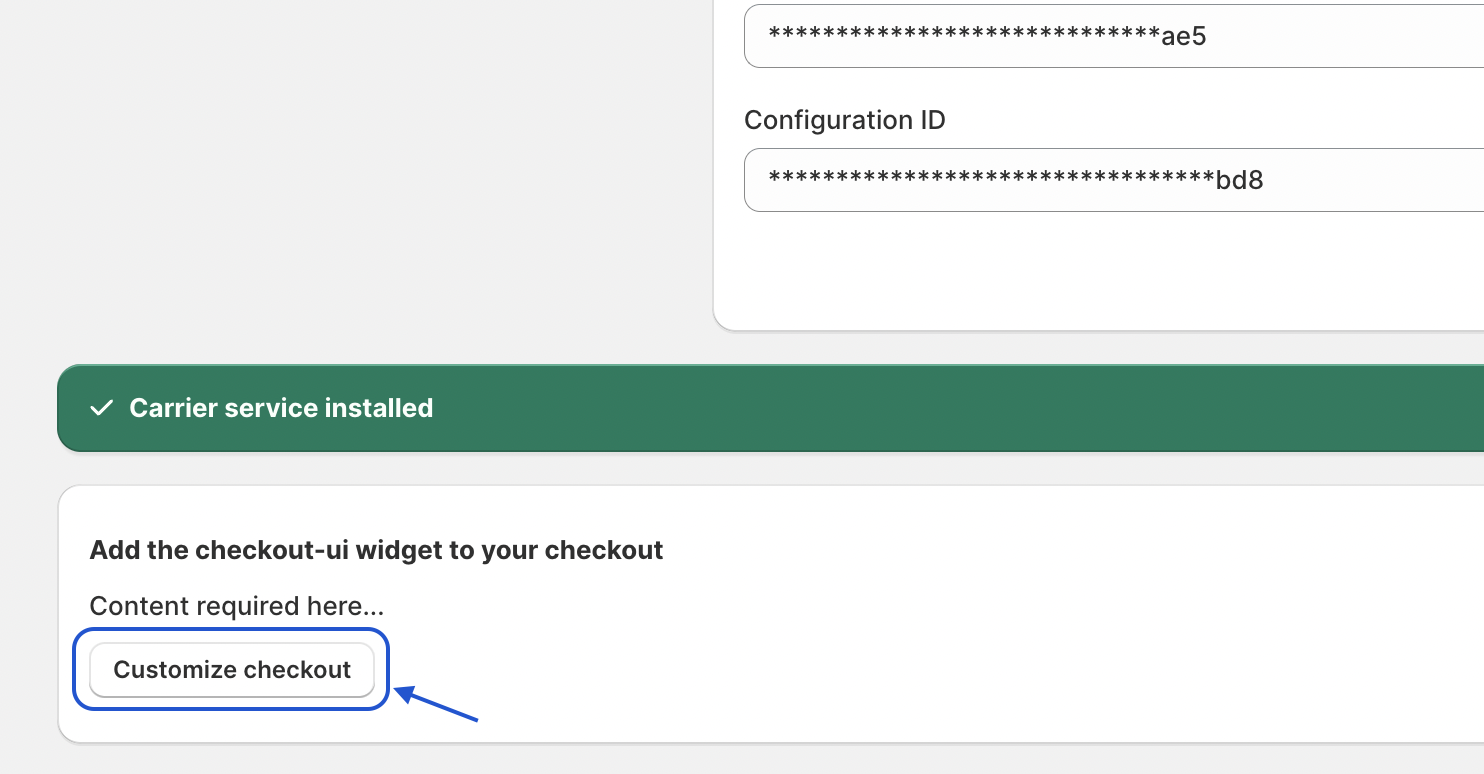
- After saving the API credentials and configuration ID, click the Install carrier service button to make the app rates available in the Shipping settings in Shopify.

- Once successfully installed, the carrier service should appear as follows:

Step 4: Customize the Checkout
- In Shopify Plus:
- Click on Customize checkout to open the customization interface.
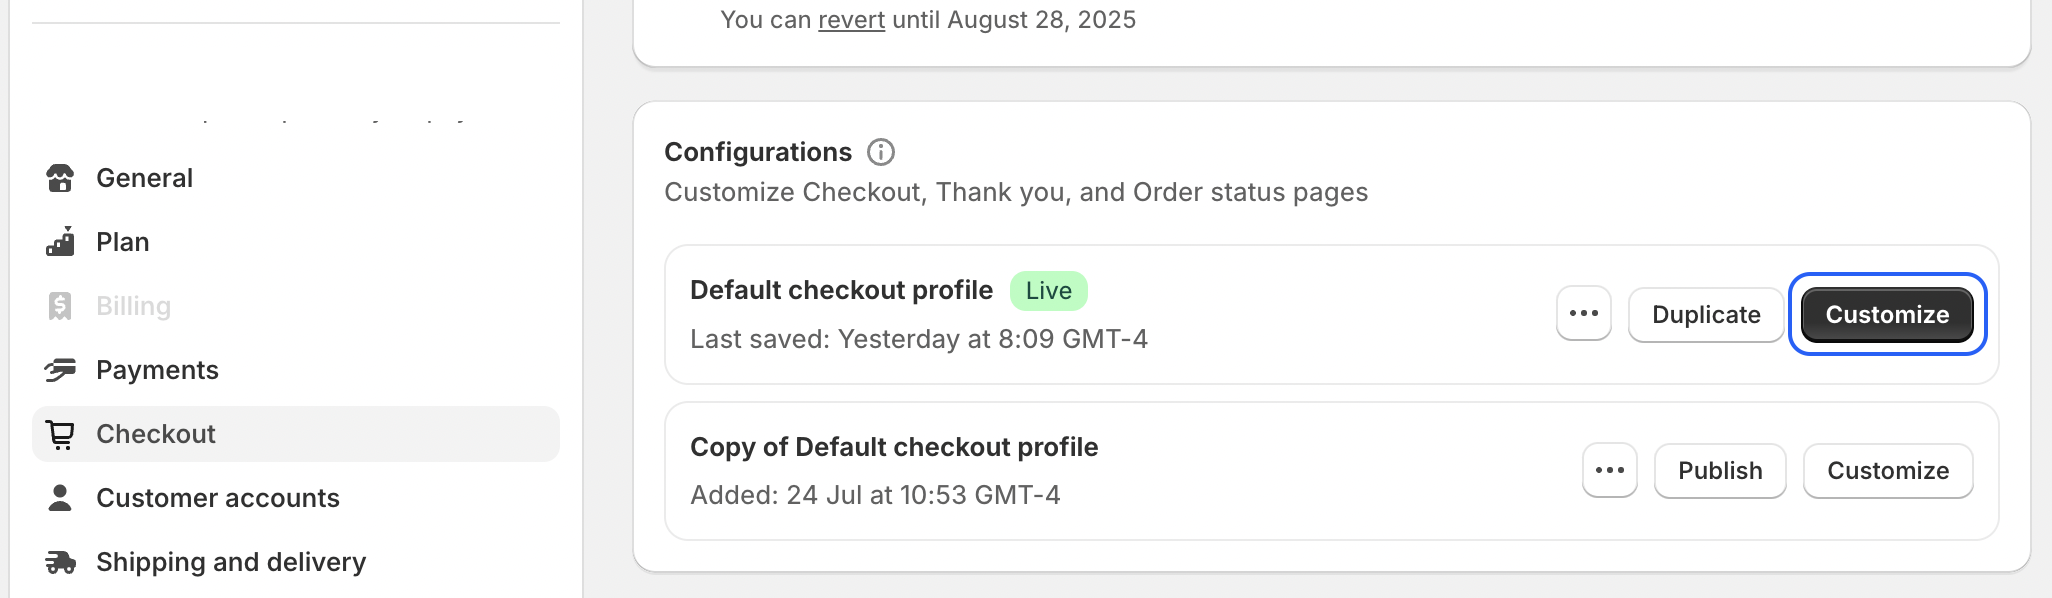
- Click on Customize:
- Click Add App Block (located at the bottom left).
- Select Sendcloud Dynamic checkout.
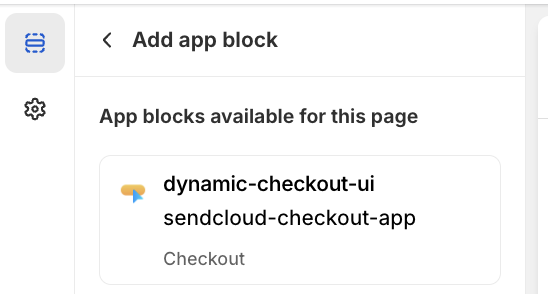
- Make sure the options “Include app block in Shop Pay” and “Automatically expand sections to show app” are checked.

- Add the Checkout app block to your desired checkout section.
- Click SAVE (top right).
Step 5: Install the application in the carrier rates service
-
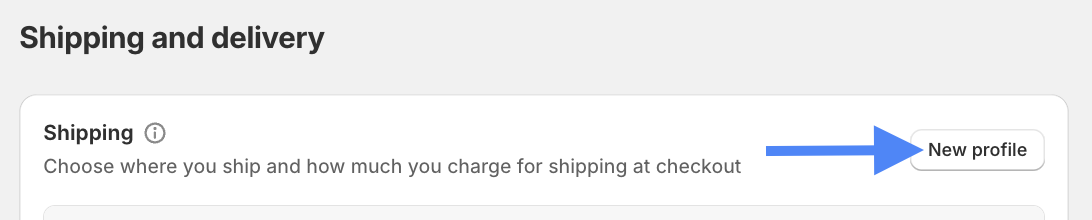
In Shopify settings:
- Go to Shipping and Delivery and create new shipping profiles.
- Remember to add the Products.
- Click on Add shipping zone to add the desired shipping zone.

- Go to Shipping and Delivery and create new shipping profiles.
- Add rate:
- For each shipping zone, add a rate type:

- Select “Use carrier or app to calculate rates”.
- And select the Sendcloud Dynamic Checkout app from the list.
- Check the box "Automatically show new shipping services to customers when they become available" to ensure that future updates are reflected on the Shopify payment page > Click on "Done".

-
You'll need to repeat these steps for each shipping zone where you want to offer dynamic shipping options.
Optional: if you wish to add more rates without offering the Dynamic Checkout, simply select "Use flat rate".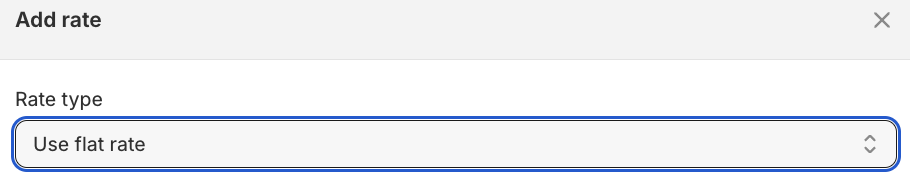
- In Shipping zone > Carrier name, find Sendcloud Dynamic Checkout.
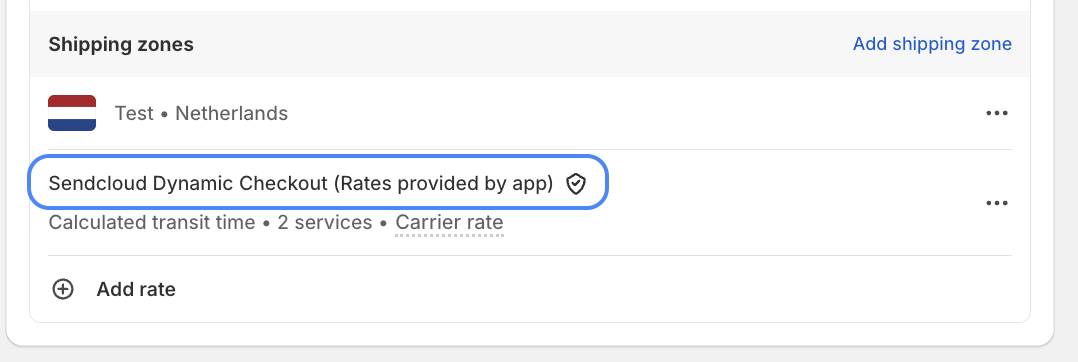
- Click "Save".
-
Finalize:
Your Dynamic Checkout app is now installed and fully integrated into your Shopify Plus payment process.
You can still change its configuration within the Sendcloud app; changes will be immediately reflected on your store's checkout.
If you need help optimizing your checkout process, we're happy to support you and connect you with our Shopify Plus partner network.
Note: The following Checkout Rules conditions are not compatible with this app:
- Parcel dimensions (parcel length, parcel width, parcel height).
- Checkout metadata.
Managing Multiple Warehouses and Sender Addresses Across Different Countries
For merchants fulfilling orders from multiple warehouses or sender addresses in different countries, it is essential to ensure that the Sender address country in Sendcloud matches the Fulfillment location country in Shopify.
Why is this important?
If the sender address in Sendcloud does not align with Shopify’s fulfillment locations, the checkout configuration may not work as expected, and shipping methods might not display correctly.
Check here How to configure multiple warehouses in different countries
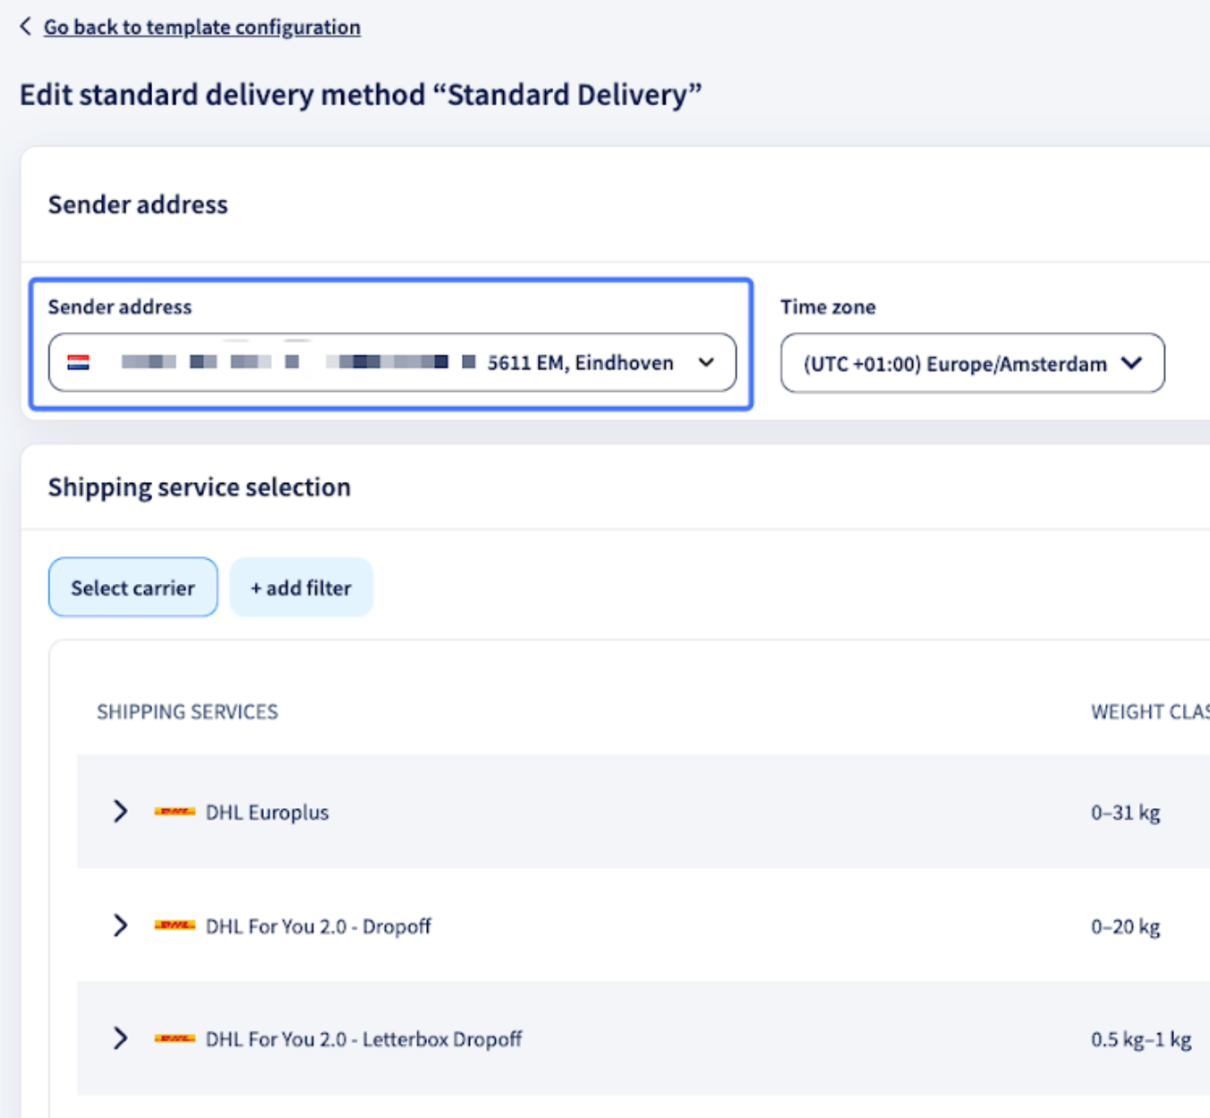
Step 1: Configure your checkout settings in Sendcloud
- When setting up Dynamic Checkout in Sendcloud, define the sender country and delivery zones correctly.
- Example:
- If your checkout configuration includes delivery methods:
- From NL to NL & NL to BE
- From DE to DE
- Ensure that these shipping flows are separated in Sendcloud accordingly.

- If your checkout configuration includes delivery methods:
Step 2: Mirror the setup in Shopify
- In Shopify → Shipping and Delivery settings, create separate fulfillment and delivery locations that match your setup in Sendcloud.
- Example:
- If orders from the Netherlands are fulfilled from a warehouse in NL and orders from Germany are fulfilled from a warehouse in DE, Shopify must reflect this by having separate fulfillment locations for each country.
- Also, ensure that products are assigned to the correct fulfillment locations in Shopify.

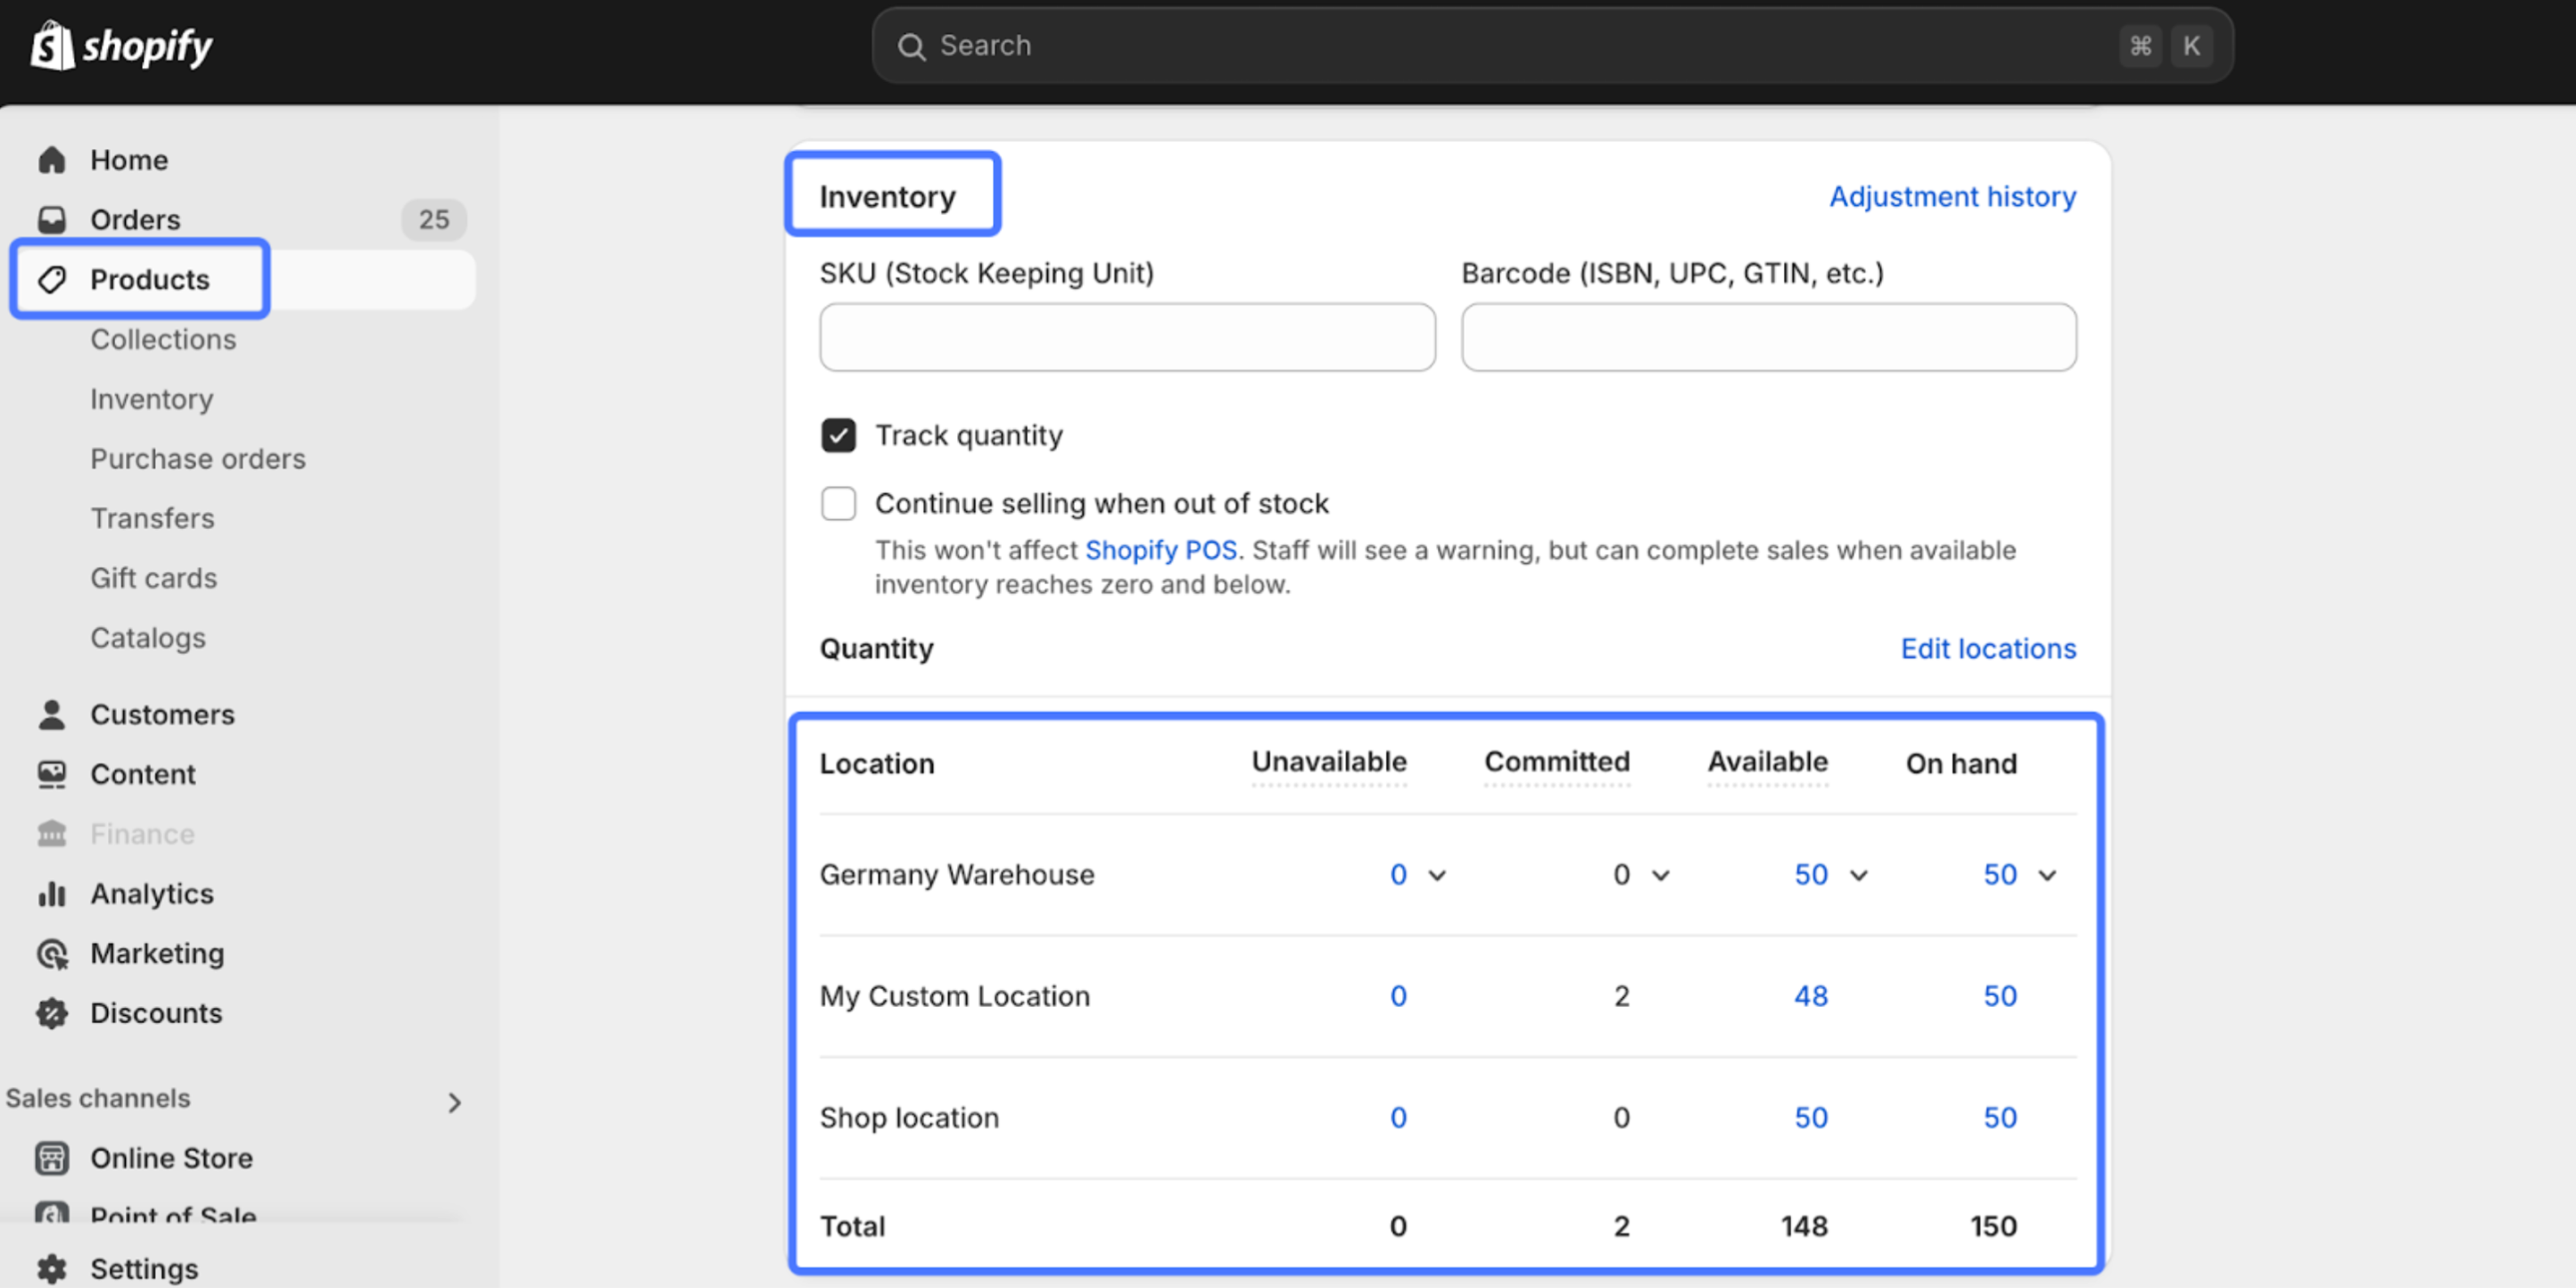
Step 3: Verify product availability in Shopify
- In Shopify → Products, make sure that each product is available in the correct fulfillment locations based on where it is being shipped from.
- Example:
- A product stocked in the NL warehouse should be assigned to the NL fulfillment location in Shopify.
- A product stocked in the DE warehouse should be assigned to the DE fulfillment location in Shopify.
Fulfilling Orders with the Dynamic Checkout App
After setting up the Dynamic Checkout app, there are two ways to handle the extra information collected during the checkout process.
This flexibility allows you to choose the method that best fits your business needs, whether you prefer a plug-and-play approach with the Shopify V2 app or a more customized integration with your ERP or WMS.
Option 1: Use the Shopify V2 App to Pull Orders into Sendcloud
-
Seamless Integration: If you're using the Shopify V2 app, the extra information from the checkout app will automatically be pulled into Sendcloud along with your orders.
Click here to download the V2 integration directly from the Shopify App Store. -
Extra Information: The additional details collected during the checkout process (such as delivery preferences and options) will be visible directly within Sendcloud. This makes it easy to manage and fulfill orders based on customer-selected options without needing any additional configuration.
See here how to access the additional details:
Go to Orders > Click on the relevant order > Find the Additional details on the right side
Option 2: Map the Extra Information in Your ERP/WMS
- Additional details: If you are not using the Shopify V2 app, the extra checkout information (payload) will be saved in the additional details in Shopify.
- Manual Mapping: You will need to map this additional data in your ERP (Enterprise Resource Planning) or WMS (Warehouse Management System) to ensure that your fulfillment process considers the specific delivery preferences or options the customer selects. You can refer to the Sendcloud API documentation on "responses" to see the exact data that will be collected and stored.
- Customization: This method allows you to fully integrate the dynamic checkout data with your existing systems, ensuring that all customer preferences are adhered to during the fulfillment process.
customAttributes object of the payload.For further details and troubleshooting, please refer to the official Shopify Guide