
![]()
Purpose: Learn how to offer service point delivery to your customers in your Squarespace checkout.
Step 1. Activate service points in your Sendcloud panel
To enable delivery to service point locations, follow the steps below:
- Go to Settings > Integrations
- Find Squarespace in the list of integrations and click Configure
- Check the box Service points to activate
- Choose the carriers that you want to use for service point delivery
- Click Save when done.

Step 2. Configure service point delivery in Squarespace
To configure service points in your Squarespace backend, follow these steps:
- In your Squarespace environment, from the Home menu, go to Commerce > Shipping > Add shipping option
- Create a new Flat Rate shipping method, give it a name (e.g. Service point delivery Netherlands) and select a shipping zone (a single country or the rest of the word).
Important: If a shipping method applies to multiple countries, avoid using commas to separate the country names in the shipping method name. Using commas can split the shipping method into multiple entries in Sendcloud, and the name will not be recognized.
- If you want to offer a different rate for other countries, you can create a new shipping method for a specific country, and enter a different rate

Step 3. Finish the configuration in the Sendcloud configuration page
To finish configuring service point delivery, follow these instructions:
- In your Sendcloud panel, go to Settings > Integrations > Find your Squarespace integration > Click Configure
- Click the blue button Go to configuration
- You will be redirected to a separate Sendcloud configuration page
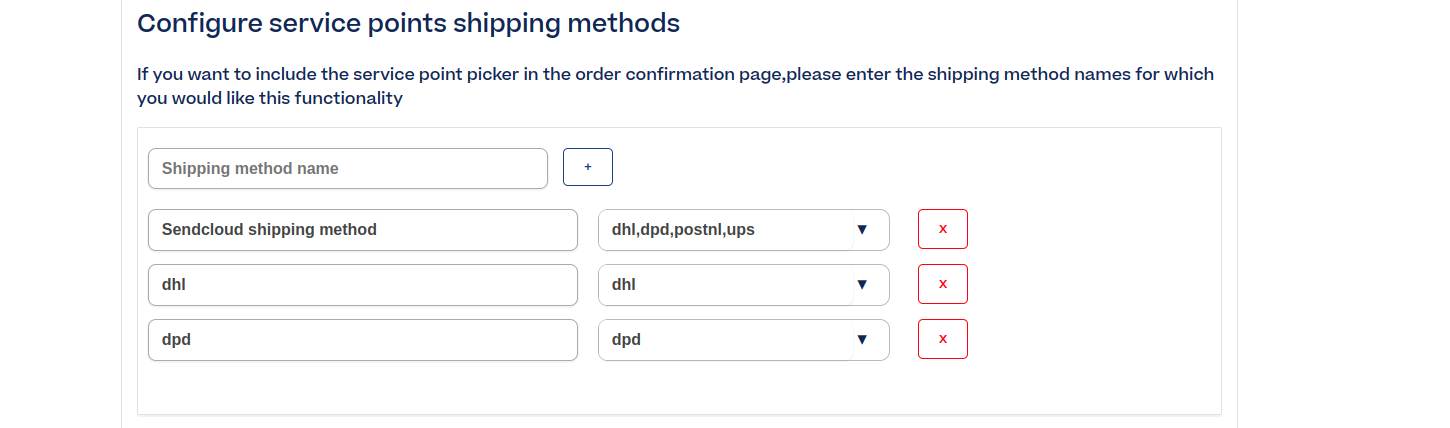
- Under the section Configure service points shipping methods, enter the names of the Shipping Options that you configured in Squarespace in Step 2. Make sure to use the exact same name, including the same capitalization, that you entered in the Option Name in the Flat Rate configuration.
- Next to each shipping option, select the corresponding carrier/s from the dropdown menu. The list of carriers is based on the carriers that you enabled for service point delivery in Sendcloud in Step 1.

- Click the + button to add more shipping options
- Under the section Configure order finish page, choose Order status page

- Click the Copy button to copy the automatically generated code
- Click Save to save the changes made in the Sendcloud configuration page
- Go back to your Squarespace environment and navigate to Home > Settings > Advanced > Code Injection > Find the section Order Status Page and paste the code that was just generated.
If you have correctly configured service points in Sendcloud and Squarespace, your customers can now choose to have their packages delivered to a service point.