
Purpose: This article explains how to connect your TEMU shop to Sendcloud using the Sendcloud powered by eCommeleon app. You'll learn how to retrieve your TEMU access token, create the required Sendcloud API credentials, and complete the onboarding process in eCommeleon.
Before you start
To connect TEMU to Sendcloud, you'll need to retrieve your TEMU access token and create an API integration in Sendcloud.
You'll use these credentials while completing the onboarding process in eCommeleon.
Connect TEMU to your Sendcloud account
Step 1 Install the TEMU app and get your access token
Important: If you operate multiple TEMU shops, you need to install the Sendcloud powered by eCommeleon app separately in each shop. Each shop generates its own Access token.
Follow the steps below for each TEMU shop and copy and securely store the corresponding Access token. You'll need each token later when connecting the shops in eCommeleon.
To install the app and retrieve your access token:
- Log in to your TEMU account.
- In the left-side menu, go to Apps & Services > App Store.
- In the App Store search bar, search for Sendcloud powered by eCommeleon.
- Install the app and click Authorize.
- Select all checkboxes to grant the required permissions, then submit.
- After authorising the app, you'll be redirected to eCommeleon. Keep the eCommeleon page open and return to TEMU to retrieve your access token.
- In TEMU, go to Apps & Services > Manage my apps.
- Under Actions, click View access info.
- Copy the Access token and store it securely. You'll need it later during the eCommeleon onboarding process.
Step 2 Create an API integration in Sendcloud
Next, create an API integration in your Sendcloud account.
- Log in to your Sendcloud account.
- Go to Settings > Integrations.
- Create a new Sendcloud API integration.
- Enter a name for the integration.
- Click Save.
After saving, your Sendcloud API credentials will be displayed. Store your Public Key and Secret Key securely.
You'll also need your Integration ID during the eCommeleon onboarding process. You can find it in the URL of your Sendcloud integration page. The Integration ID is the number displayed after /api/ in the URL. For example, if the URL ends in /api/123456, your Integration ID is 123456.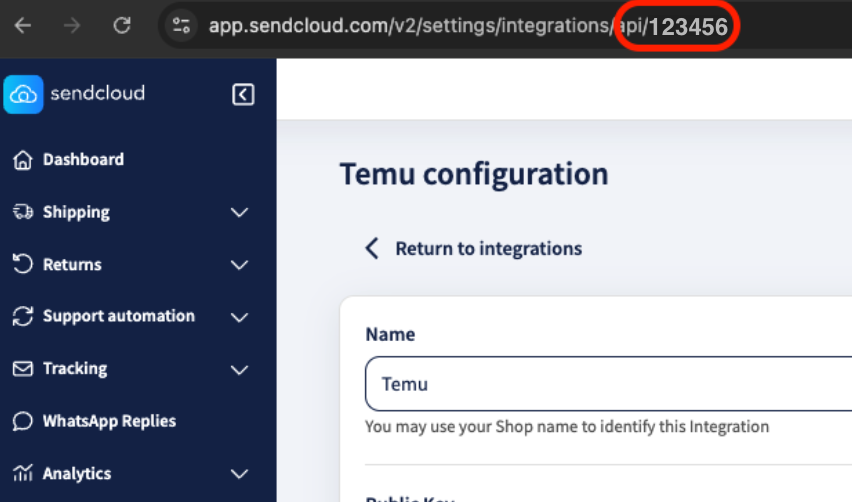
💡 Tip: You'll need your Public Key, Secret Key, and Integration ID when completing the onboarding questionnaire in eCommeleon.
Step 3 Complete the onboarding in eCommeleon
Once you have your TEMU access token, Sendcloud API credentials, and Integration ID ready, complete the onboarding process in eCommeleon.
1. Create your eCommeleon account
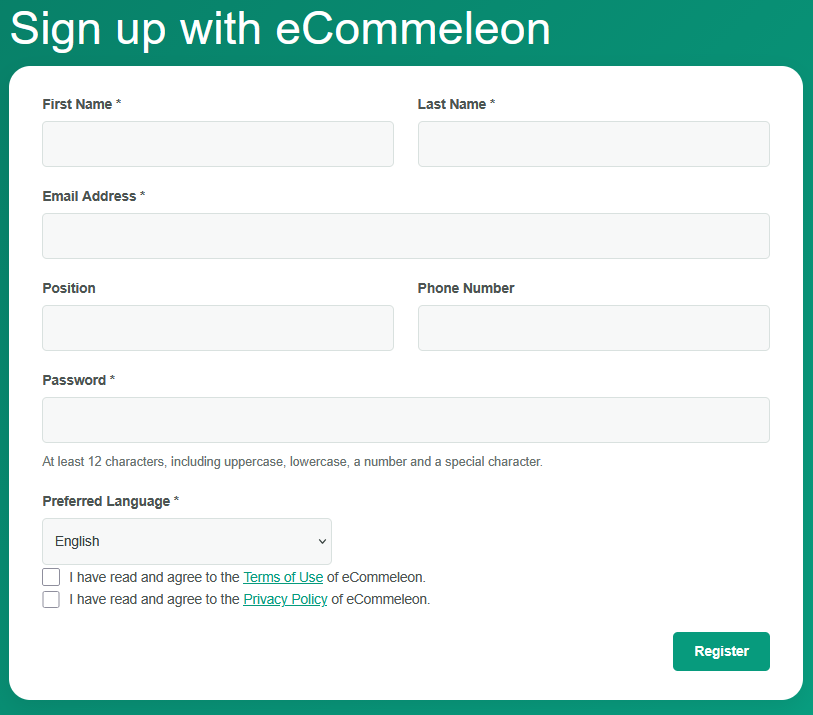
After installing the Sendcloud powered by eCommeleon app in TEMU, you'll be redirected to the eCommeleon sign-up page: eCommeleon sign-up .
If this is your first TEMU shop:
- Enter the requested account details.
- Choose your Preferred Language.
- Accept the eCommeleon Terms of Use and Privacy Policy.
- Click Register.
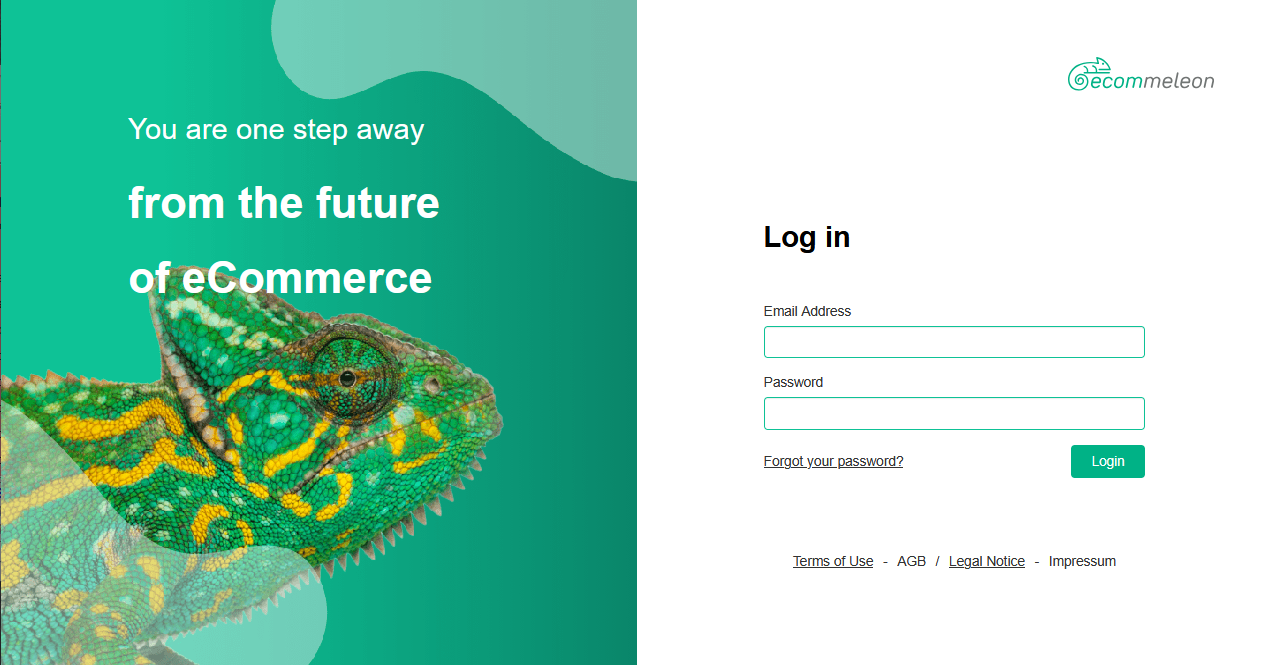
After registering, you'll be redirected to the eCommeleon login page.
Enter your email address and password, then click Login.
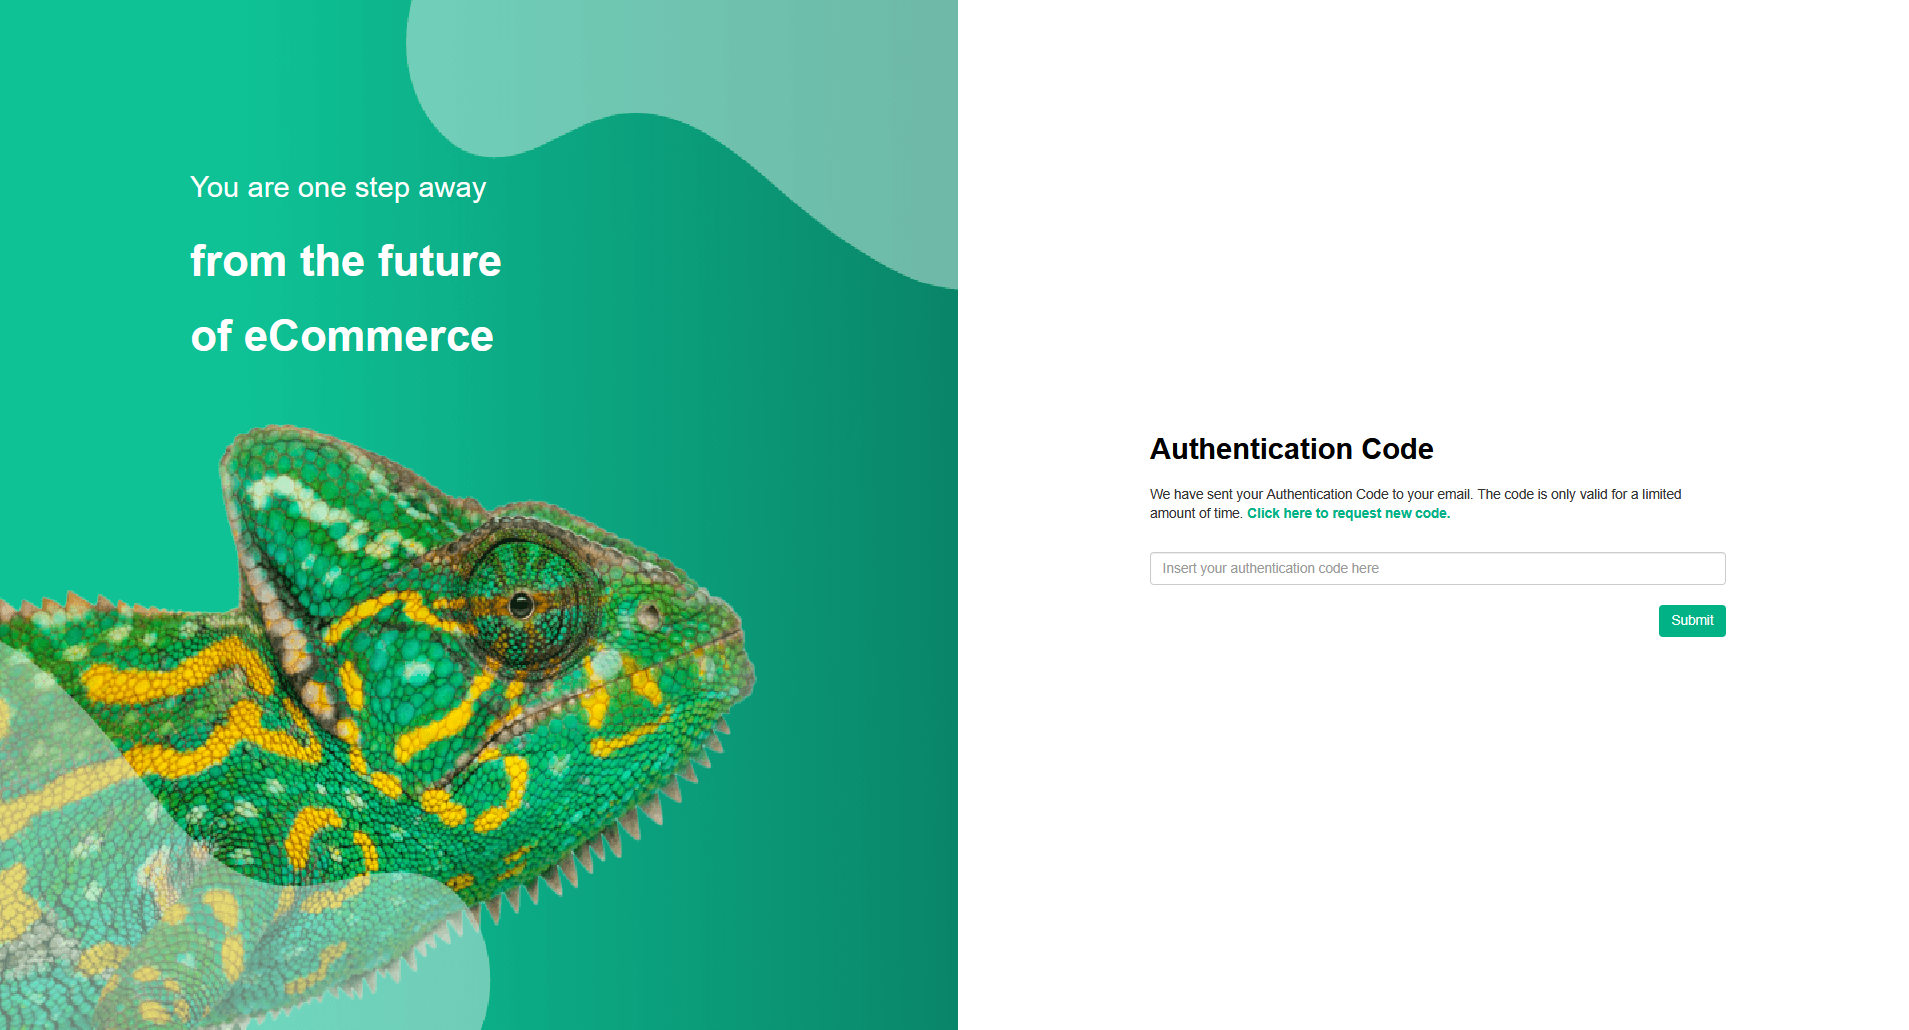
eCommeleon will send an Authentication Code to your email address. Enter the code and click Submit.
Connecting an additional TEMU shop?
You don't need to create another eCommeleon account. Install the Sendcloud powered by eCommeleon app in the additional TEMU shop and then log in to your existing eCommeleon account at the eCommeleon login page .
2. Enter your Sendcloud information
After signing in, you'll see the eCommeleon Onboarding Questionnaire.
Complete the Basic information section and the New Account - SendCloud questions section. Enter the requested Sendcloud information, including your:
- Sendcloud Public Key
- Sendcloud Secret Key
- Sendcloud integration ID
Complete any other required fields shown in the questionnaire and click the corresponding Save button for each section.
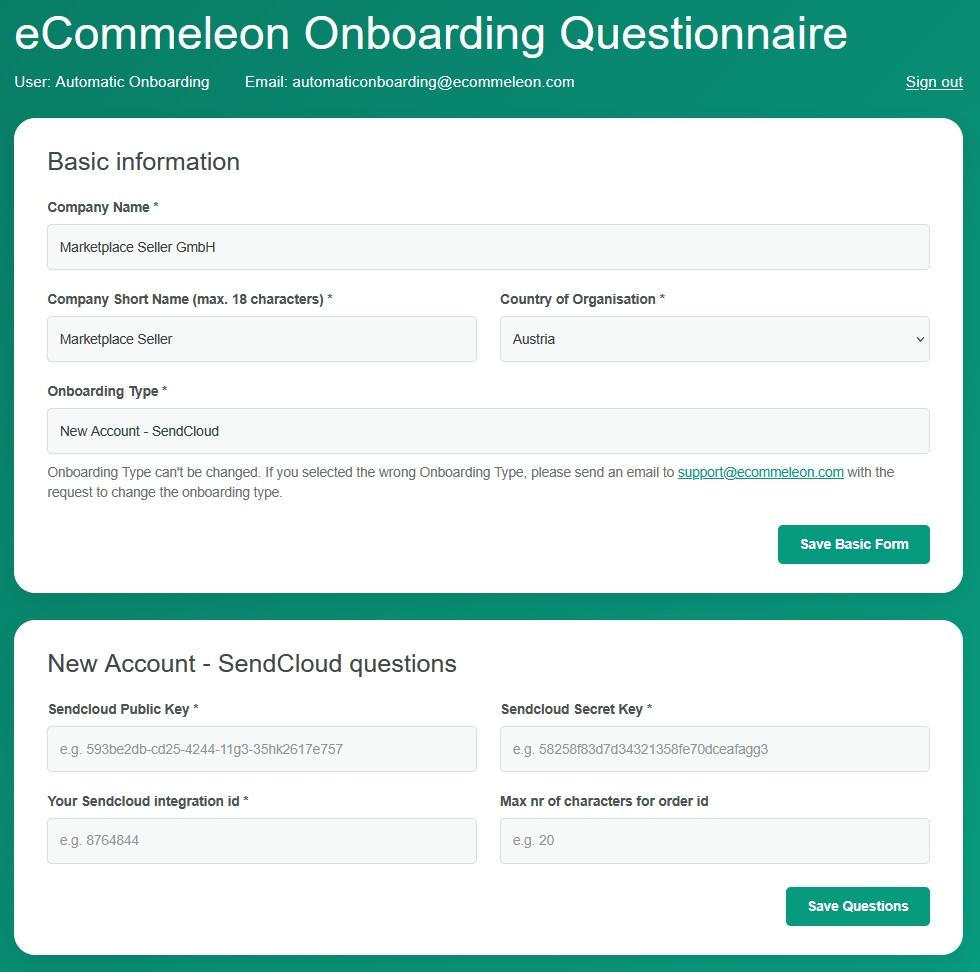
Important: Make sure you save each section before continuing. If you continue without saving, your information may be lost and the next sections of the questionnaire may not appear.
3. Add your TEMU shop
In the Sales Channels section, select the TEMU shop you want to connect.
A credentials section for the selected TEMU shop will appear. Enter the TEMU access token you retrieved in Step 1.
Click Save Sales Channels.
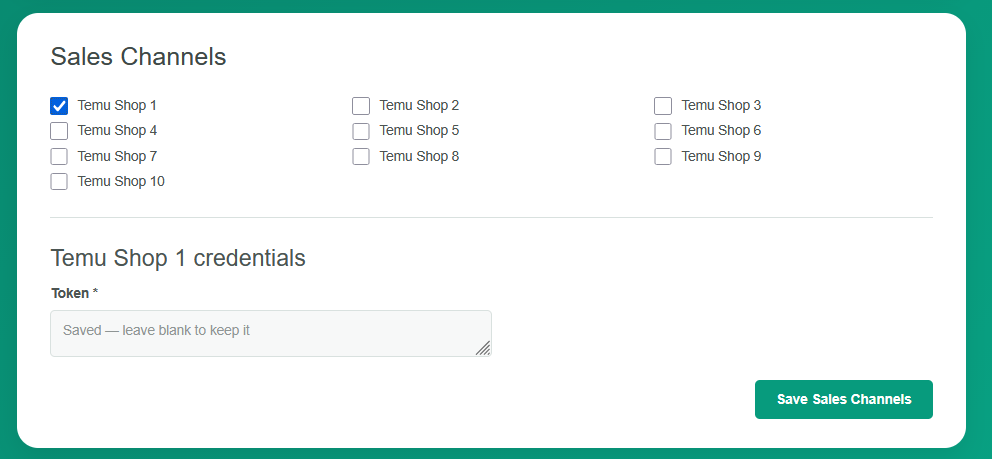
4. Configure your order feed
After saving your sales channel, the Feeds section will appear.
- Select Import Orders & Export Status and Tracking.
- Enter a Sales Channel Name for the TEMU shop, for example Temu DE.
- Select the date from which you want to start importing orders.
- If applicable, enter your TEMU Warehouse ID. If you leave this field empty, your default warehouse will be used.
- Click Save Feeds.
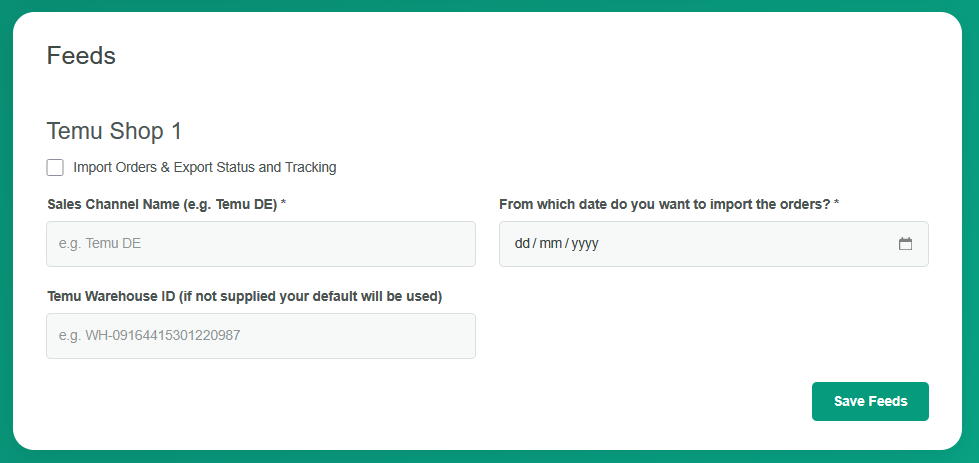
5. Check that you're ready to onboard
Go to the Ready to onboard? section.
If any required information is missing, eCommeleon will display a list of the fields that still need to be completed.
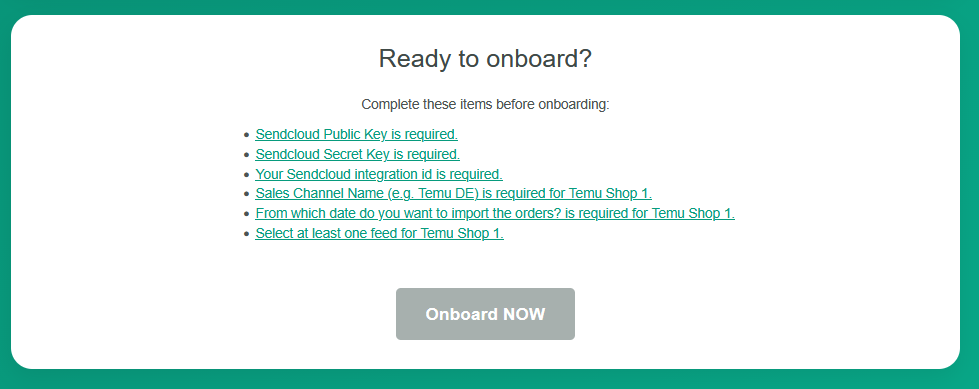
Complete the missing information and save the relevant sections.
Once all required information has been provided, the Onboard NOW button will become available.

Click Onboard NOW to start the setup.
6. Wait while your account is created
eCommeleon will now set up your account. This can take a few minutes.
While the setup is in progress, you'll see a confirmation that your onboarding has been queued and that your account is being created.
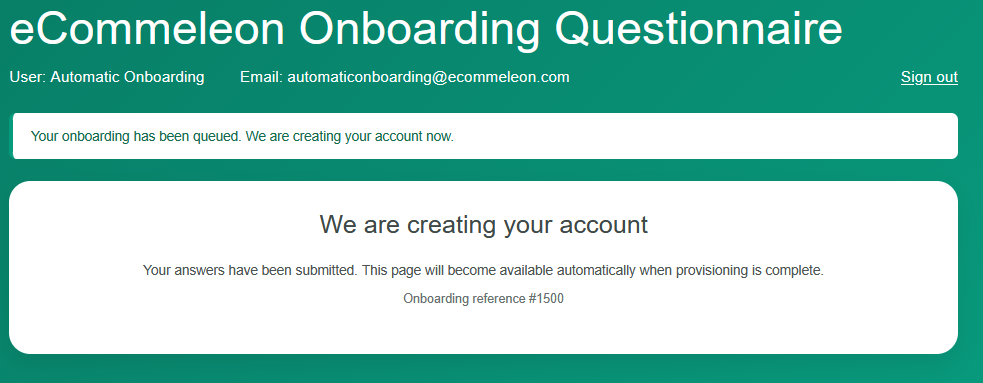
Once the setup is complete, you'll automatically be redirected to your Basic eCommeleon account.
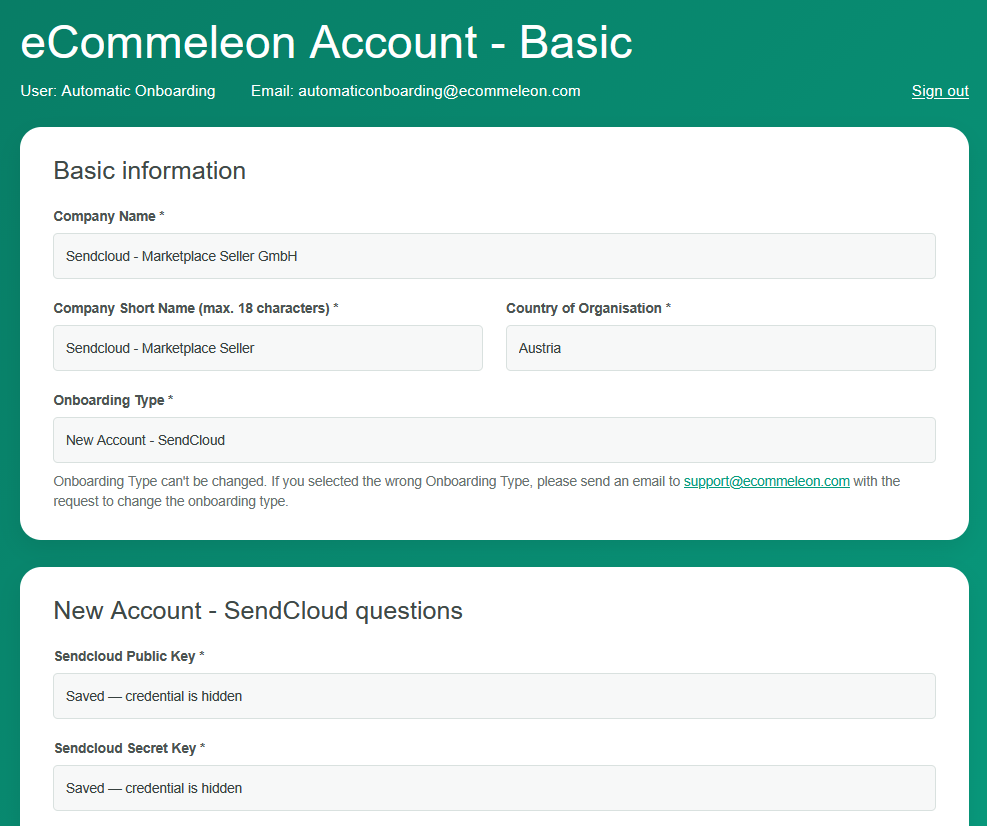
You can use your eCommeleon account to manage your connected shops and update settings or credentials for existing shops by logging in via the eCommeleon login page .
Additional information
Good to know: Here are some key details about how the TEMU integration works.
- The TEMU integration imports new orders every 15 minutes. Orders are not imported in real time, as no webhooks are currently available.
- The TEMU integration supports multicollo shipments.
- You can use your eCommeleon account to add new shops and update settings or credentials for your existing shops.
- If your TEMU order numbers are too long for your carrier, you can use the Max number of characters for the order ID field in eCommeleon to automatically shorten the order number when it is imported into Sendcloud. This can help prevent shipment announcement failures caused by carrier order number character limits. Avoid manually changing the imported order number in Sendcloud, as this can break the feedback to TEMU and prevent shipment updates from being sent back.
- The Sales Channel Name you configure in eCommeleon (e.g. Temu NL) is automatically imported into Sendcloud as an order tag. If you have multiple TEMU shops connected to the same Sendcloud account, you can use these tags to filter your incoming orders by shop.
To filter your orders:- In Sendcloud, go to Shipping > Orders > Incoming orders.
- Click + add filter and select Order tag.
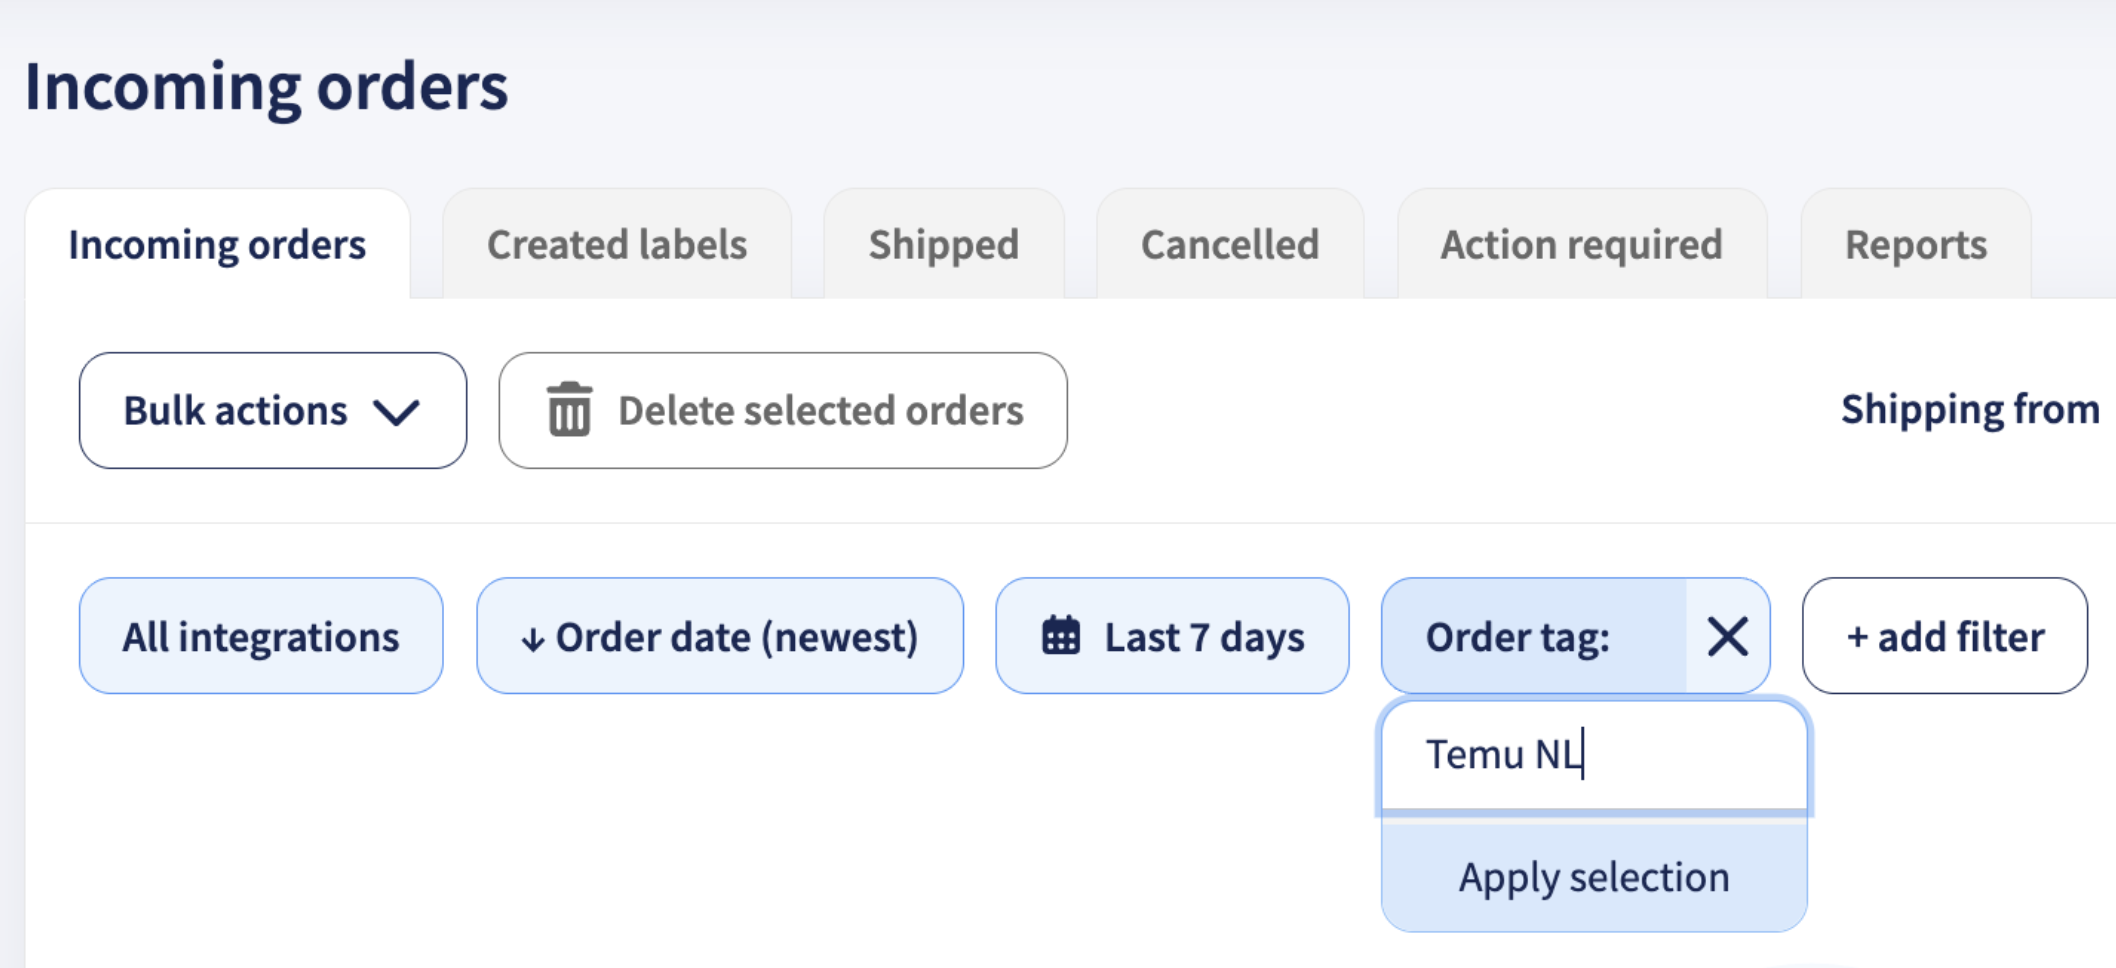
- Enter the Sales Channel Name of the TEMU shop you want to filter, e.g. Temu NL.
- Click Apply selection to display orders from that shop.
Important: TEMU credentials expire automatically after one year. When your credentials expire, the integration will stop working.
To reconnect the integration:
- Generate a new TEMU Access token in your TEMU account.
- If required, create or reuse your Sendcloud API integration.
- Log in to your eCommeleon account and update the credentials for the relevant shop.